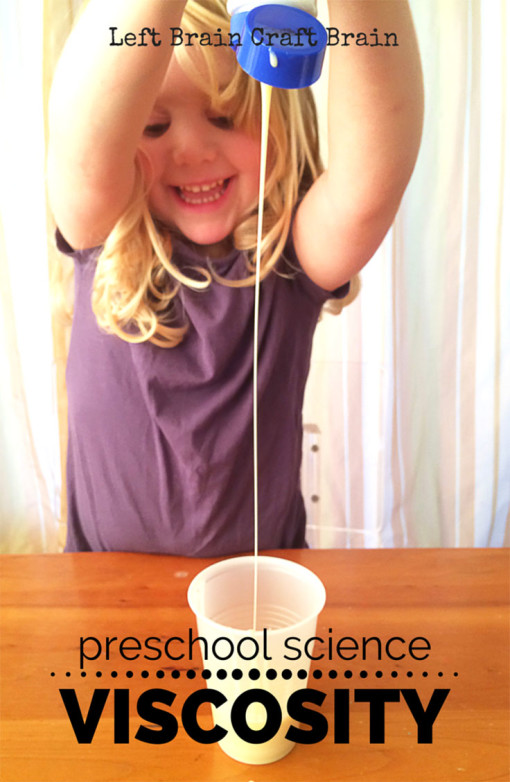
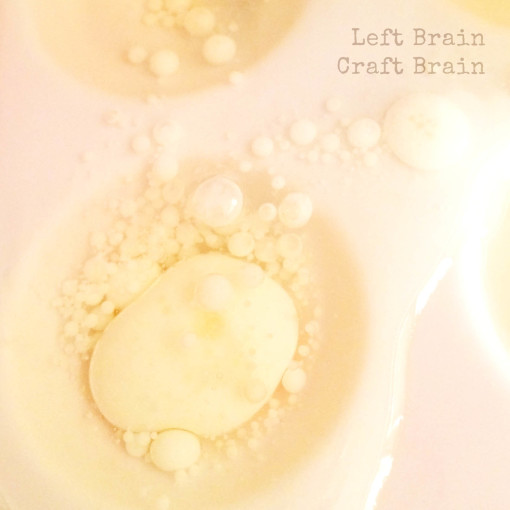
Potions and water play are some of my daughter’s favorite ways to play. They’re a great way for her to learn about science concepts, too. Today it’s all about viscosity. It’s a big word for a four year old preschooler, but I’ve realized that I want to introduce my daughter to some of the real terms used in science. So we demonstrated viscosity with thick and thin liquid potion play. This V is for Viscosity post is part of a fun A-Z STEM learning series, too. This post contains affiliate links.
What is Viscosity?
Viscosity can be seen as the of thickness of a liquid. It’s a measure of how the molecules inside the liquid respond to stress. A highly viscous liquid, like honey, doesn’t deform as easily as a low viscosity liquid, like water, when under stress.
Let’s visualize viscosity… Imagine the liquid as a bucket filled with ping pong balls. Pretend the ping pong balls are molecules. If you put your hand in the bucket, those ping pong balls move out of the way really easily. This bucket would be a low viscosity fluid. Now imagine the bucket is filled with bowling balls. It takes a lot of effort to move those molecules. This bucket behaves like a high viscosity liquid.
Viscosity Play
To demonstrate how viscosity works, The Babe did a little potion play. Mixing and pouring and pipetting (guessing that’s not a word…) with fluids of different viscosities. I chose milk and oil because she’s familiar with them. Then I picked condensed milk and castor oil as higher viscosity versions of them.
Supplies Needed
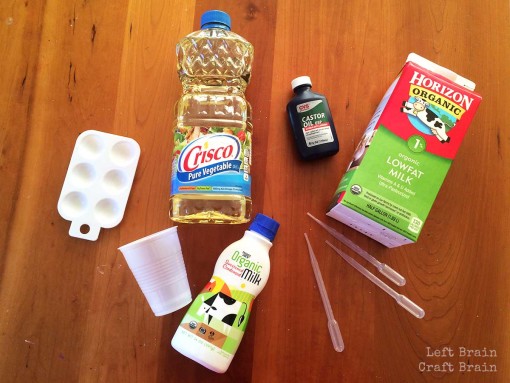
- Fat free milk
- Sweetened, condensed milk
- Vegetable oil
- Castor Oil
- Tray to catch the mess
- Cups or other things to pour from / to
- Pipettes {affiliate}
- Paint palettes {affiliate}
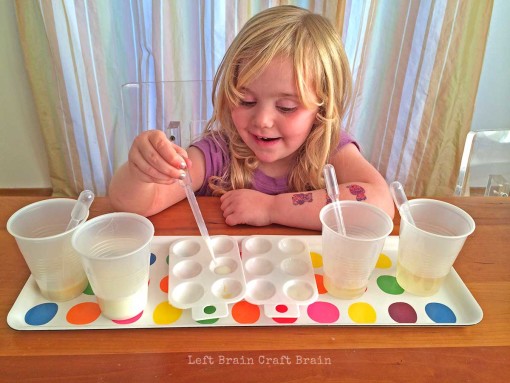
First up was playing with the liquids with the disposable pipettes. They’re some of our favorite supplies for science and art projects. They’re kind of sneaky too. If you have an expensive material in one of your projects, these make it go a long way because they can only suck up so much at once. Perfect for baking soda / vinegar reactions because it extends the reaction.
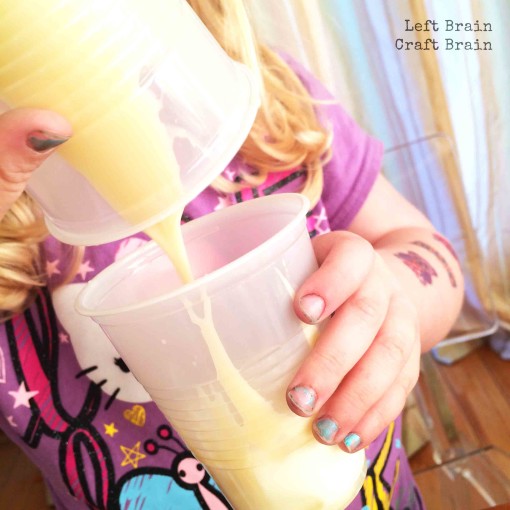
Next was pouring the liquids from cup to cup. I wish I had gotten some pictures of her face when she poured the vegetable oil. She was soooo surprised by how fast it came out. Then she started giggling when the condensed milk went way more slowly.
Finally, she experienced some mixing… “I didn’t know THAT would happen!” she said when the milk wouldn’t mix with the oil.
Some Questions to Ask
While we were playing viscosity potions, we had some engaging conversations. I’m serious, she really was into it… The Babe enjoyed experiencing how the different liquids worked and I asked her some questions to get her scientist thinking going.
- Before pouring or touching the liquids, which do you think is the thickest? The thinnest? (This is where I first introduced the word viscosity.)
- What do the liquids feel like? How are they different? How are they the same?
- Which is the hardest to move through the pipette? What can you do to make it easier?
- What do you think will happen when they mix together? (You can talk about miscibility, the ability for liquids to form a homogenous solution… Milk and oil don’t mix.)
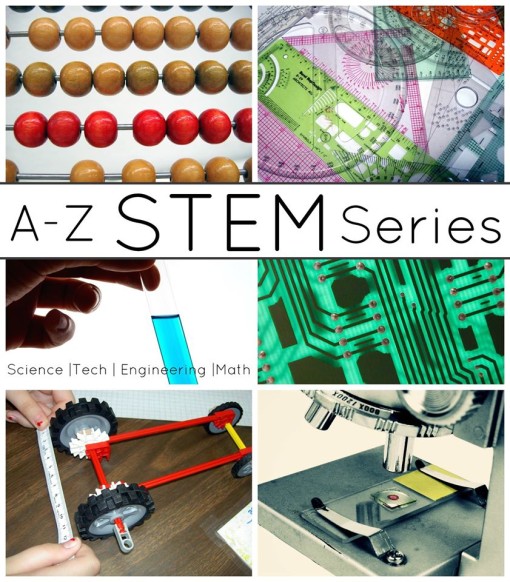
A-Z STEM
This V is for Viscosity post is a part of a fun learning series called A-Z STEM. 26 letters full of science, technology, engineering & math topics. Click through to Little Bins for Little Hands to see all of the activities.
For even more STEM activity ideas, check out the Left Brain Craft Brain STEM Pinterest board.