You know those activities that don’t exactly go as planned? This is one of them. Luckily it went the best way possible, into a totally engaging educational activity. My daughter and I spent an hour pulling apart some computer parts, screw by screw and had an amazing STEM learning experience along the way. I’ve got some tips for how to make your computer part tinkering session go just as smoothly. Keep reading for this week’s Love to Learn Linky, too. This post contains affiliate links.
Computer Part Deconstruction Supplies Needed
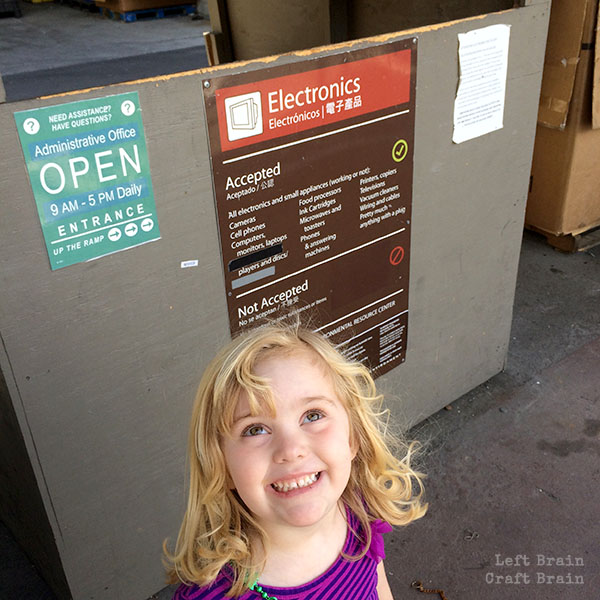
This project is really about using what you have available. We went dumpster diving at the recycling center for some computer parts and came home with a keyboard, monitor and printer. No actual computer, but still lots of fun parts.
You’ll need:
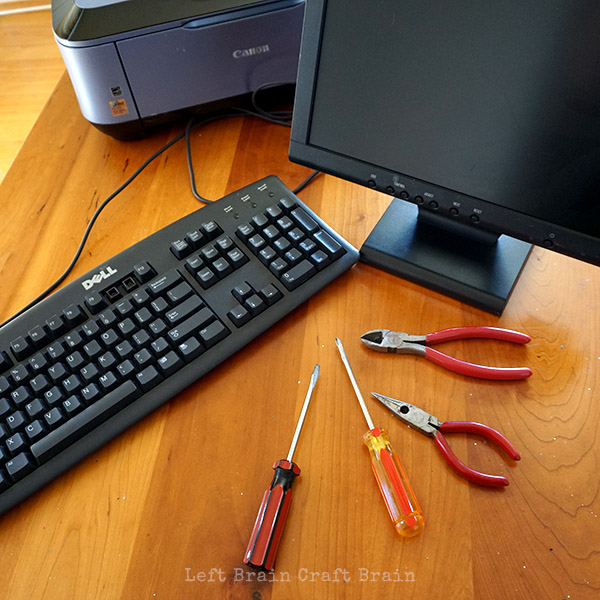
- Computer parts (keyboards, monitors, computers, printers, etc.)
- Screwdrivers of various types and sizes
- Wire cutters
- Pliers
- Container to hold loose parts
- Safety glasses / goggles
SAFETY NOTES:
- Please do not work with CRT (cathode-ray tube) monitors. These hold high voltages long after being unplugged and used and can be safety hazards without correct safety procedures.
- To ensure that any residual energy in the components has been discharged, unplug the equipment and let it sit for at least a day before opening and working on the parts.
Computer Deconstruction How To
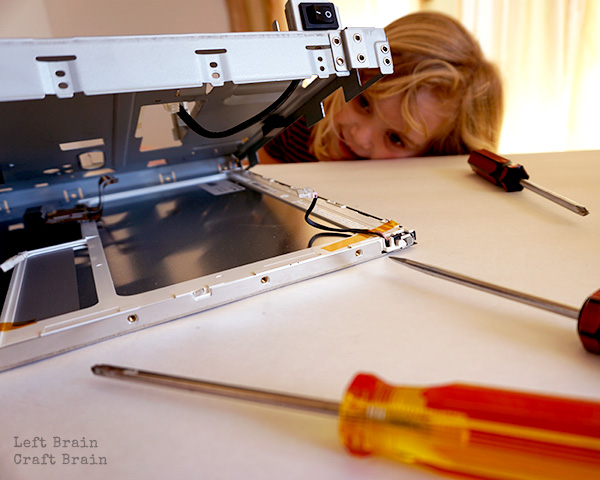
There’s not really that much to it! Just start taking stuff apart. It helped to have a big table because these components take up a lot of space. Also be sure to have a tray or bowls to catch small pieces. You would not believe how many screws there are in a keyboard or monitor!
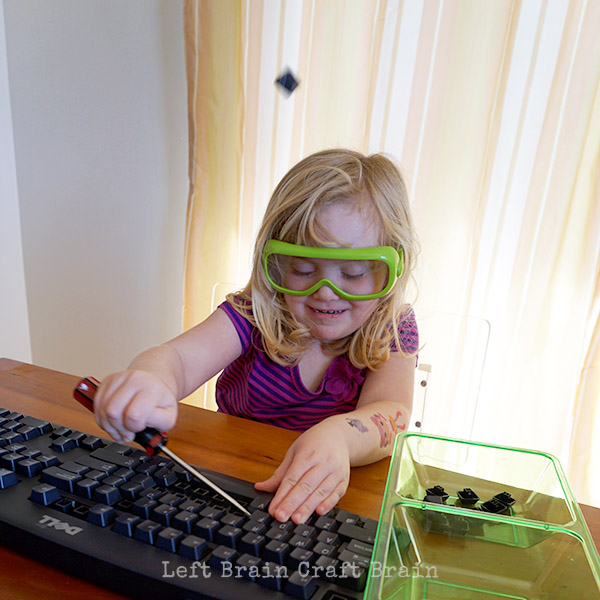
A little note here about age. My daughter is 4 and totally loved this activity. With some simple supervision, this makes a great preschool STEM activity. Older kids will love doing it all by themselves.
Old Keyboard Play
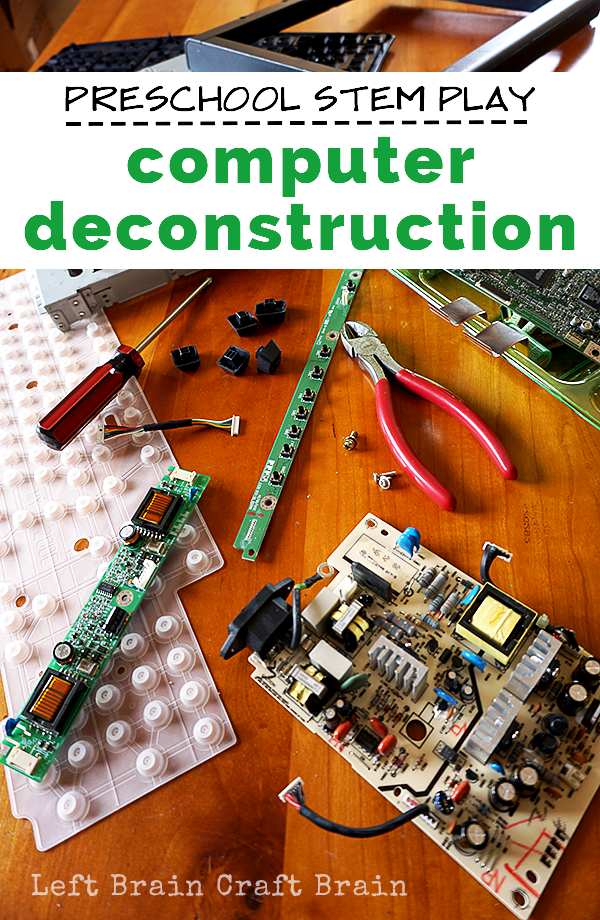
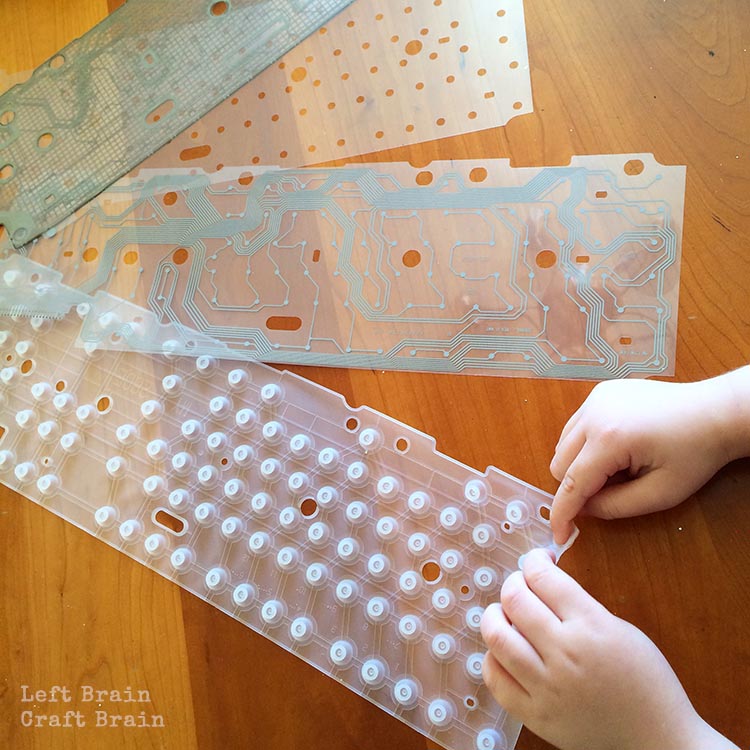
The keyboard was a lot of fun. Way more than we expected! The first job was to pop the keys off…
Then we explored the insides, which were a total surprise to her and me. Where were the standard circuit boards? The thin film circuits we found are the inspiration for some projects we have coming over the next few weeks.
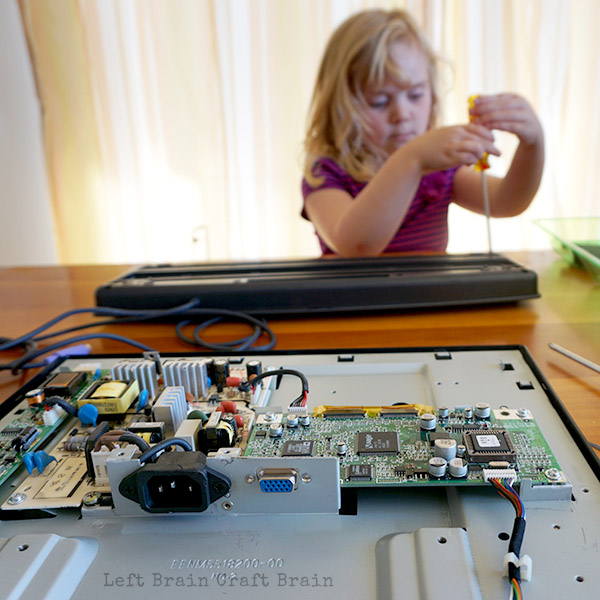
What’s What Inside a Computer?
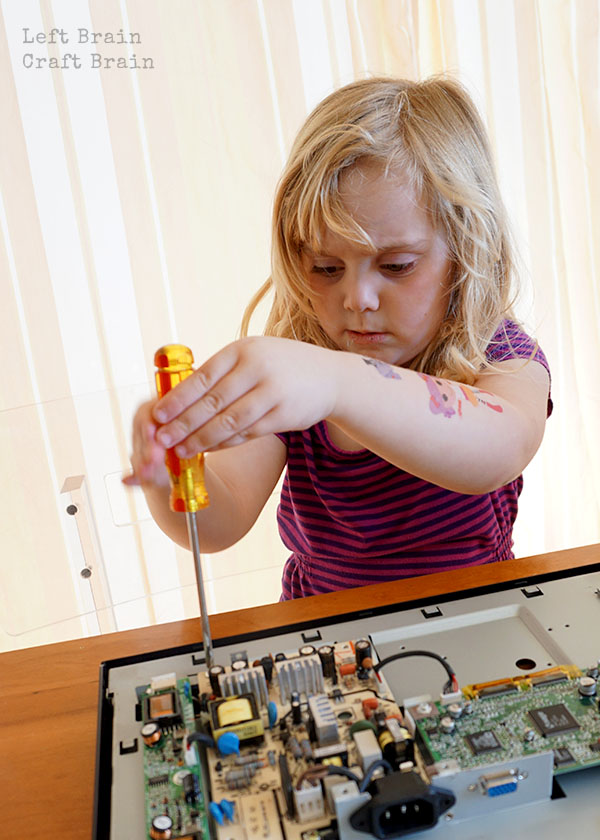
Then came the monitor deconstruction. I got a lot of “What’s that?” type of questions in this part. And honestly, I didn’t know the answers. Umm, it’s a thingamabobber with a widget attached. (I’m a chemical engineer not an electrical engineer!) So I went to Google and found this awesome Electric Component Guide from uCHobby to help answer her smart questions. Print it out and then play a game of match the part.
How to Have a Successful Computer Tinkering Session
Tinkering is an amazing thing, especially in little kids. Its open ended nature helps them experience true creativity and learn problem solving. And it really doesn’t take much to have a successful tinkering session because kids are natural explorers. Success comes from a state of mind, not from stuff.
Some things to bring along for a successful computer part tinkering session:
- Curiosity – Exploring, testing, trying, questioning, learning is what this is all about. Curiosity is the energy that drives this engine!
- Time – Don’t rush these sessions. Sometimes the coolest moments come once the kiddos are comfortable with the materials.
- Something New, Something Old – Although my daughter will tinker repeated with old stuff like nuts and bolts, sometimes the new things bring about the most excitement. She had never seen inside electronics, so the curiosity kept her intrigued. But it was the tried and true screws and screwdrivers that kept her going without frustration.
- Questions – Get the kiddos thinking about what they’re doing with some open ended questions like:
- What do you think that part does?
- How could you make it easier to take apart?
- How would you sort the parts? Try it! (i.e. by color, size, etc.)
- What was the most surprising part of the component? The process?
More Computer Part Play
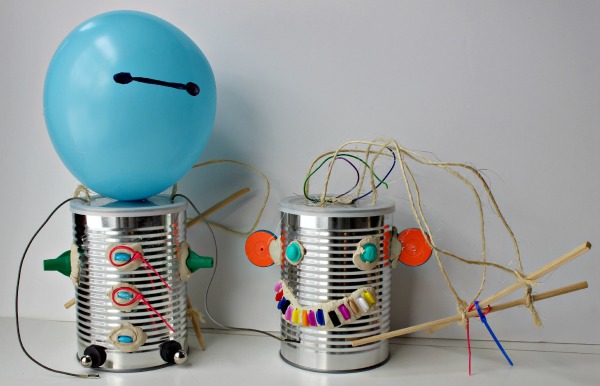
Jacquie from KC Edventures shared a fun computer part activity in last week’s Love to Learn Linky. Make Your Own Robot anyone?
60 Day Junk Play Challenge

I was inspired to play with old computer parts by a really cool series called the 60 Day Junk Play Challenge. It’s hosted by Best Toys 4 Toddlers who was inspired to find toys for her kids everywhere but the toy store. Click on over for ideas to make the most of your recycling bin!
Science, Tech, Engineering, Art, and Math Fun for Kids
Looking for some more STEAM inspiration that use can use right now? Instant gratification style? Check out STEAM Kids: 50+ Hands-on Science, Technology, Engineering, Art, & Math Hands-On Projects for Kids ebook! It’s packed full of a year’s worth fun learning activities that will wow the boredom right out of your kids.
Love to Learn Linky
Now it’s time for some more links! I hope you’ll join us for a fun and educational linky party. Bloggers, share your posts every Thursday and watch as we round them up and share them all over the place. Almost anything goes, we’re just hoping your activities teach kids (or us!) something (science, art, cooking, behavior, crafting, parenting etc…).
The Love to Learn Linky is hosted by:


Love to Learn Linky Features
Here’s what my Love to Learn Linky co-hosts are sharing this week:
18 Non-Traditional Easter Egg Hunts for Kids || One Time Through
[inlinkz_linkup id=511876 mode=1]