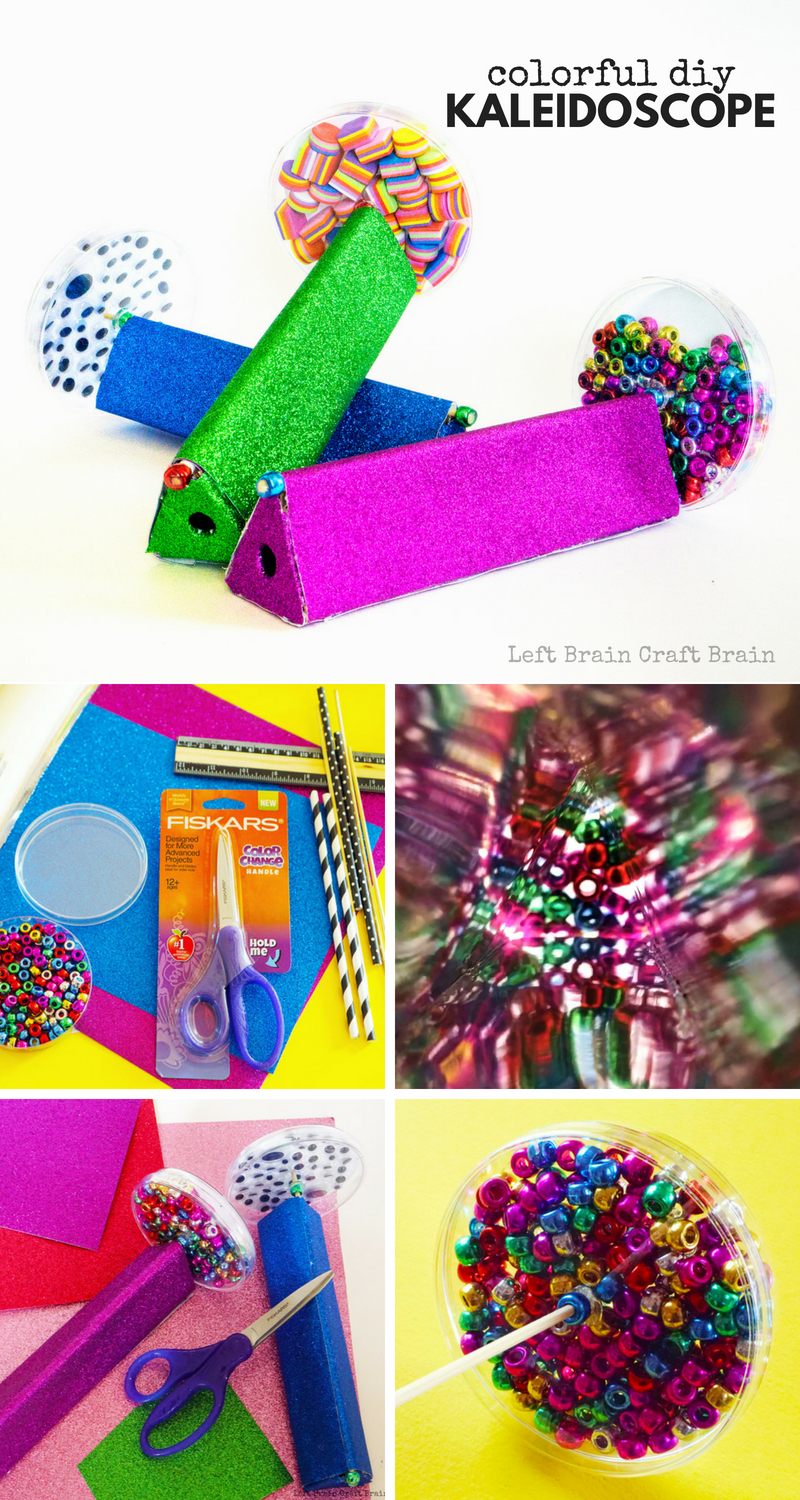
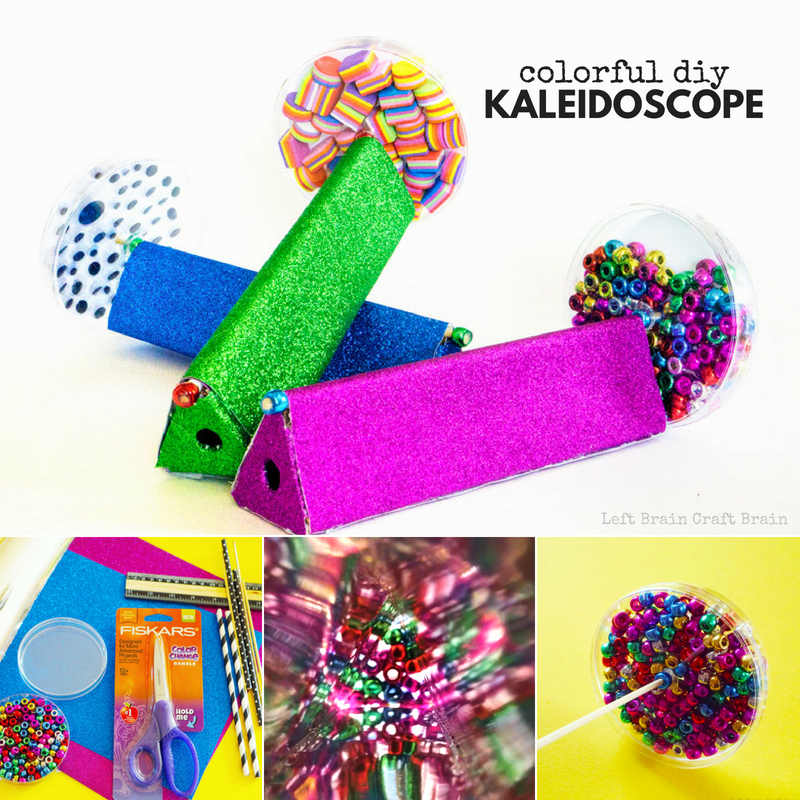
Around here we love color. And pattern. And toys. So we just HAD to figure out how to make a DIY kaleidoscope. Because it combines all three and it makes a fabulous STEAM project. This DIY kaleidoscope is one of the most fun engineering projects we’ve done! And makes a super cool spinning contraption the whole family will want to play with.
I’ve partnered with Fiskars on this post, beacuse they create some of the best cutting tools for crafting and are the #1 Teacher-recommended brand. And because they told me about their brand-new Color Change Student Scissors. If you’ve hung out with me at all on Left Brain Craft Brain, you probably know I’m a sucker for all things color-changing.
How Does a Kaleidoscope Work?
Before we start building, let’s talk a little bit about how a kaleidoscope works. When you peer inside the view hole of a kaleidoscope, you see a rainbow of colorful reflections and patterns. That’s because inside the tube are at least 2, usually 3 mirrors, placed at a v or triangle to each other. At the very end is a set of colorful trinkets like beads that are repeatedly reflected back into the mirrors when you look into the view hole. When you rotate the baubles, the image changes, for an ever-changing display of color.
DIY Kaleidoscope Supplies Needed
In this kaleidoscope, we use reflective paper instead of mirrors. Easy for kids to create and not nearly as sharp! Also, a lot of DIY kaleidoscopes have a hard time incorporating beads and baubles into the end, so I’ve been scheming for years on a way to make it more interesting. Enter Petri dishes. They make this a more complicated build, but TRUST ME. It’s worth every minute. They create an awesome, spinning kaleidoscope.
We’ve also whipped up a helpful template to make cutting the parts out easier. Simply fill out the form below to have it emailed to you.

FREE! DIY KALEIDOSCOPE
TEMPLATE
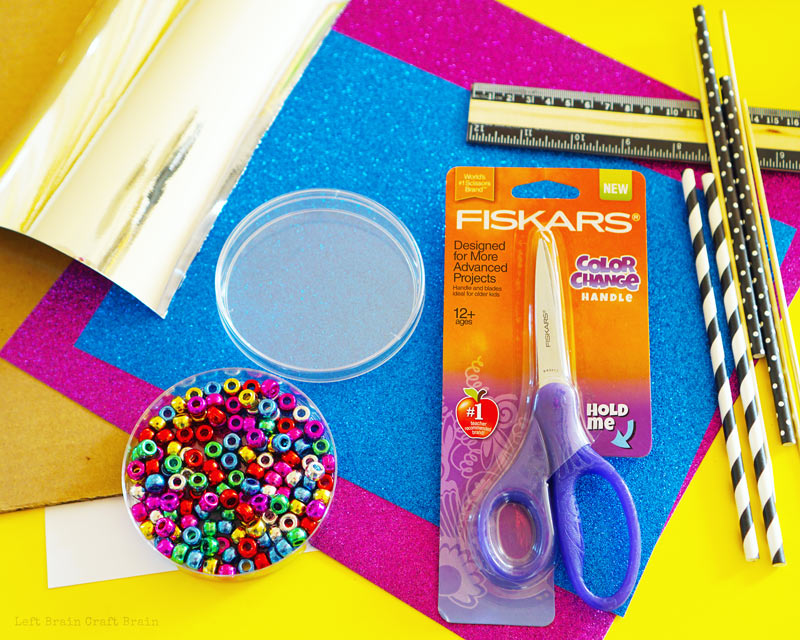
Here’s what you need for the build… We’ve included some quick shop links for you as well. (Please note: As an Amazon Associate I earn from qualifying purchases.)
- Kaleidoscope template
- Printer
- White paper
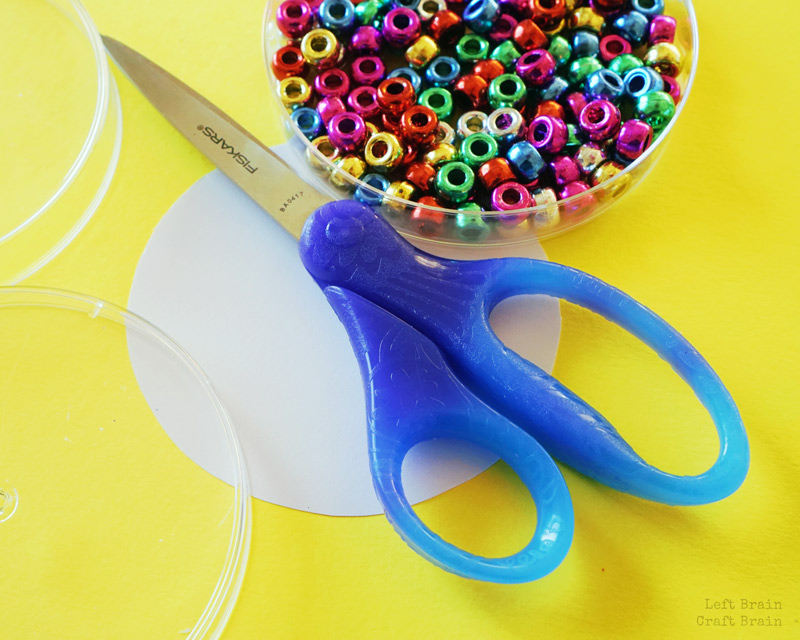
- Scissors – We LOVE our Color Change Student Scissors from Fiskars!
- Cardboard
- Reflective paper
- Ruler
- Paper straw (1 per kaleidoscope)
- Hot glue gun
- Bamboo skewers (1 per kaleidoscope)
- 90 or 100mm diameter Petri dish (1 per kaleidoscope)
- Pony beads (3 per kaleidoscope)
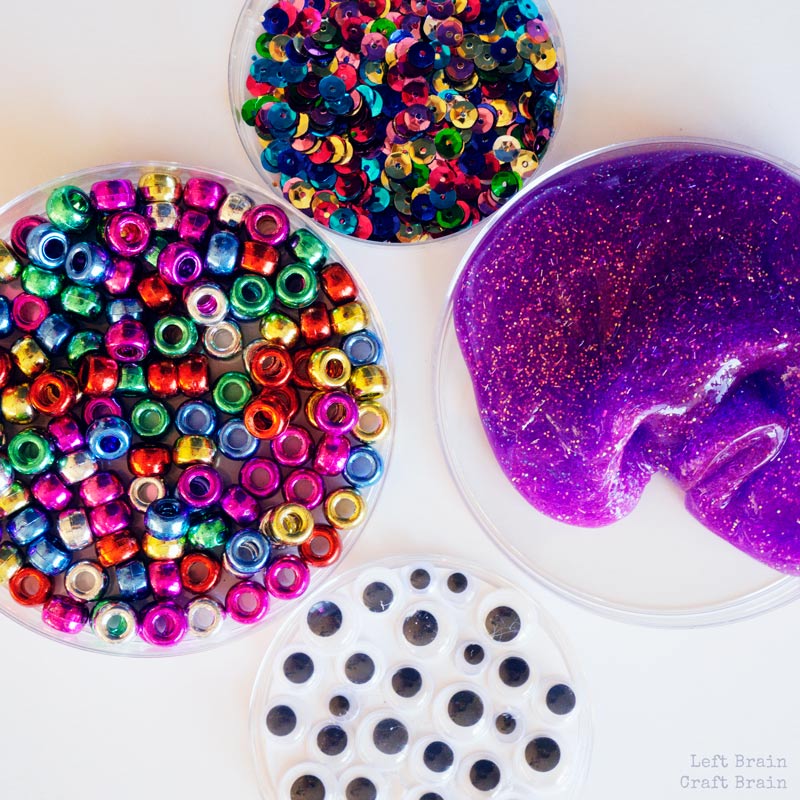
- Color items to see through the kaleidoscope like beads, sequins, googly eyes, slime, etc.
How to Make the DIY Kaleidoscope with Interchangeable Disks
Ready to make a super fun spinning kaleidoscope? Here goes!! This tutorial is perfect for makerspaces, camps, after-school clubs, and enrichment. Or even just a fun afternoon at home.
Cut and Assemble the Kaleidoscope Mirrors
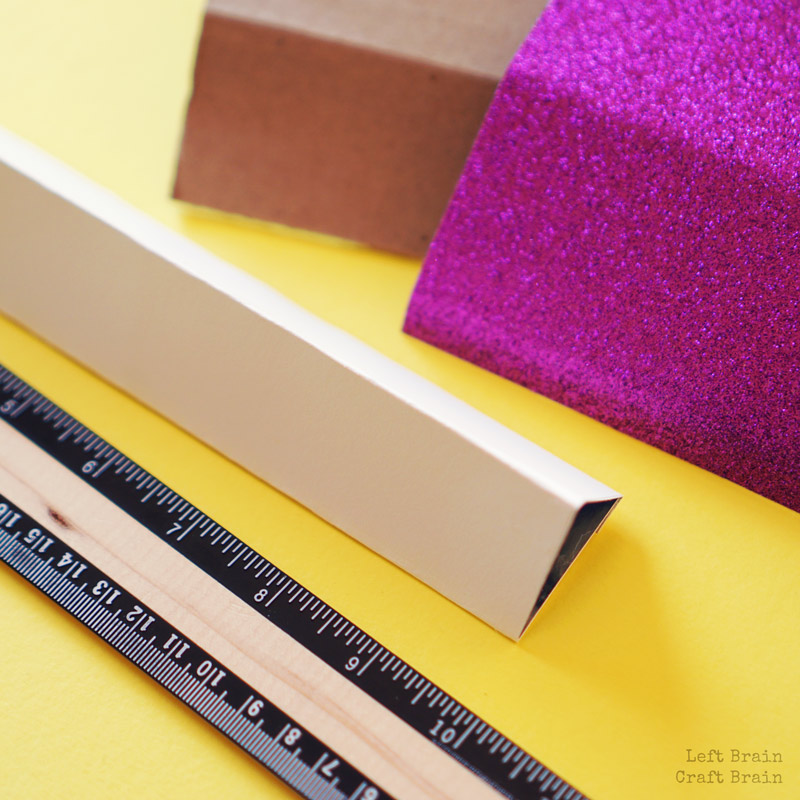
The first step of the project is to make the mirrored frame part of the kaleidoscope. You’ll need reflective paper, cardboard, and if you want, some decorative scrapbook paper. Plus the tape and the paper straw.
- Print and cut out the templates for the reflective paper, cardboard, and scrapbook paper.
- Lay the template on a piece of cardboard, draw around, and cut out. Repeat for the scrapbook paper and reflective paper.
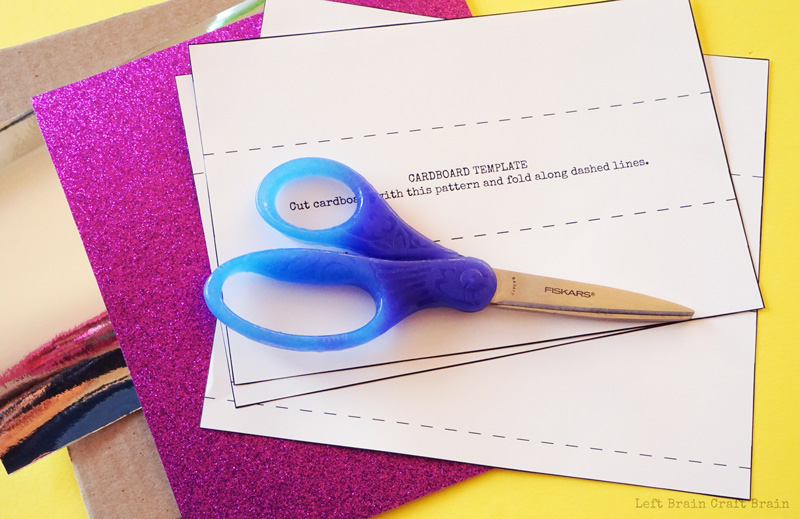
Don’t you just love these fun scissors? The heat-activated handle changes color the longer you hold them. And because they’re Fiskars, they cut like buttah. Even cardboard. Which is awesome for kids who love to make. I used the set intended for ages 12+ and advanced projects, but they have a pair for students aged 4+, too. They also come in a red to yellow color combo.
- Next, fold your reflective paper inter thirds with a small tab. Here’s a good way to do it. Grab the reflective paper and lay flat with the mirrored side up. Place the template short side next to the short side of the paper. Place a ruler on top of the paper and line up with the dashed lines on the template. Pull up the paper so you get a nice crease with the edge of the ruler. Repeat for the other two lines.
- Fold the reflective paper into a triangle and secure it on the non-shiny side with tape or some hot glue.
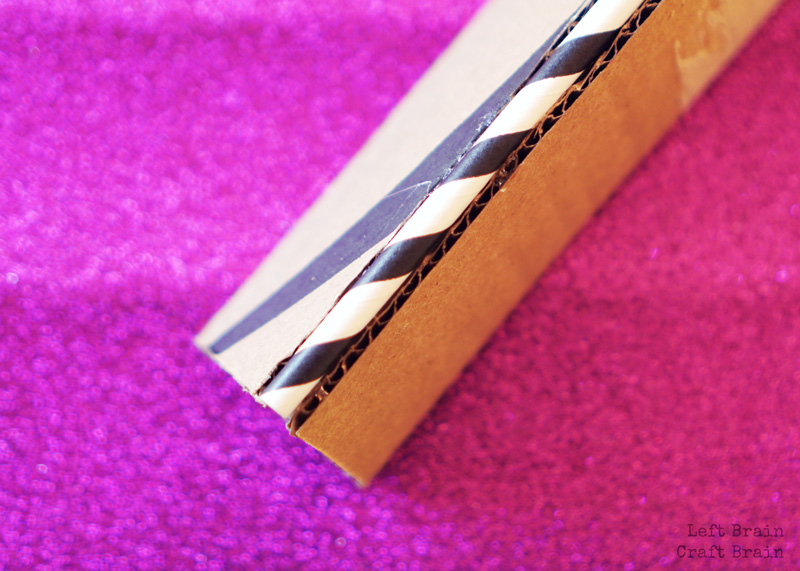
- Fold cardboard and insert the reflective paper triangular prism into the inside.
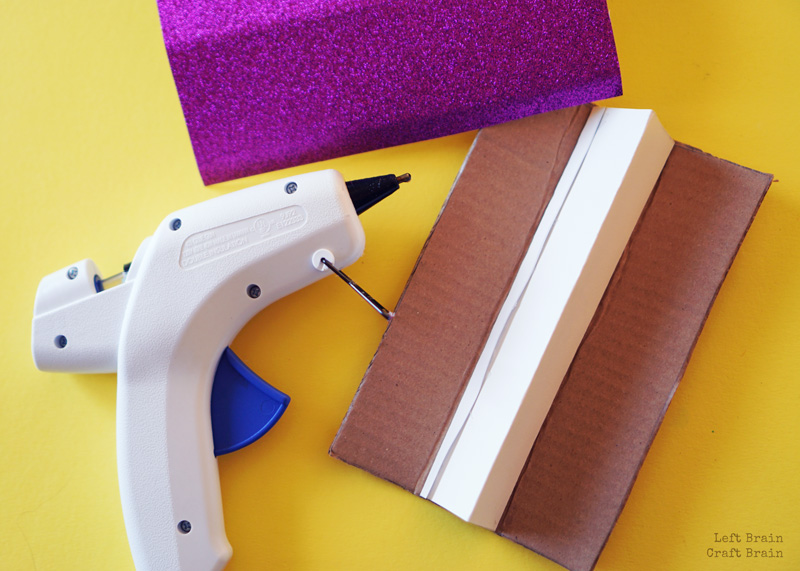
- Next, lay a paper straw on the seam of the cardboard triangle and secure side pieces with a hot glue gun or tape.
- Then cut out the eyepiece cover from your decorative paper using the template and poke a large circle in the middle. Then glue the flaps into place on the tube. You may need to trim this to size if your tube isn’t a perfect triangle.
- Then wrap with the decorative paper and secure with hot glue.
Make the Interchangeable DIY Kaleidoscope Disks
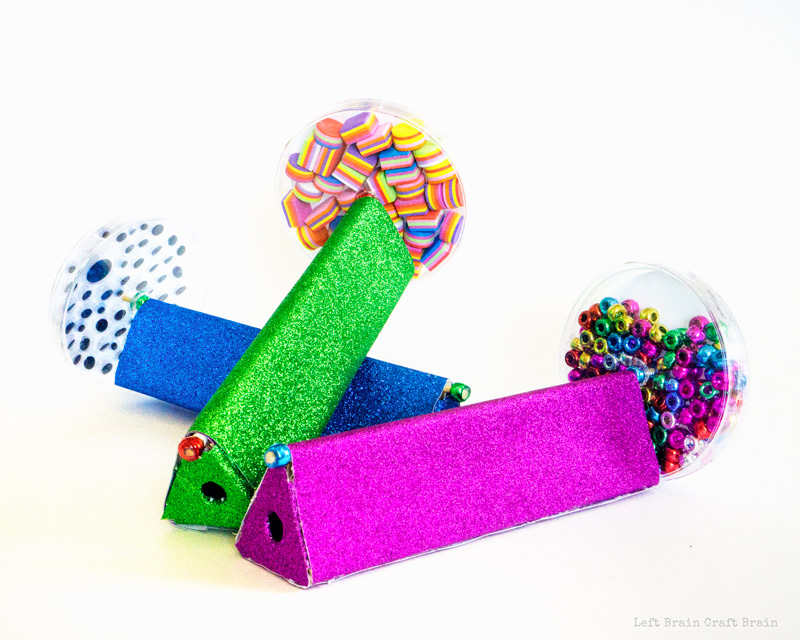
Now it’s time to make the fun stuff you’ll be looking at through the DIY kaleidoscope. We had a bunch of Petri dishes leftover from a science experiment, so I decided to use these in the kaleidoscope. The clear plastic circles make them a perfect match. And it turns out they make it easy to create an interchangeable kaleidoscope.
- First, cut out a piece of white paper to make a clean background for your kaleidoscope. Grab the small half of a petri dish and place it on a piece of white paper. Trace around it and cut out the circle, just inside the lines.
- Take the small half of the petri dish, add a drop of hot glue in the center and place the white circle inside. (If you’re using slime, skip the paper!)
Assemble the DIY Kaleidoscope
Now it’s time to add the stem that inserts into the mirror part of the kaleidoscope.
- Grab a skewer and cut off the sharp end with the scissors. (This is a good job for an adult!)
- Melt a small hole in the top and the bottom of the petri dish using the tip of the hot glue gun. It should only be big enough for the skewer to fit through. Hold the glue gun tip gently into the plastic for 30-60 seconds. If you press too hard, the petri dish will crack.
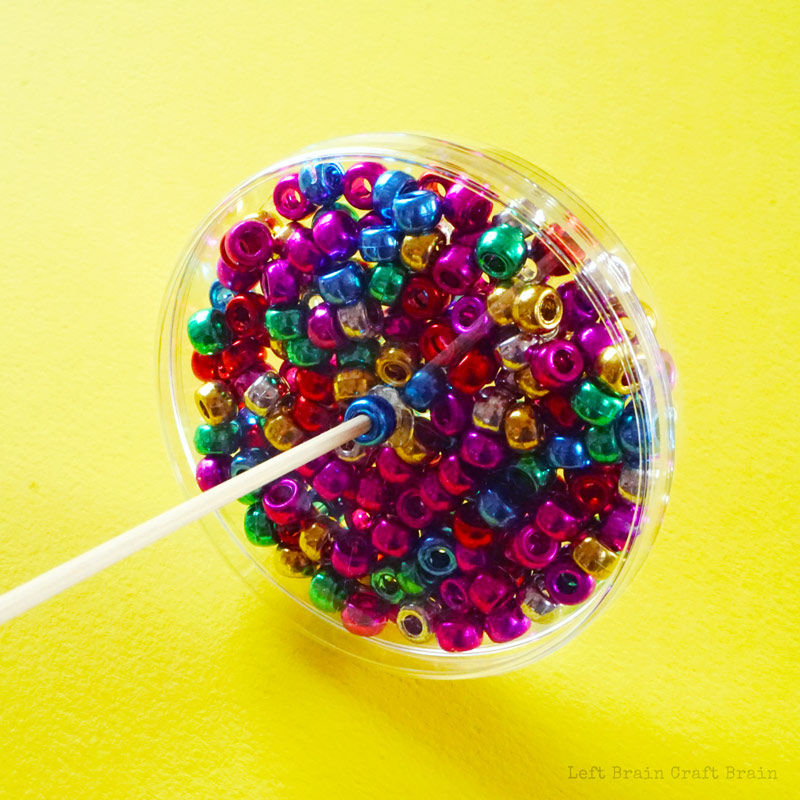
- Insert the skewer into the petri dish holes just until the tip is at the bottom of the petri dish. Place a pony bead on the end of the skewer on the outside of the petri dish and glue with the hot glue gun, both inside and outside.
- Next, fill the dish about 90% full with sequins, beads, slime, or googly eyes and close with the lid.
- Run a small bead of hot glue to seal the dish closed or tape closed with clear tape.
- Secure the other end of the skewer to the petri dish with another pony bead and hot glue.
Assemble the Kaleidoscope
Now it’s time to have fun with the kaleidoscope! If you want to keep the disks interchangeable, just insert the skewer into the straw, hold it up to your eye and spin the dish.
If you want to pick one petri dish and make it more permanent, here’s how to do it. You’ll need a pony bead and your glue gun.
- Pick the dish you want to use and the DIY kaleidoscope tunnel. Insert the skewer into the straw all the way.
- Place a pony bead on the skewer and press almost all of the way to the straw, leaving a little bit of room for movement.
- Cut the skewer (adults!), just after the pony bead.
- Secure the bead on the end of the skewer with the hot glue gun.
Check out the color DIY kaleidoscope in action! [VIDEO]
The picture through the kaleidoscope is the coolest thing of the whole build…
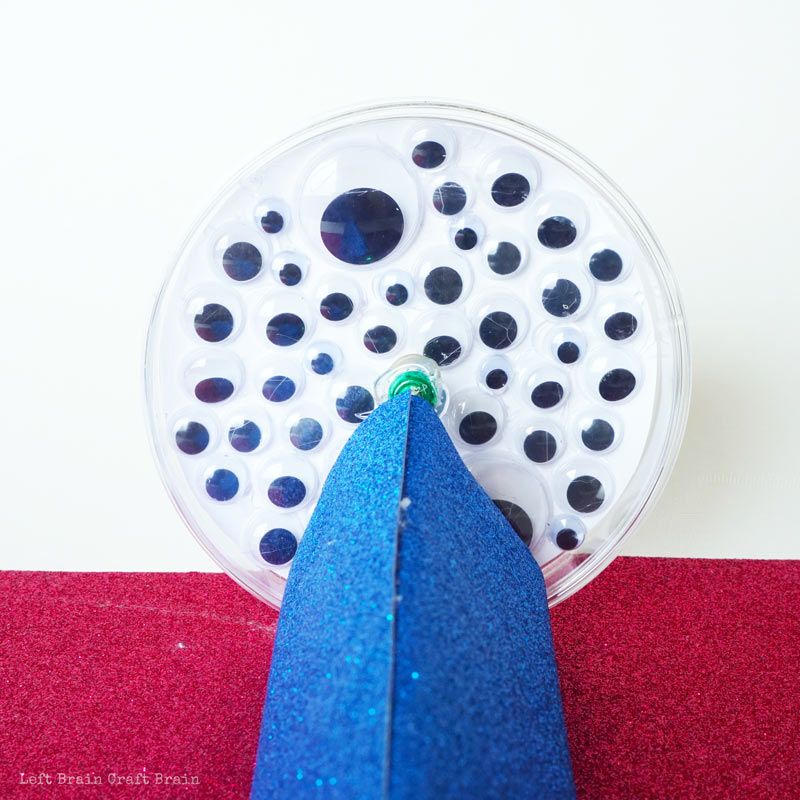
Make a Kal-EYE-doscope
One of my favorite versions of the kaleidoscope we made is the googly eye one. So fun to see all those eyes reflected back through the tunnel! The only thing different I did for this one was glue down the googly eyes to the paper inside the petri dish so the eyes always face up. Otherwise, they slide around and sometimes end up upside-down. It’s a lot of glue time, but so worth it for the final kaleidoscope.
More Cardboard Crafting for Kids
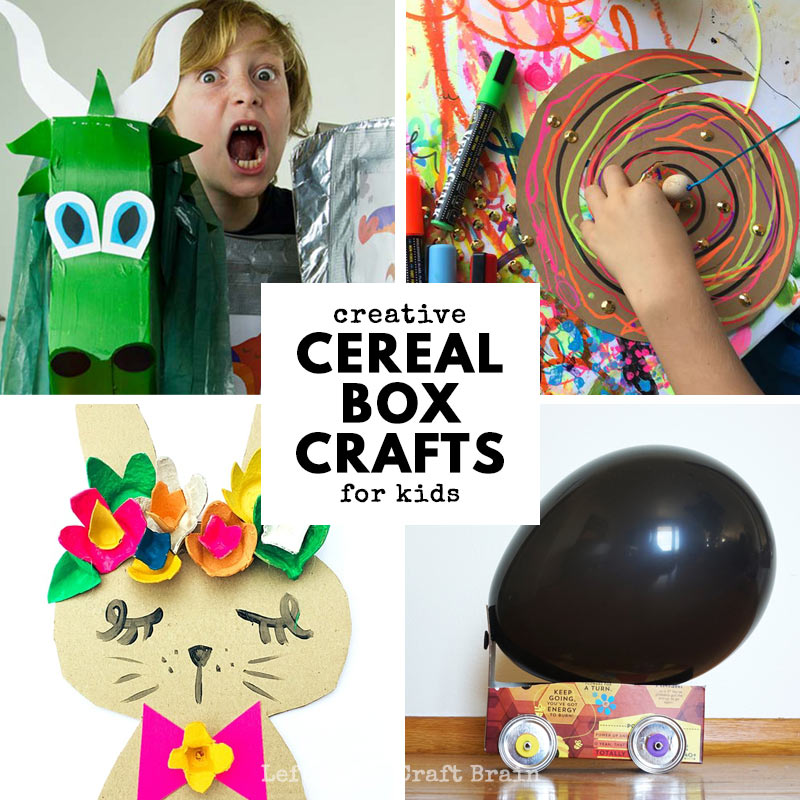
Recycled cardboard is an awesome and cheap craft supply. Kids will LOVE this list of 30+ Super Creative Cereal Box Crafts for Kids.
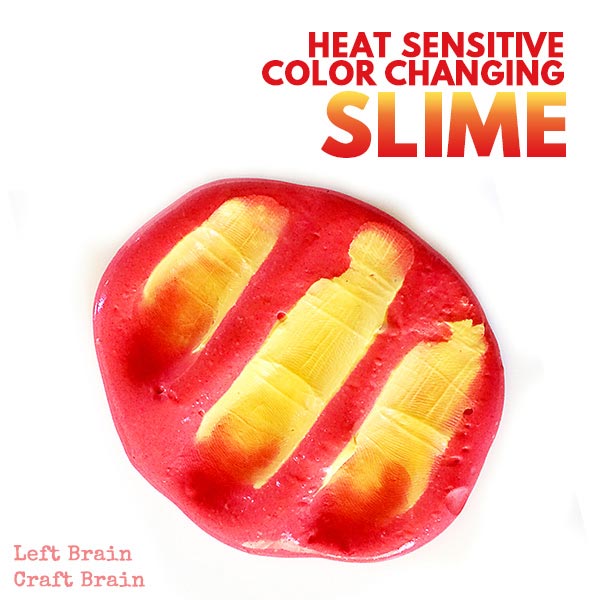
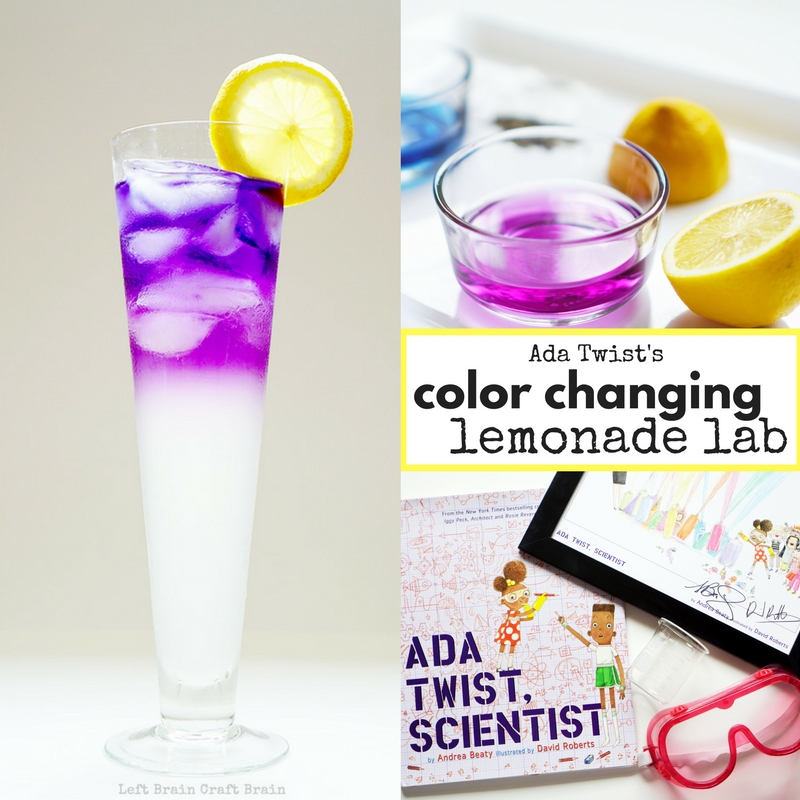
More Color Changing Fun
If you’ve hung around Left Brain Craft Brain at all, you know that I LOVE things that change color. That’s why I had to share these awesome Color Change Scissors from Fiskars. And if you love color-changing stuff as much as I do, be sure to try some of my other colorful projects!

Be sure to check out Fiskars’ awesome Color Change Scissors for all your kids that love playing with color and follow Fiskars on Instagram, Twitter, Facebook, and Pinterest.
More Hands-On STEAM Activities for Kids
Looking for some more STEAM inspiration that you can use right now? Instant gratification style? Check out STEAM Explorers!! The coolest creative experience for kids is here! It's a digital book of the month club filled with tons of fun stuff for the kids to do and learn. All engineer, teacher, and mom-approved. And most definitely KID APPROVED!
What’s included?
- A monthly digital magazine with cool themes that are fun to read
- Hands-on, exciting projects the kids will love.
- Science, tech, engineering, art, and math learning YOU’LL love.
- Delicious recipes the kids can make.
- Fun printables and games
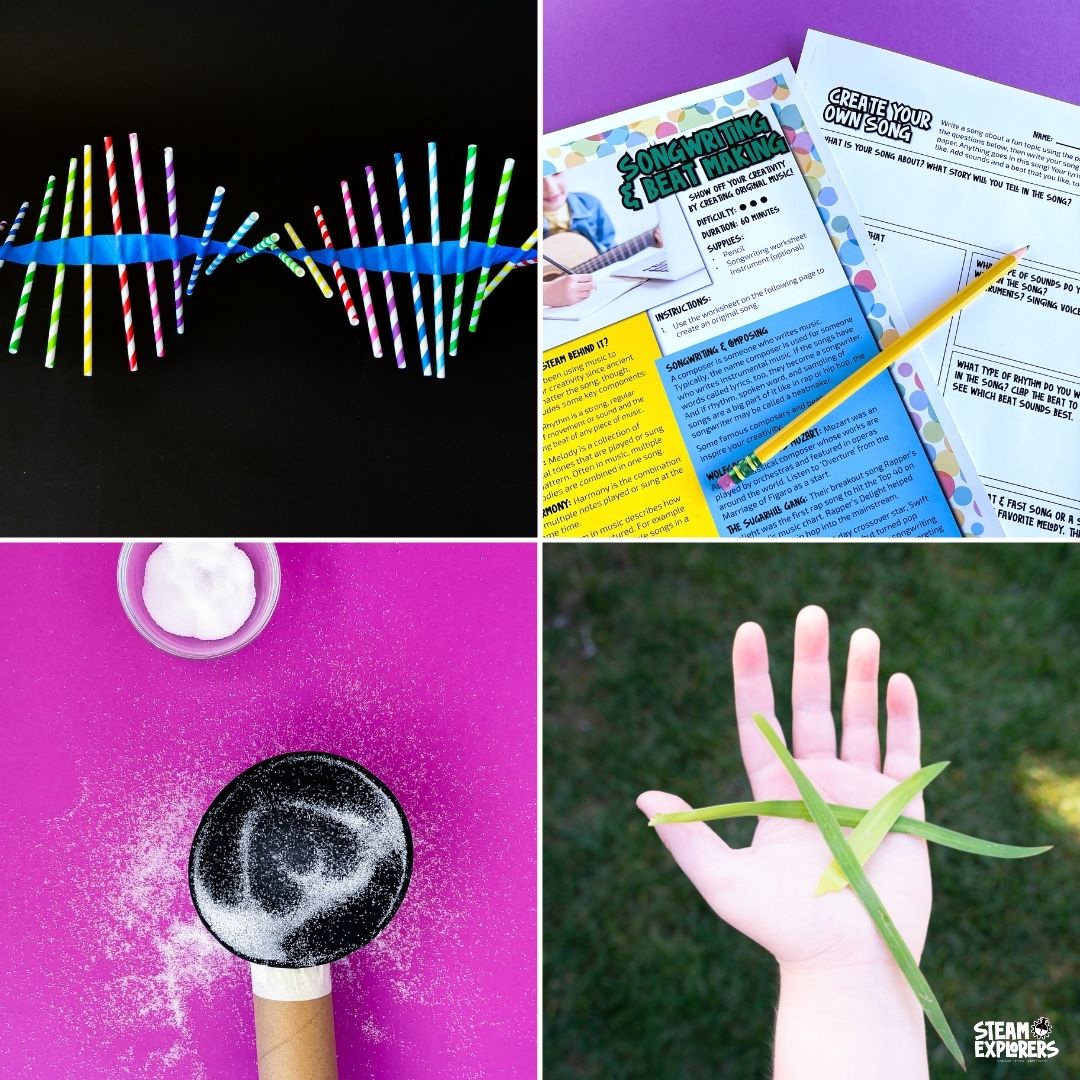
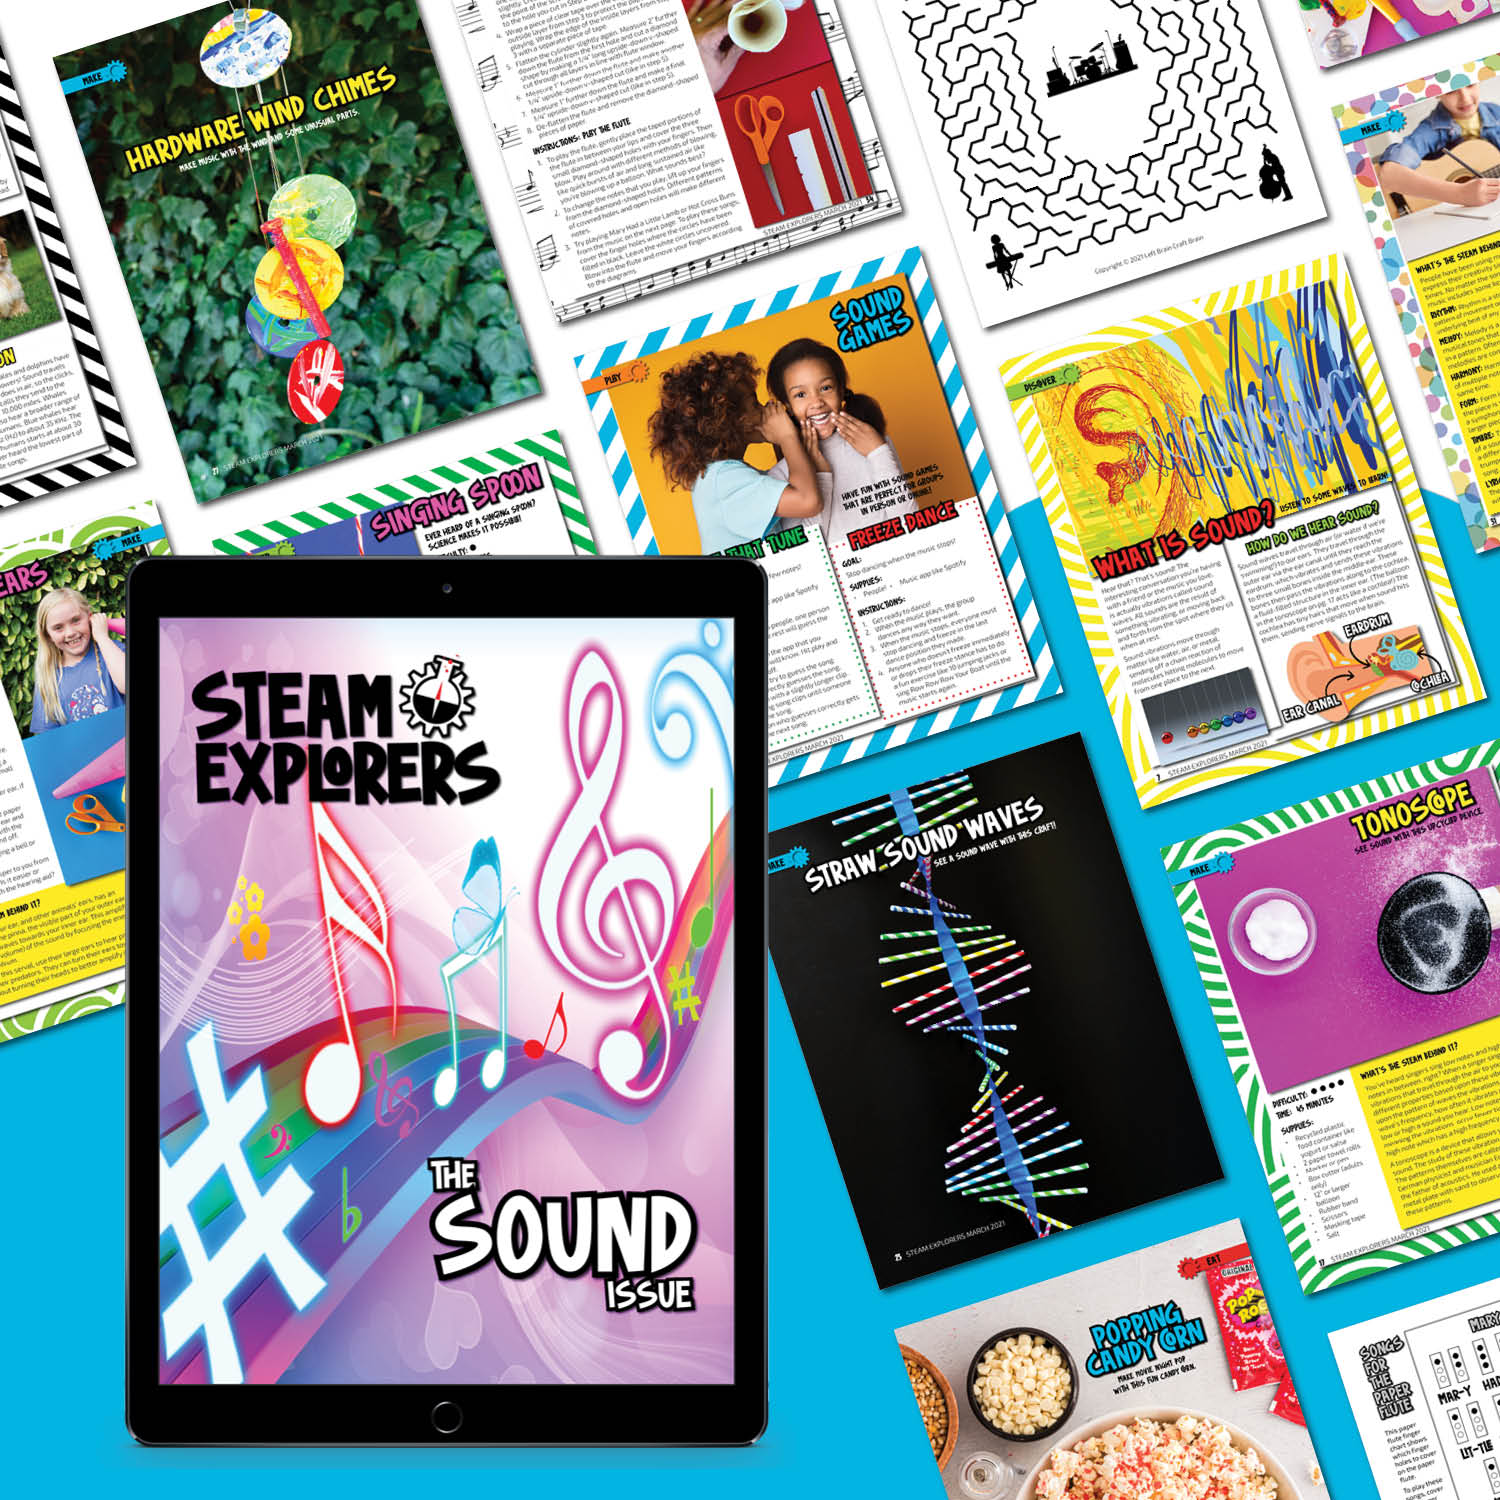
Join us as we make some music in March!! All in the name of having fun with STEAM, of course. We’re exploring sound waves and animal ears and of course, music through hands-on projects the kids will love. The kids will love creating their own rhythms, testing sound with spoons, seeing sound waves with salt, amping up their ear power with paper, and so much more! You’ll love the helpful standards-based learning, printables, and tools that make STEAM exploration easy!
We’ve split the issue into four weekly themes:
- This issue has four weekly themes to inspire your kiddos:
- WEEK 1: MAKING NOISE
- WEEK 2: SEEING SOUND
- WEEK 3: HEARING NATURE
- WEEK 4: CREATING MUSIC

FREE! DIY KALEIDOSCOPE
TEMPLATE
Pingback: How to Make a DIY Kaleidoscope • Little Genius International Kindergarten and Educational Center
Pingback: A Zillion Fun Things to Do at Home With Kids * Moms and Crafters
Pingback: 100+ Screen-Free Activities to Keep Kids Learning - Worthwhile Miles
Pingback: Cardboard Crafts and Cardboard Projects for Kids - Left Brain Craft Brain