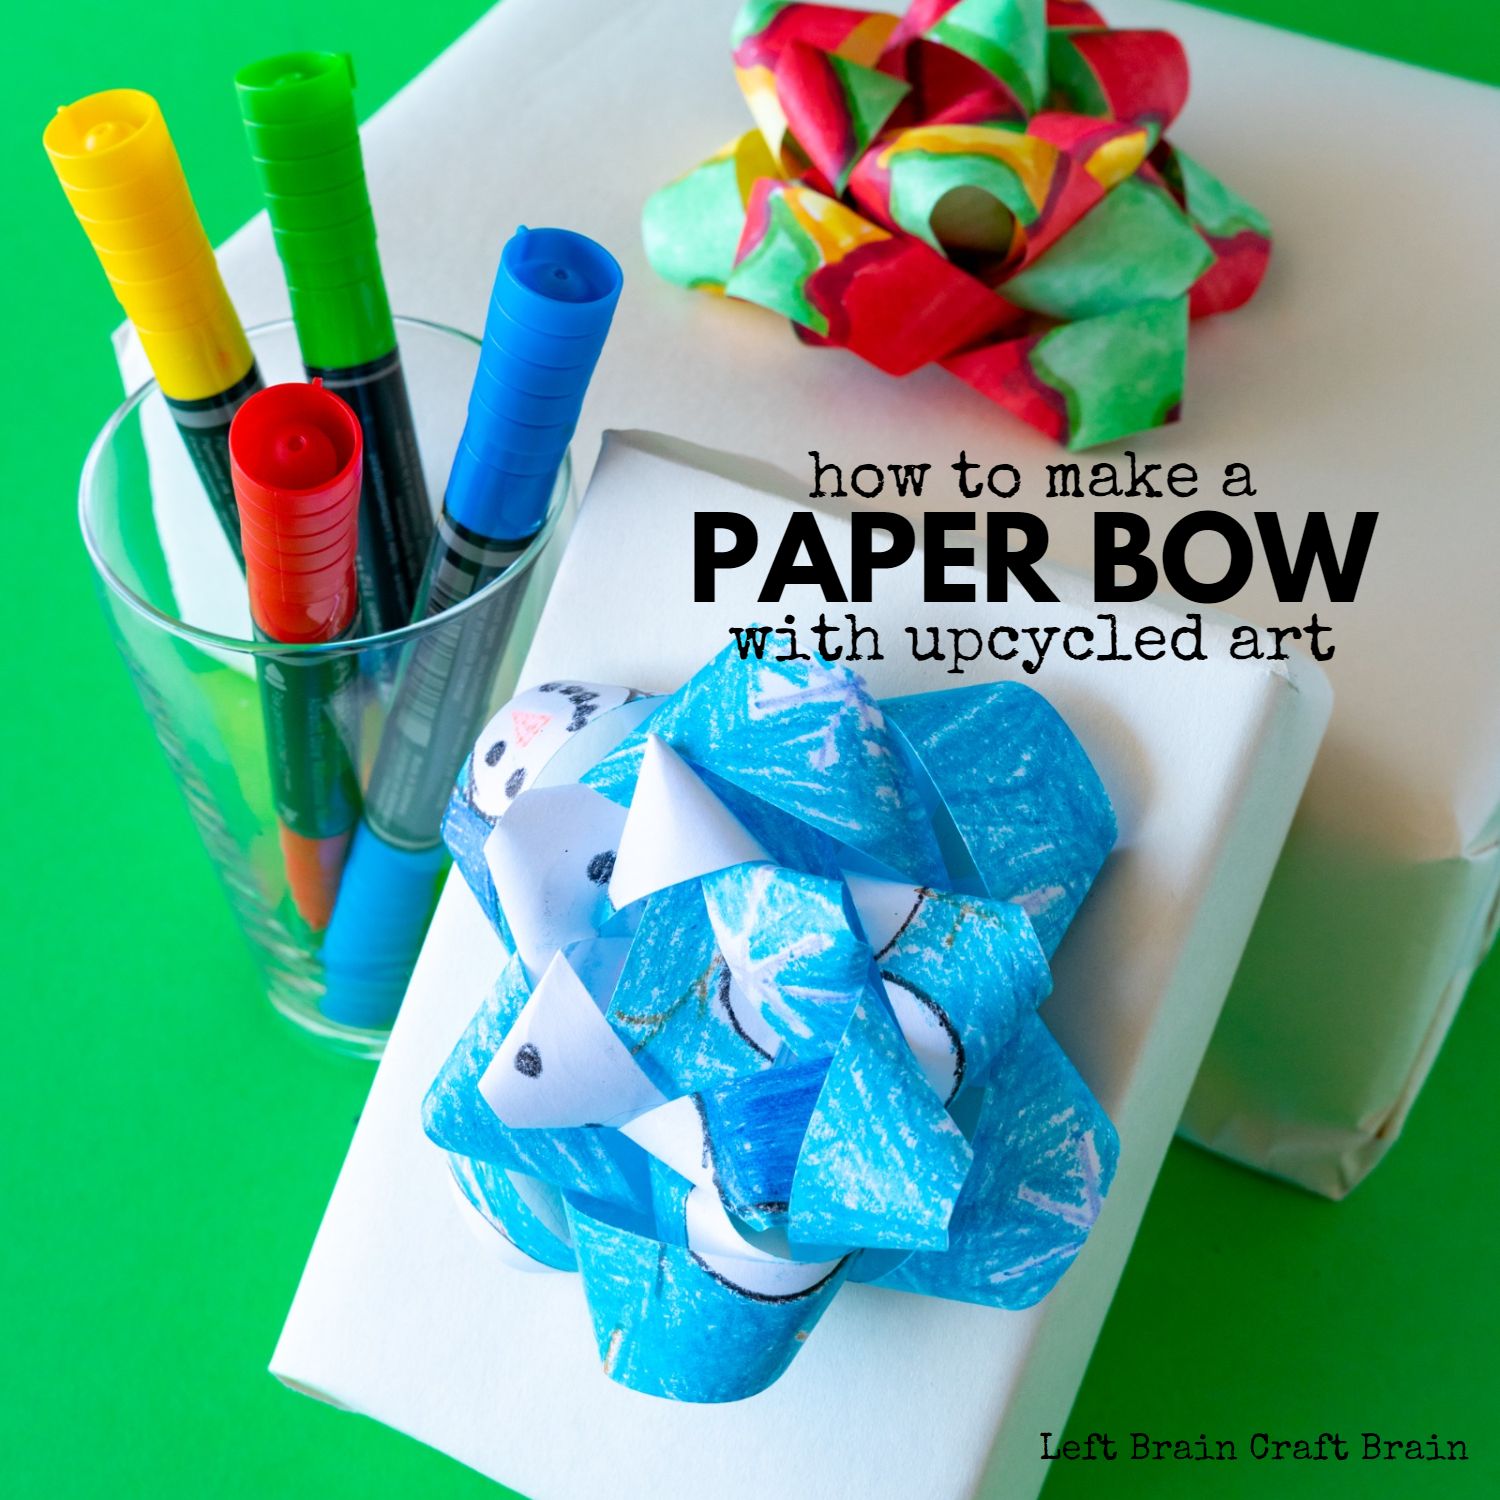
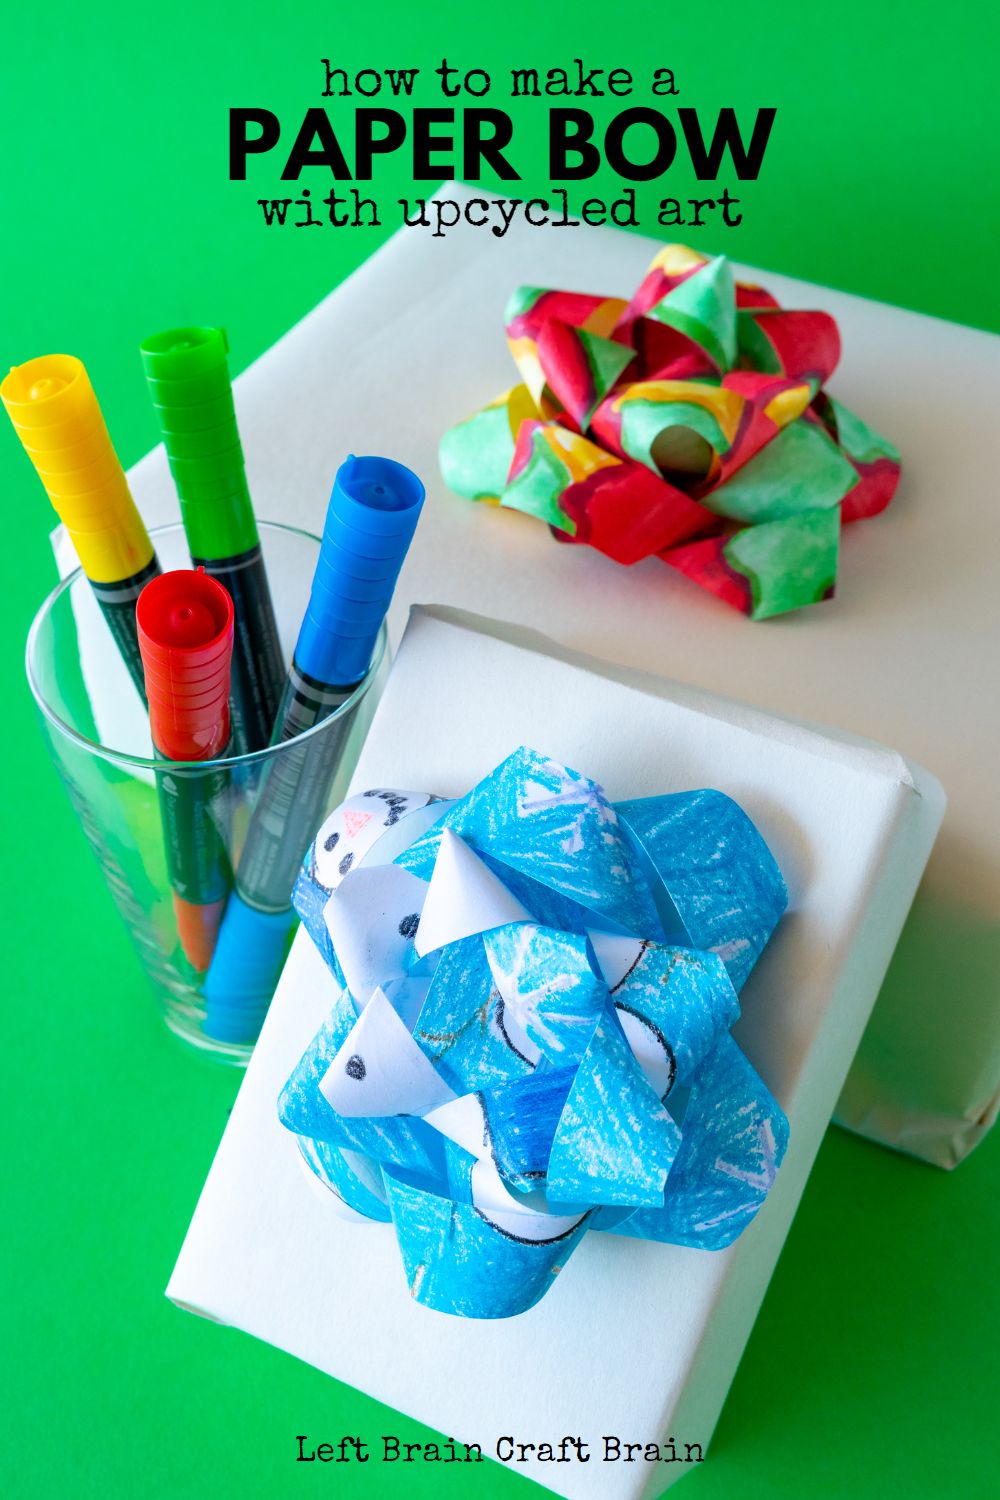
Looking for a way to make a gift extra special? Make the wrapping special by making a Paper Bow with Upcycled Art! We’ll show you all the easy steps to turn your child’s artwork into a gift-topping bow that will wow. These steps work well with gift wrap, too!
Please note, as an Amazon Associate, I earn from qualifying purchases.
Gift Wrap History
Wrapping paper has a long history in the world… About as long as the history of paper! Wrapping paper was first documented in ancient China, the birthplace of paper. Chinese royalty turned the paper into gift envelopes used to wrap gifts of money for officials who worked in the government. Japanese used furoshiki, fabric cloth wraps for presents, too.
Wrapping paper as we know it happened because two owners of a stationary store ran out of tissue paper. They labeled some fancy paper they normally used for envelope liners as wrapping paper instead. Thanks to this innovative accident and their selection of cards, Hallmark became the dominant stationary company in the U.S.
Get a Printable Set of Instructions for This Project
To make it easier for you, we’ve pulled together printable instructions for this project (it’s a sneak peek of our STEAM Explorers Christmas ebook). Simply fill out the information below and the printable will be emailed to you.

FREE! UPCYCLED ART
PAPER BOW INSTRUCTIONS
Paper Bow Supplies Needed
You only need a few simple supplies to make a stunning bow for your next present. A couple of tips… If the artwork is precious, be sure to make a scanned copy of it before cutting it into pieces. Also, a paper cutter makes quick work of making paper strips. I’ve linked to one of my favorites below.

- Artwork created on paper or cardstock at least 8 1/2” x 11” (1 piece per bow)
- Scanner (or camera phone) and printer (optional)
- Ruler
- Pencil
- Scissors or paper cutter
- Double-sided tape
How to Cut the Artwork for the Paper Bow
- If the artwork is precious or important, first scan or photograph the artwork and print the image on copyweight paper. You’ll use the copy for the bow, not the original. If the artwork isn’t important to the owner, use the original.
- Measure and cut the following strips of paper from the artwork:
- 3 – 11” x 3/4” strips
- 3 – 9” x 3/4” strips
- 2 – 7” x 3/4” strips
- 1 – 3 1/2” x 3/4” strip


How to Assemble a Paper Bow
- Hold one of the 11” strips in your hands with the patterned side down. Gently fold one end over onto the center to make a loop. Then flip the end so that the patterned side is against the blank side of the loop. Tape the end in place with double-sided tape.
- Repeat step 1 with the other end of the strip.
- Repeat steps 1 and 2 with the other two 11” strips.

- Stack the three looped pieces together so that the loops are equally spread apart. Tape between each layer with double-sided tape.

- Repeat steps 1-4 with the 9” strips.

- Place a piece of double-sided tape inside the middle of the 11” set of loops. Stack the 9” set of loops on top of the 11” loops so that the loops alternate and press to secure.

- Repeat steps 1 and 2 with the two 7” strips.
- Place a piece of double-sided tape inside the 9” set of loops. Stack and cross the two 7” loops on top of the 9” loops in the bow, placing them in any openings to make the bow full.
- Fold the 3 1/2” strip into a single loop shaped like a ring. Tape with double-sided tape to secure.

- Place a piece of double-sided tape inside the center of the bow. Stack the ring-shaped loop from step 9 in the middle of the bow to fill the gap and press to secure.
- Attach the bow to a present with a piece of double-sided tape on the underside of the bow.

How to Wrap a Present
We think of wrapping presents as a valuable life skill that kids should learn early. They know the joy of unwrapping and love seeing the smile on people’s faces when they unwrap a gift. Here’s a helpful graphic on how to wrap a present.

More Holiday Activities for Kids
Looking for some more holiday inspiration that use can use right now? Instant gratification style? These upcycled art bows are a sneak peek into the STEAM Explorers Christmas Activity Pack! You can have fun exploring the wonders of Christmas through hands-on science, technology, engineering, art, and math with this STEAM Explorers ebook. And your holiday activity plan is done for you!
The kids will love building a North Pole machine, making catapults with leftover gift wrap, exploring Christmas tree science, snacking on peppermint marshmallows, and so much more! You’ll love the helpful standards-based learning, printables, and tools that make STEAM (science, technology, engineering, art, & math) exploration easy!


FREE! UPCYCLED ART
PAPER BOW INSTRUCTIONS