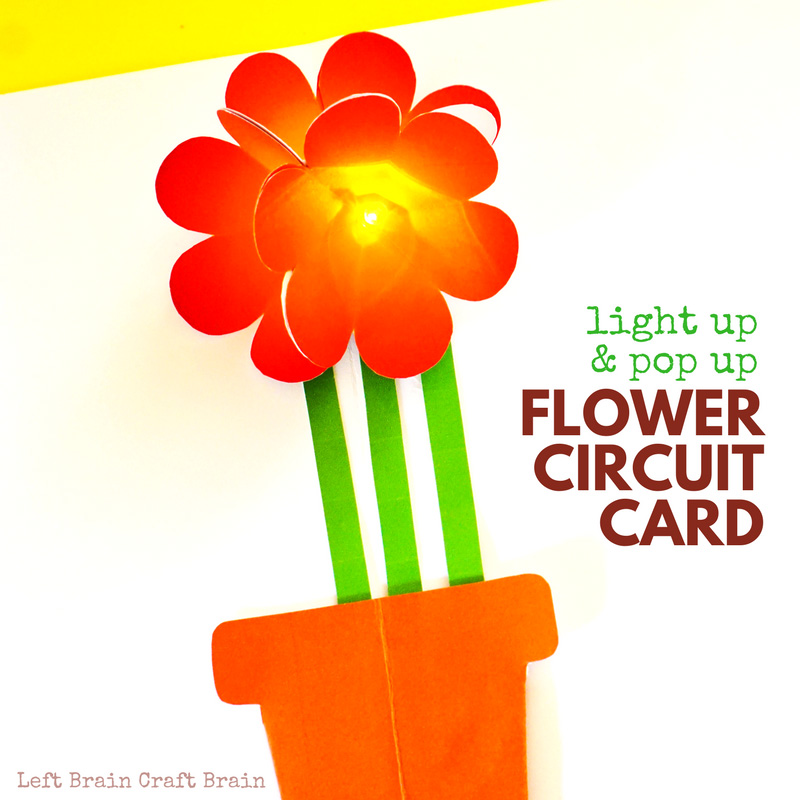
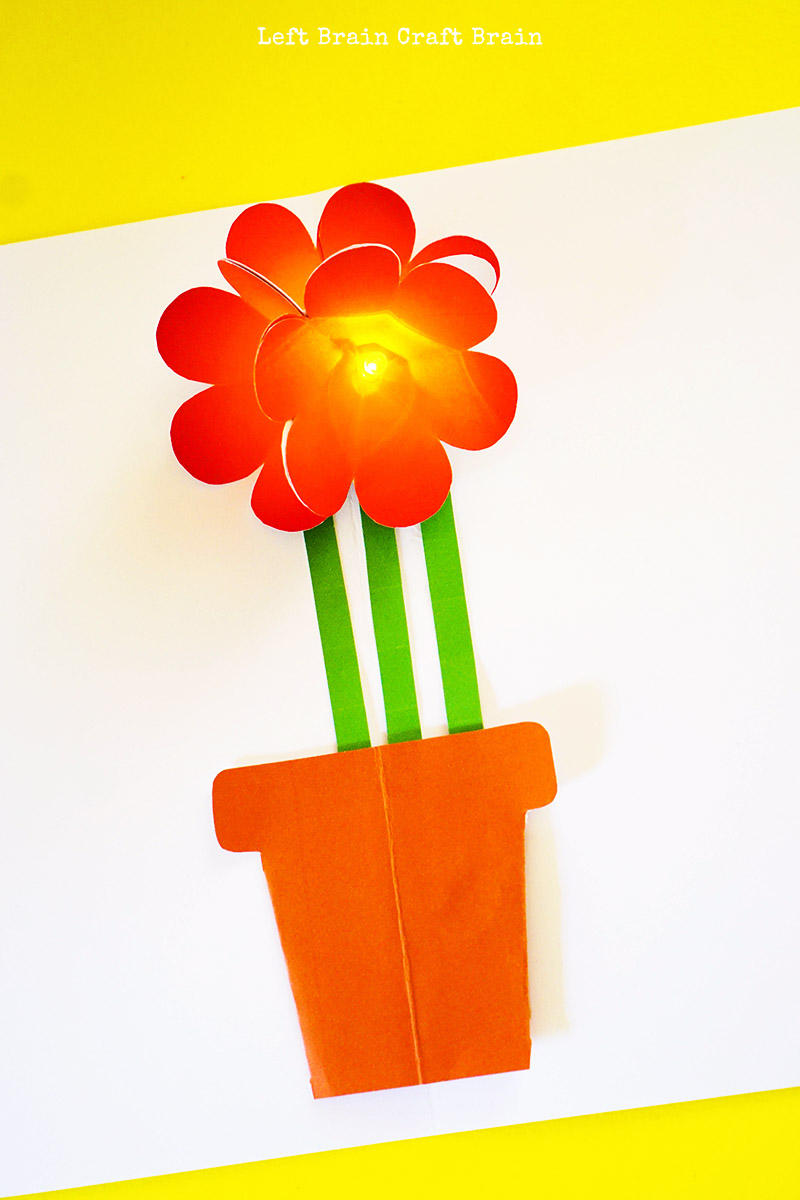
Springtime… It means fun things like flowers and bugs and Mother’s Day. It also means cool flower-themed projects around here. Like this Light Up & Pop Up Flower Circuit Card. You can bring STEM learning into a cool creative project by building this card. It also means it’s time to book some camps for the kids, so I’ve partnered with iD Tech Camps to bring you this awesome circuit card tutorial.
This post contains affiliate links. As an Amazon Associate I earn from qualifying purchases.
We’ve created a helpful template for you so you can get your flower popping up and lighting up in no time. Simply fill out the form below and the template will be emailed to you.

FREE! LIGHT UP & POP UP
FLOWER CIRCUIT CARD
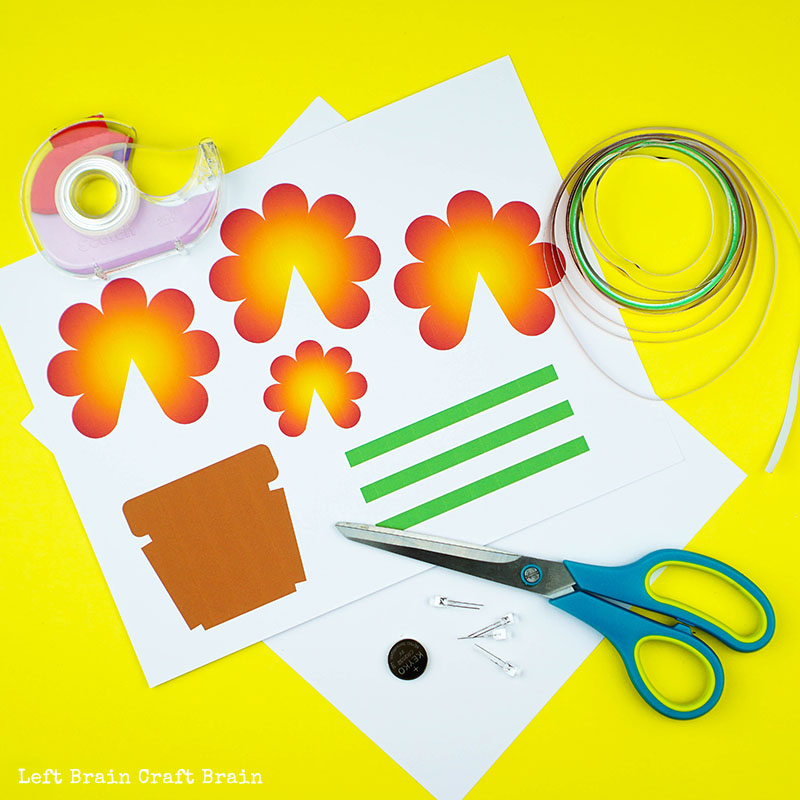
- White cardstock
- 1/4″ copper tape
- CR 2032 coin cell battery
- 5 mm LED bulb
- Double-sided tape or glue stick
- Scissors
- Light Up & Pop Up Flower Circuit Card Printable
SAFETY NOTE: As with all LBCB projects, parental supervision is recommended. Please keep coin cell batteries away from children who put non-food items in their mouths. These batteries are very dangerous if swallowed.
Make Your Light Up Pop Flower Circuit Card
- Print out the card template onto white cardstock.
- Cut out flowers, pot, and STEM.
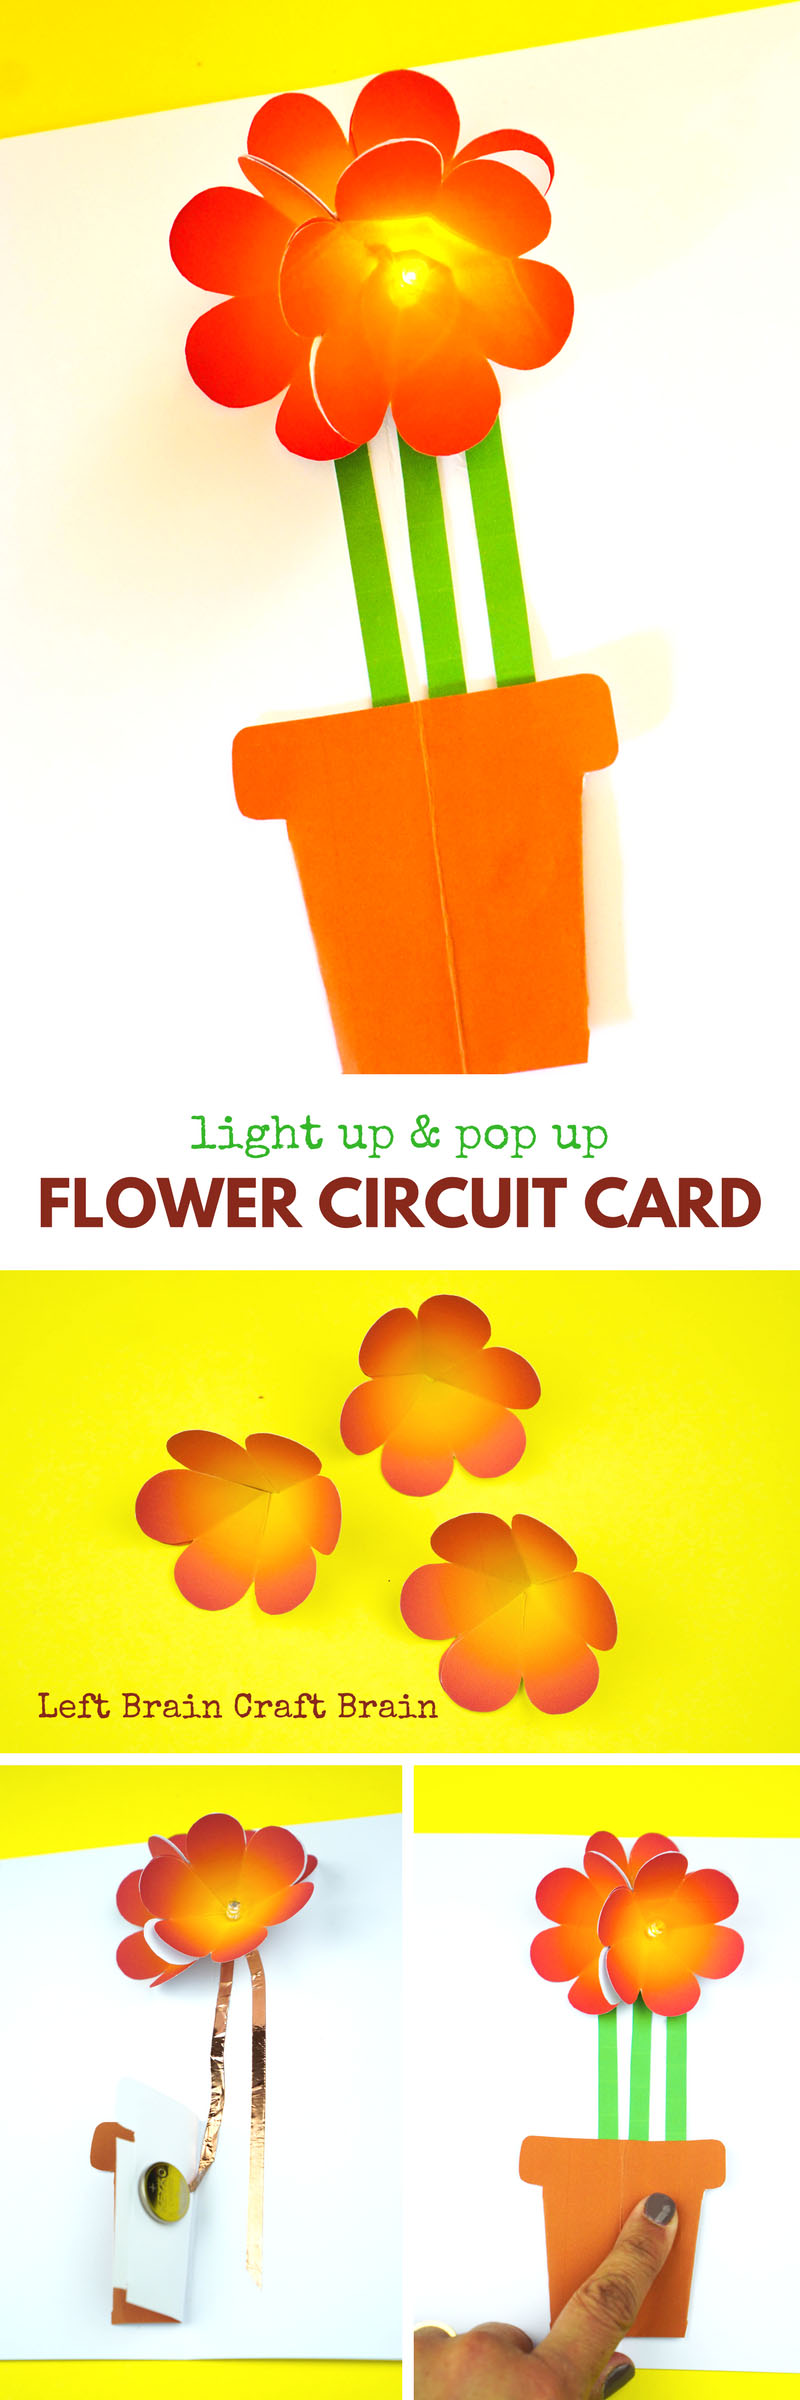
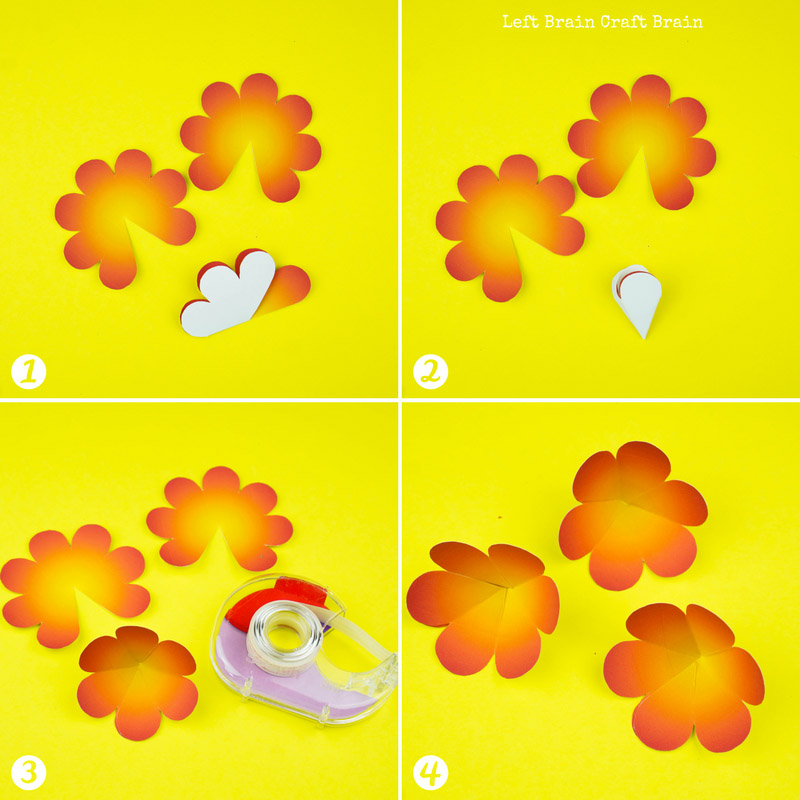
- Make the flowers:
- Fold flower in half, leaving one petal uncovered.
- Continue to fold the flower along the petal lines so it looks like you only have one petal.
- Using double-sided tape or a glue stick, stick one edge petal to the other petal to close the flower.
- Repeat with other flowers.
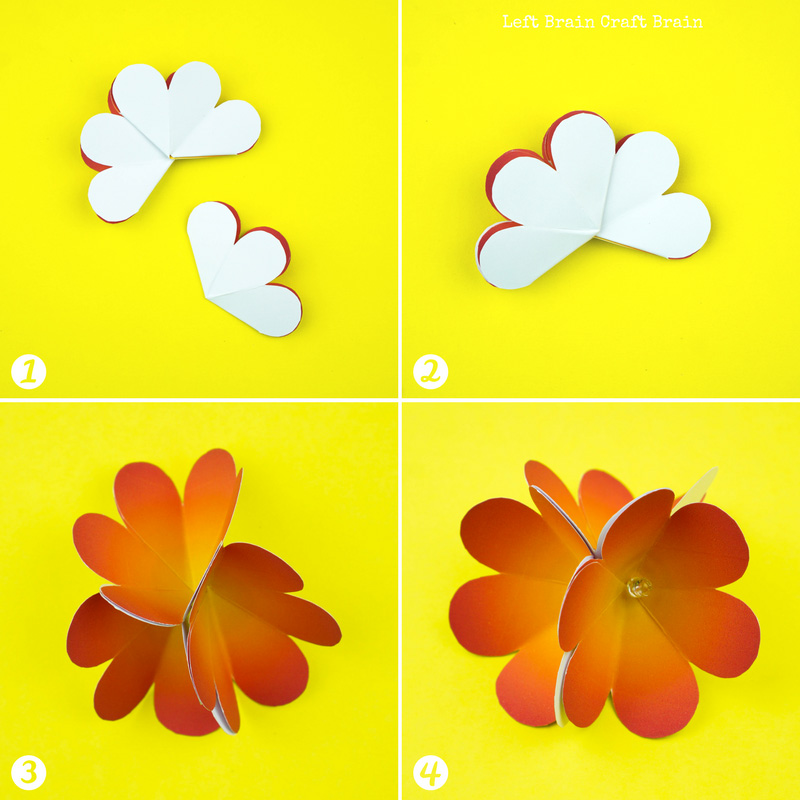
- Connect the flowers:
- Fold each of the flowers in half. Using double-sided tape or a glue stick, stick the right-most petal of flower #2 to the left-most petal of flower #1.
- Stick the right-most petal of flower #3 to the left-most petal of flower #2.
- Open flowers. They should look like this. If not, check that you’ve taped in the right spots.
- Insert your LED into the center hole of the right-hand flower.
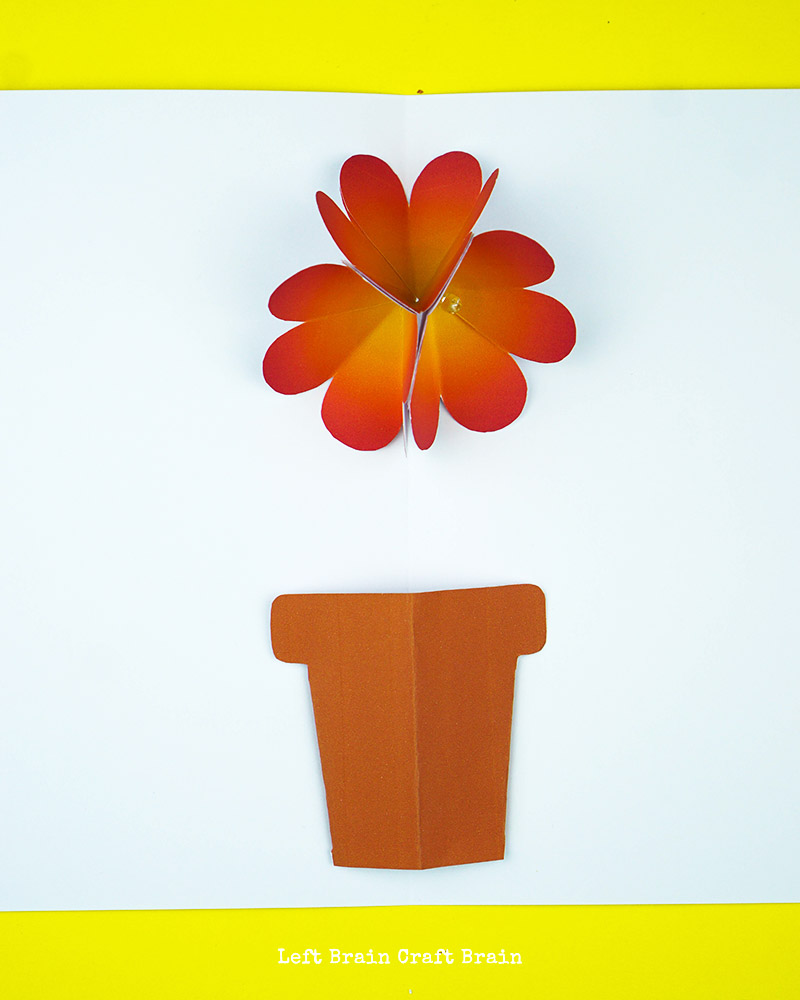
- Set up the card:
- Grab another piece of white card stock and fold it in half.
- Grab the pot and fold it in half and fold the flaps to the back of the pot. Line up the center fold of the pot with the center fold of the card. Tape the left flap of the pot to the paper with double-sided tape.
- Place the flower trio at the top of the card so that it fits inside when you close it.
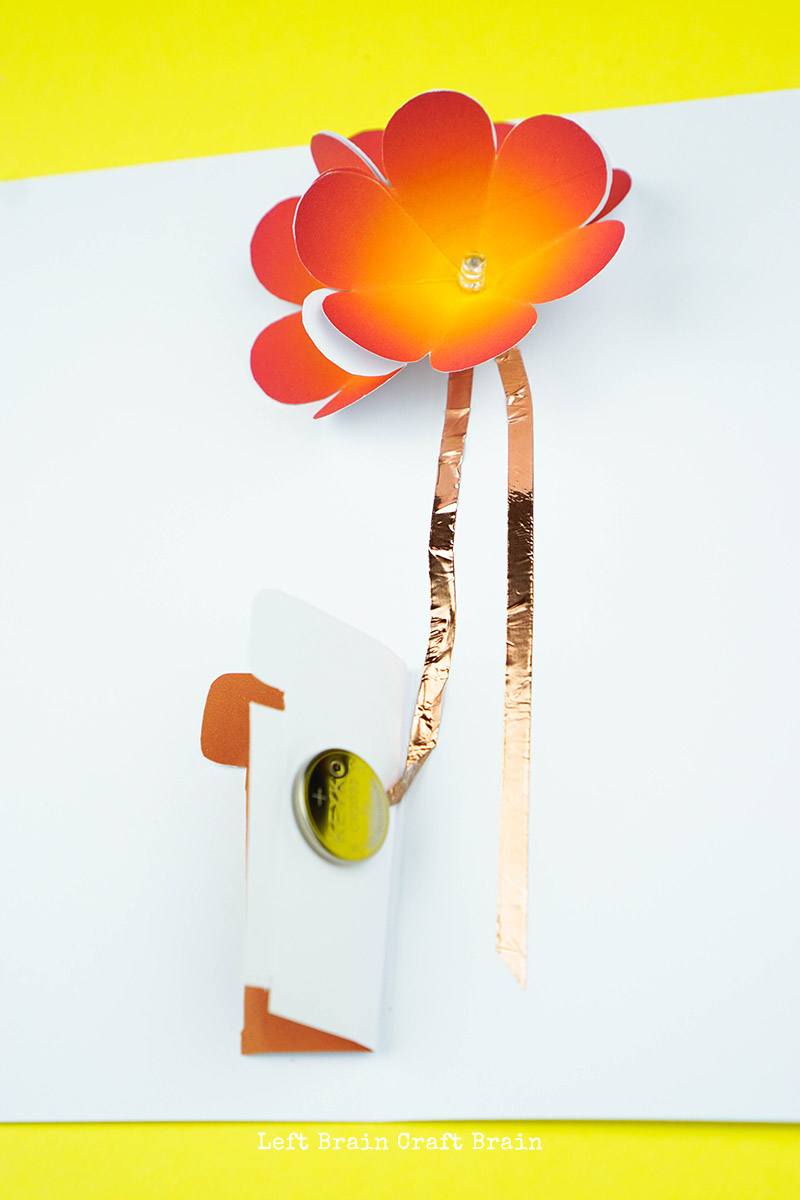
- Build the circuit
- Bend the leads on the underside of the flower so that they can lay flat against the paper.
- Tape the right-hand LED lead with copper tape so that it secures the lead to the paper and travels down to the lower half of the pot.
- Tape the left-hand LED lead with copper tape so that it secures the lead to the paper and travels down to the left side of the back of the pot. Make a turn (making sure the copper tape stays continuous), and stick the battery to the copper tape on the back of the pot.
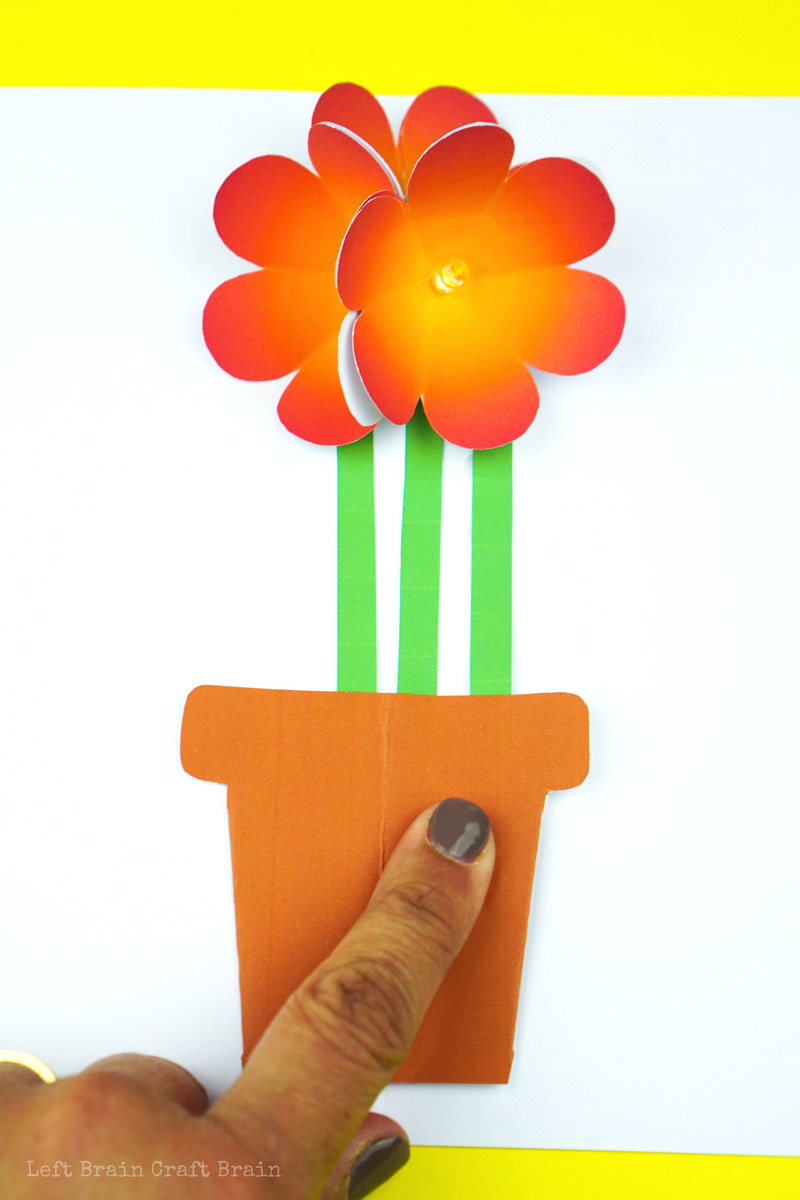
- Close the pot onto the right side of the card and test the circuit by pressing on the battery.
- Finish the card:
- Once you’re sure the circuit works, cover the copper tape with the green stem pieces. Make sure that the pieces only go far enough into the pot so that the ends don’t show but the battery connection isn’t blocked.
- Tape the right flap of the pot to the card.
- Tape two petals of the flower, one on the right and one on the left to the card.
- Give to your favorite person with love!
Troubleshooting
If the LED doesn’t turn on, try flipping the battery over. Also, make sure that the copper tape is continuous from each lead of the LED to the battery and is securely connected to the leads.
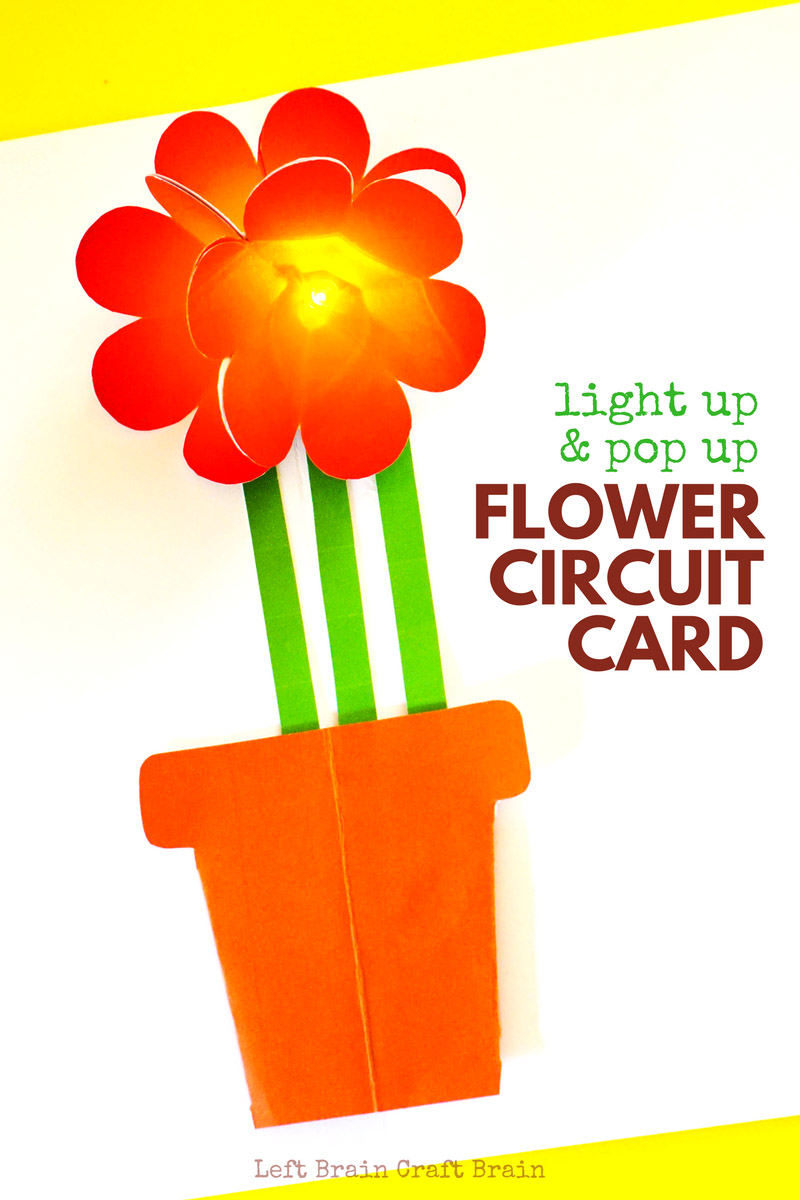
Perfect for Mother’s Day!

More STEAM Fun for Families
Looking for some more STEAM inspiration that you can use right now? Instant gratification style? Check out STEAM Explorers!! The coolest creative experience for kids is here! It's a digital book of the month club filled with tons of fun stuff for the kids to do and learn. All engineer, teacher, and mom-approved. And most definitely KID APPROVED!
What’s included?
- A monthly digital magazine with cool themes that are fun to read
- Hands-on, exciting projects the kids will love.
- Science, tech, engineering, art, and math learning YOU’LL love.
- Delicious recipes the kids can make.
- Fun printables and games
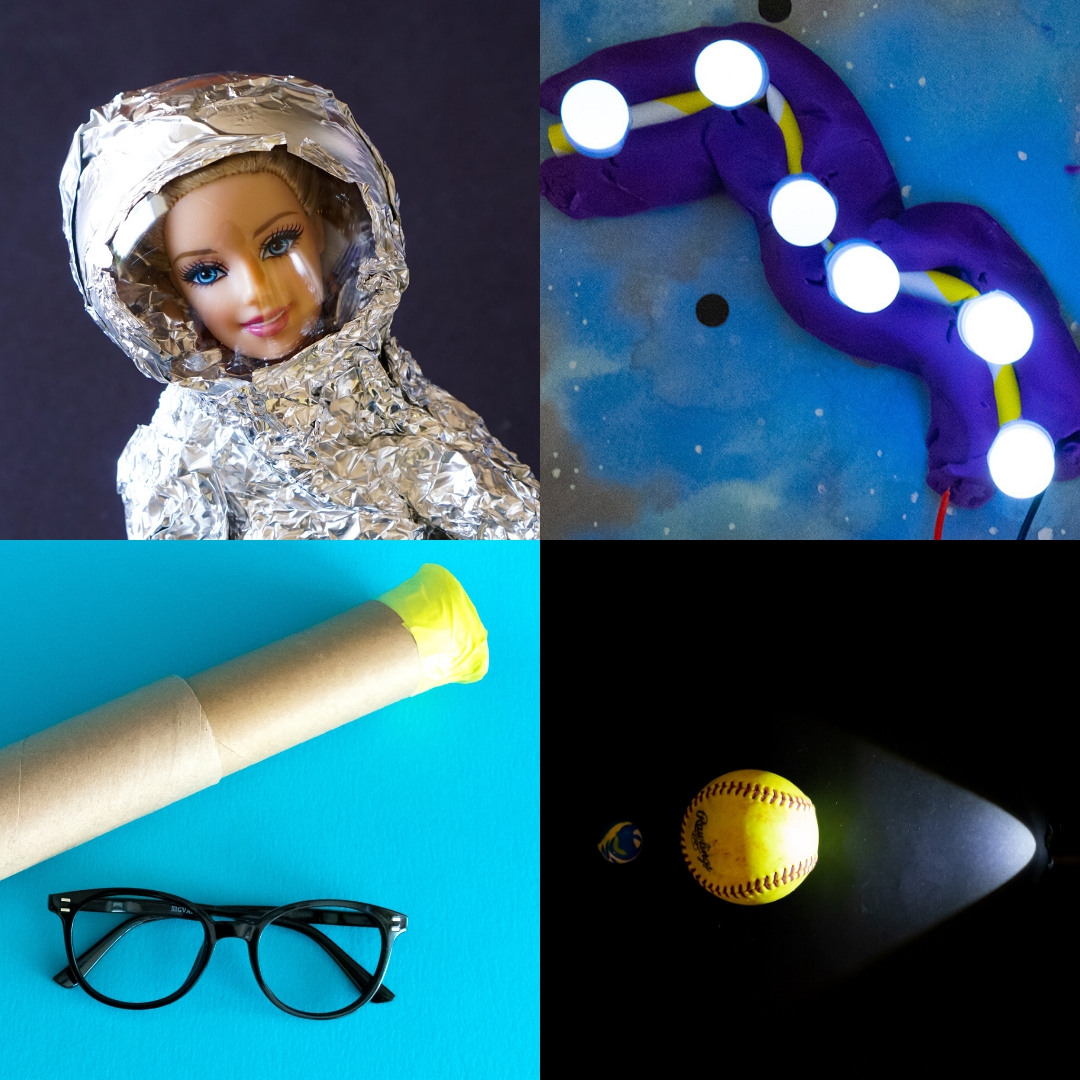
Get ready to have some festive fun in this month's Space issue!
Join us as we explore the weather all around us for the STEAM Explorers Weather EBook Unit Study!! Kids will love creating weather in a jar, capturing the daily forecast in an art journal, and becoming a meteorologist with DIY tools. You'll love the helpful standards-based learning, printables, and tools that make STEAM (science, technology, engineering, art, & math) exploration easy!
We’ve split the STEAM Explorers Space issue into four weekly themes:
WEEK 1: Earth & Moon
WEEK 2: Space Travel
WEEK 3: Solar System
WEEK 4: Starry Skies

FREE! LIGHT UP & POP UP
FLOWER CIRCUIT CARD