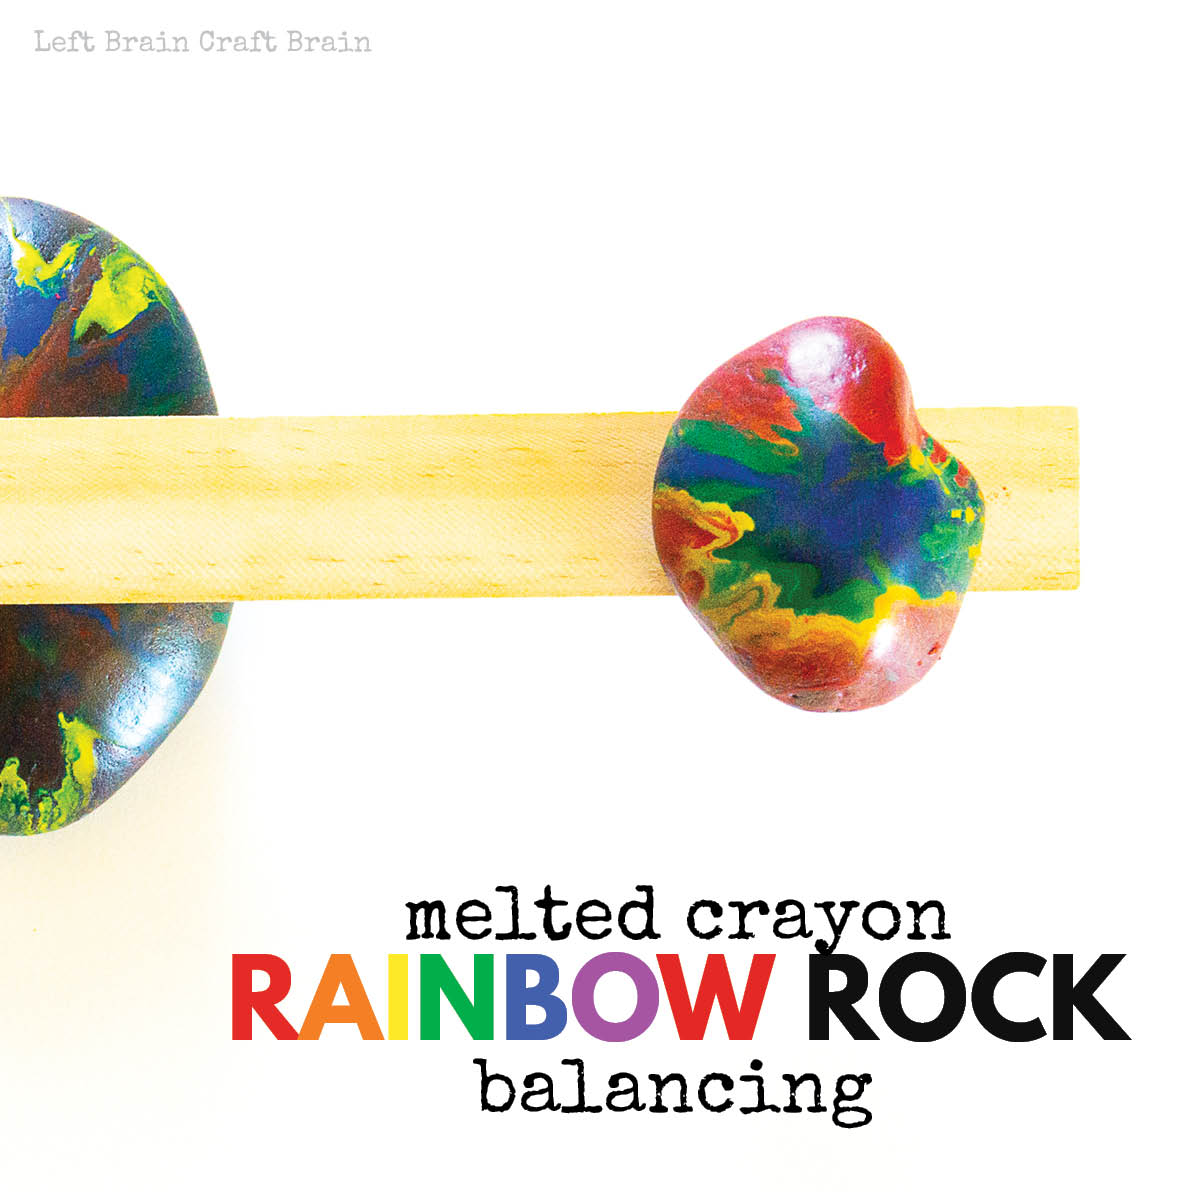
We’re always looking for projects that bring some fun and color to our day. Enter Melted Crayon Rainbow Rock Balancing! It’s a mouthful to say, but it is so fun. And totally therapeutic, too. There’s something really relaxing about watching the crayon wax melt onto the rock into a pool of rainbow! Then, you get to add a really fun challenge that hides some engineering learning, inside, too.
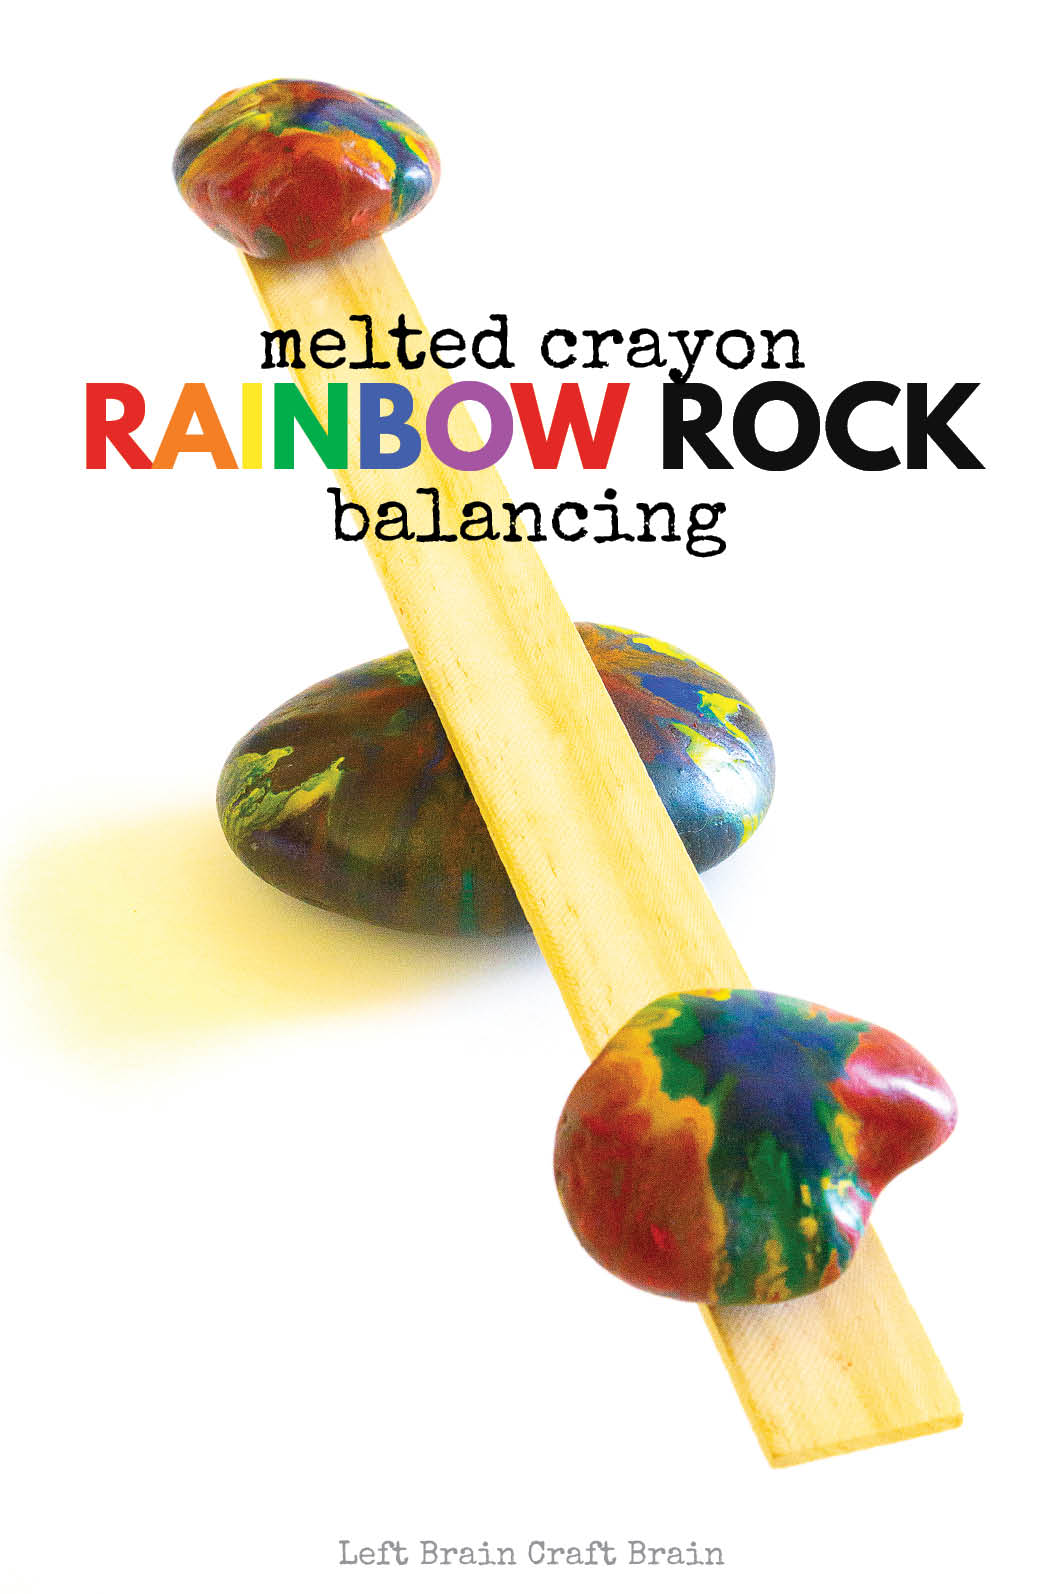
How to Have Fun with Melted Crayon Rainbow Rock Balancing
This project is super flexible. Don’t have time to make some rainbow rocks? Just do the balancing part. Or just feeling a good STEAM project? Just do the rainbow part.
The Science of Rock Balancing
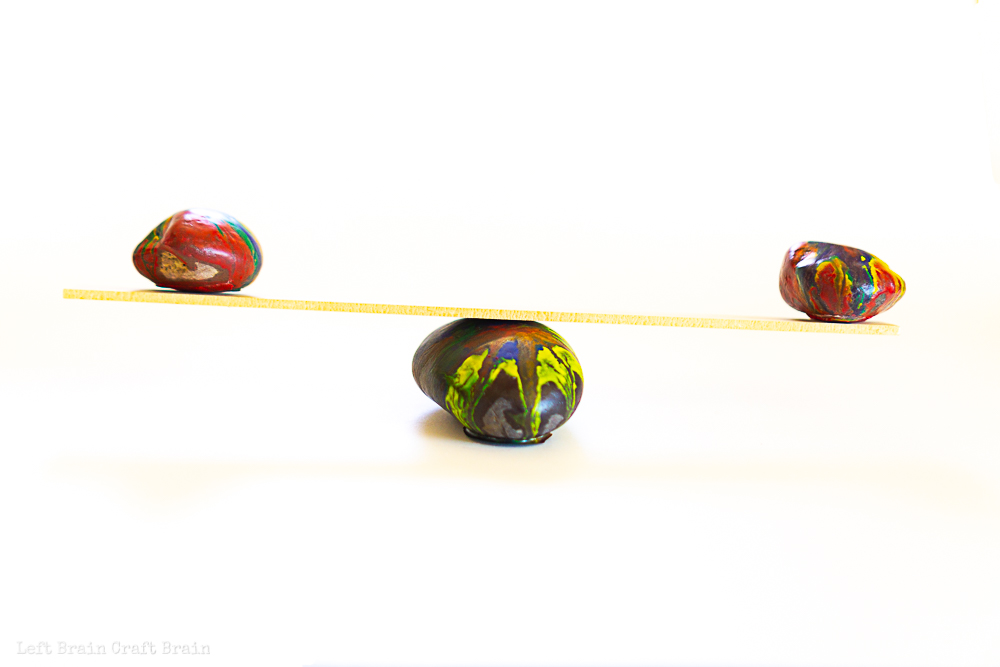
This project showcases a simple machine called a lever. The rock in the middle serves as the fulcrum of the lever.
Balancing rocks requires patience, a steady hand, and knowledge of the center of mass. An object behaves as if its entire mass (the matter it is made of) is focused in the very center of the object, called the center of mass. To balance the rocks, the center of mass on the ruler must be located over the fulcrum, the rock supporting the ruler.
This project also adds some cool science with states of matter, too. Kids will experience crayon wax in both solid and liquid states. And if you light a candle while crafting, you can experience wax in its gas state, too!
How to Balance Rocks
Balancing rocks starts with just exploring! Grab a paint stick or ruler and some rocks and see what happens…
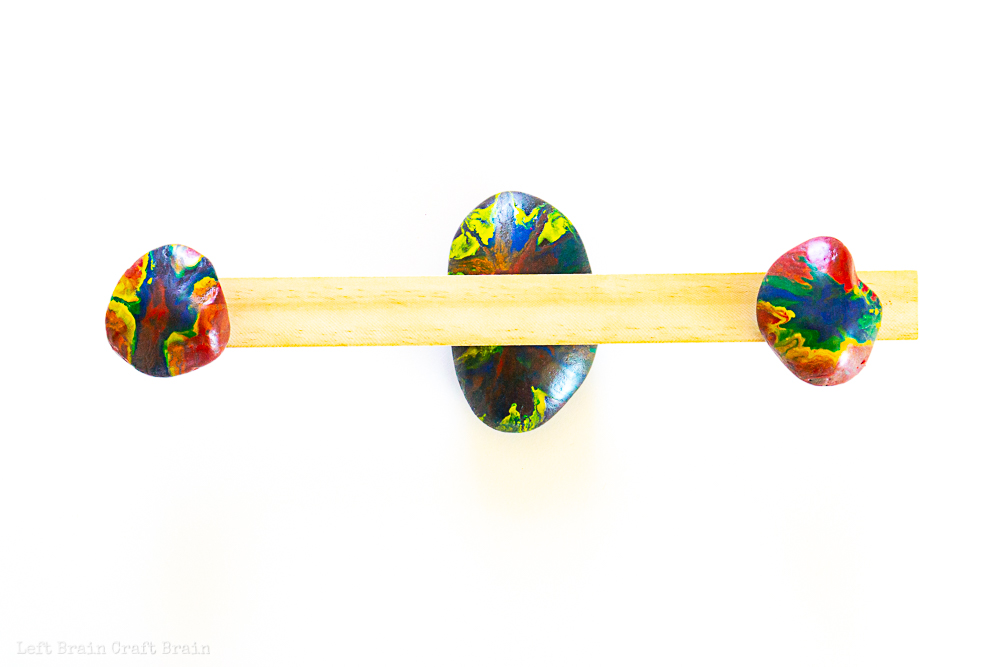
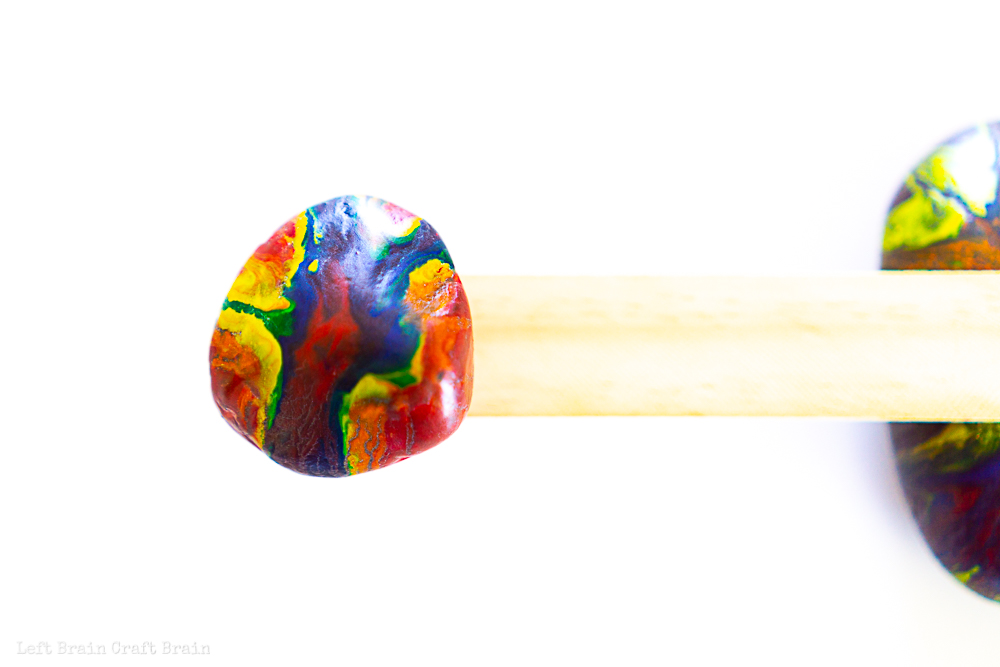
- Pick one rock and balance the ruler or paint stir stick across the center of it. Can you make it level?
- Grab another rock and place it on one end of the ruler.
- Now for the tricky part! Grab another rock of similar size to the last rock and try to balance it on the other end of the ruler.
- Try balancing rocks of different sizes by changing their placement on the ruler. Do heavier rocks need to go closer to the fulcrum or further away?
Melted Crayon Rainbow Rock Balancing Supplies Needed
- Rocks of different sizes (smooth ones work best)
- Crayons
- Cookie sheet
- Parchment paper or aluminum foil
- Oven mitt
- Tongs or spoon
- Oven (you can use a candle warmer if an oven isn’t available)
- Mod Podge Outdoor or other sealer (optional)
- Strong ruler or paint stick
Melted Crayon Rock Safety
Adult supervision required during this project as hot crayon wax, hot rocks, and an oven or candle warmer can burn.
Make the Melted Crayon Rainbow Rocks – Oven Method
- Preheat oven to 300 °F.
- Line a baking sheet with parchment paper or aluminum foil and place rocks on the sheet with the side you want to be rainbow facing up.
- Heat rocks for ten minutes.
- While rocks are in the oven, prepare an area to do the crayon melting with some hot pads and your crayons ready to go. The stovetop is a great place to do this because it’s right on top of the oven and easily cleaned.
- Adults only: Remove rocks from oven and place on the hot pads.
- Gently place your first crayon on a rock and let the heat from the rocks melt it a bit. Then add another color. Watch as this next round of melted wax pushes the first color around the rock.
- This is a great time to think about color mixing! Colors across the color wheel like orange & blue, red & green, and yellow & purple, will get a bit muddy brown when you melt them next to each other.
- Once you have colored your rocks, remove them with the spoon to the lined tray to dry.
- When the rocks are dry, you can seal with a waterproof sealant for outdoor use.
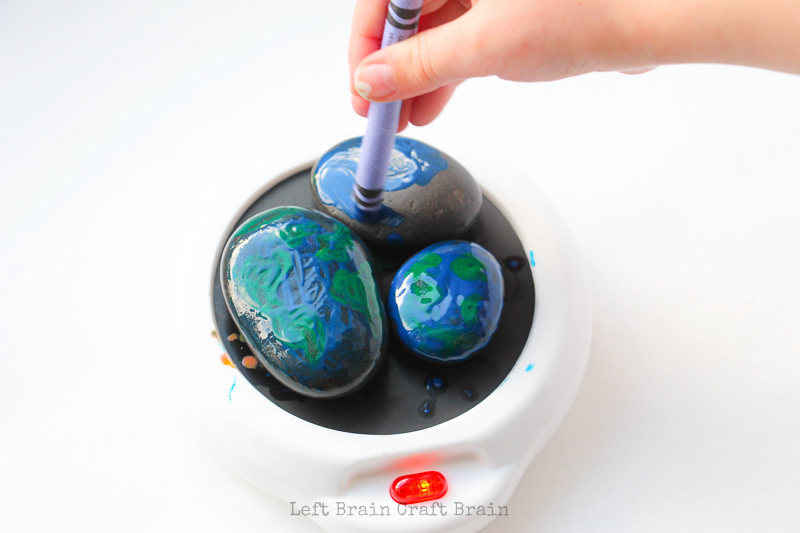
Make the Melted Crayon Rainbow Rocks – Candle Warmer Method
- Line a small tray (any type) with parchment paper or aluminum foil. Set aside.
- Place your candle warmer on a clear surface free of clutter and place the electrical cord out of the way. (While the candle warmer doesn’t get too hot, once we add the rocks and melted crayon wax things could get heated!)
- Place 2-3 rocks on your candle warmer and let heat up for about 5 minutes. (Alternatively, you can use an oven to heat your rocks but the candle warmer doesn’t overheat them as easily.)
- Gently place your first crayon on a rock and let the heat from the rocks melt it a bit. Then add another color. Watch as this next round of melted wax pushes the first around the rock.
- This is a great time to think about color mixing! Colors across the color wheel like orange & blue, red & green, and yellow & purple, will get a bit muddy brown when you melt them next to each other.
- Once you have colored your rocks, remove them with the spoon to the lined tray to dry.
- When the rocks are dry, you can seal with a waterproof sealant for outdoor use.
More Rock Fun!
Kids love rocks!! Here are some more fun ways to play and learn with them and even eat them!
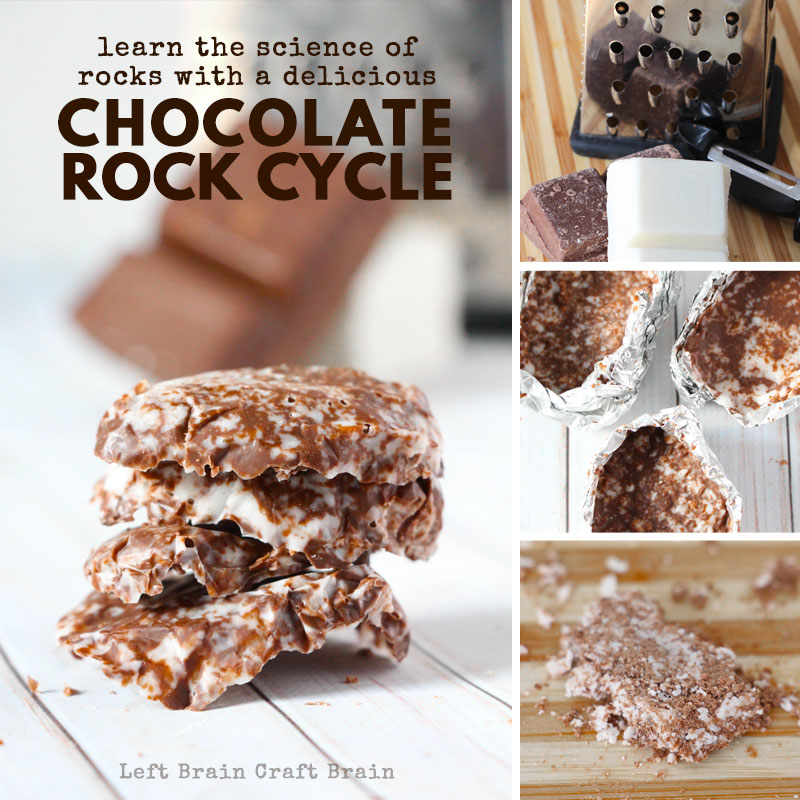
Chocolate Rock Cycle – Igneous, sedimentary, and metamorphic rocks have never been this delicious!
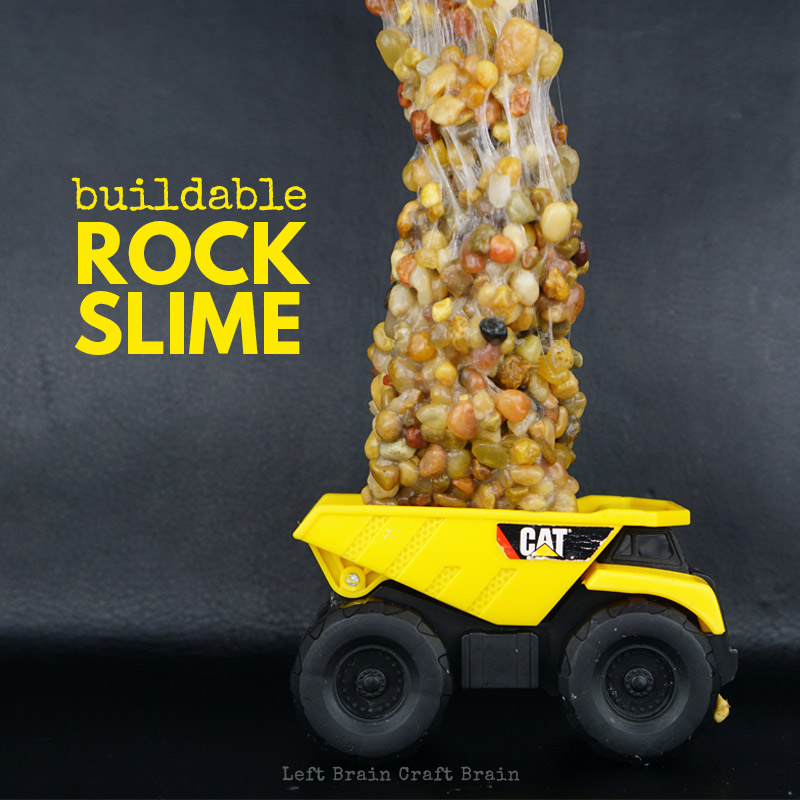
Buildable Rock Slime – It may look funny, but this buildable slime is the coolest thing to play with!
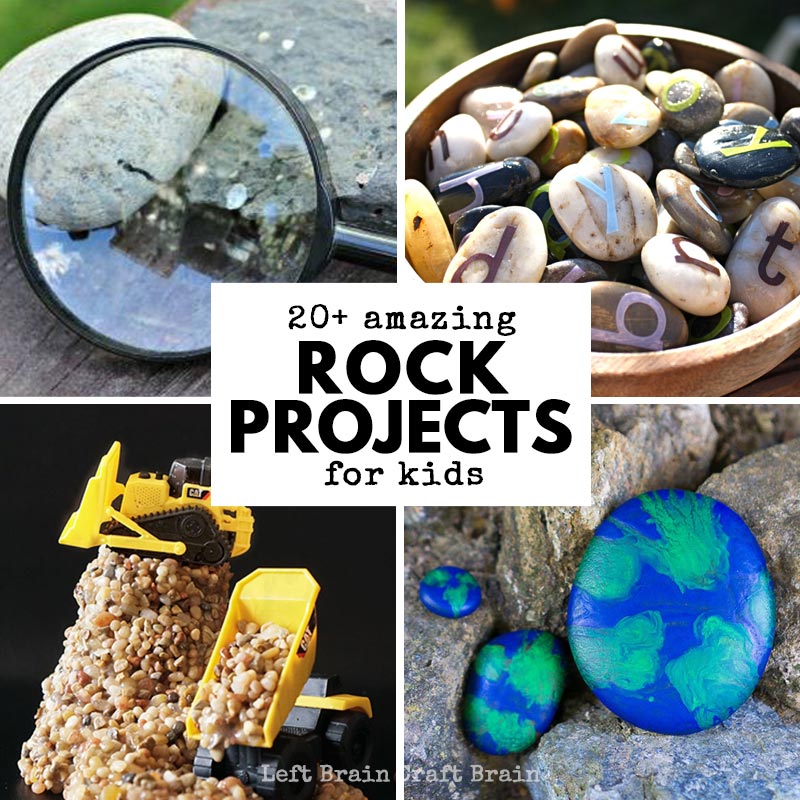
20 Amazing Rock Projects for Kids – Need more ideas? Check out this full list!
These make gorgeous paperweights, garden markers, or attach a magnet to the back with some hot glue for pretty, personalized magnets!
Be ready with new creative projects every month!
Looking for some more STEAM inspiration that you can use right now? Instant gratification style? Check out STEAM Explorers!! The coolest creative experience for kids is here! It's a digital book of the month club filled with tons of fun stuff for the kids to do and learn. All engineer, teacher, and mom-approved. And most definitely KID APPROVED!
What’s included?
- A monthly digital magazine with cool themes that are fun to read
- Hands-on, exciting projects the kids will love.
- Science, tech, engineering, art, and math learning YOU’LL love.
- Delicious recipes the kids can make.
- Fun printables and games
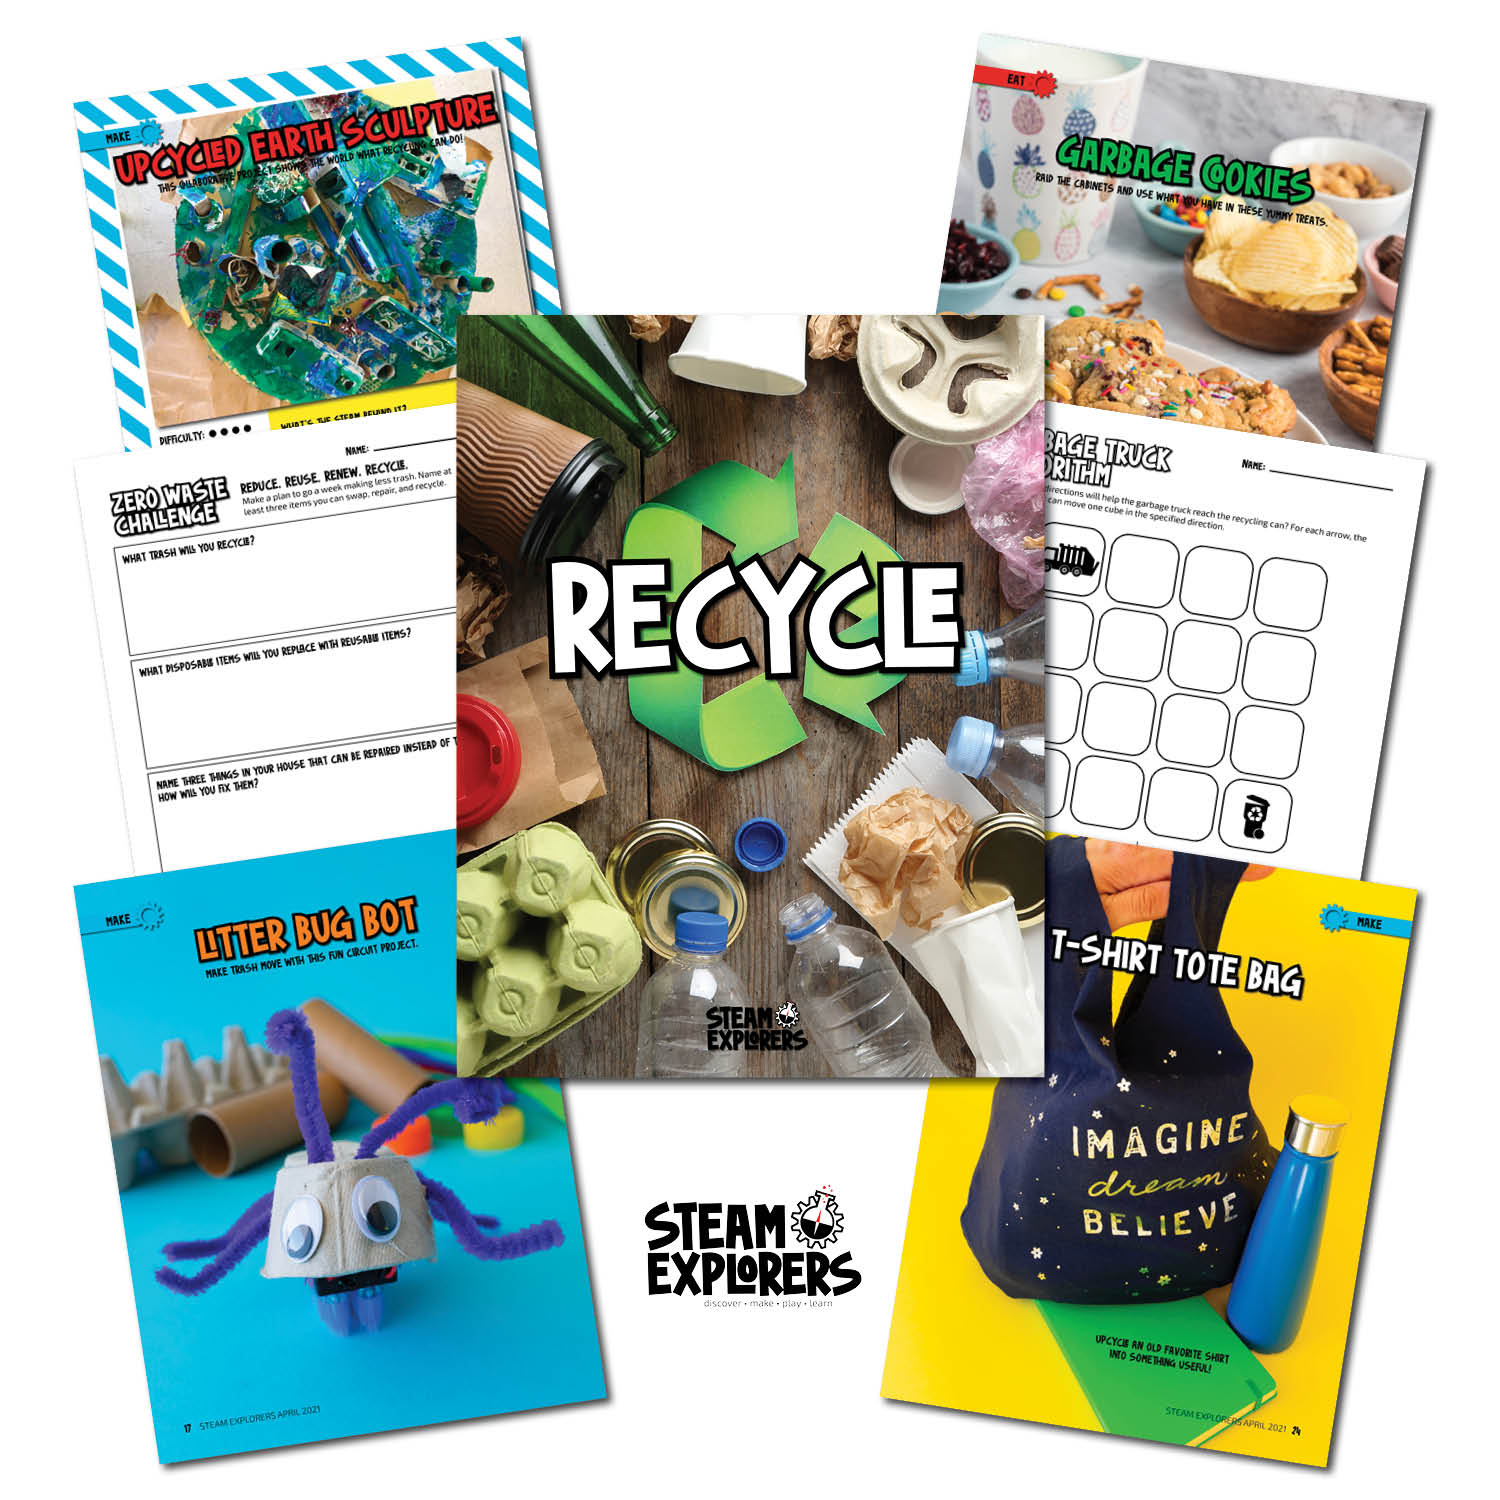
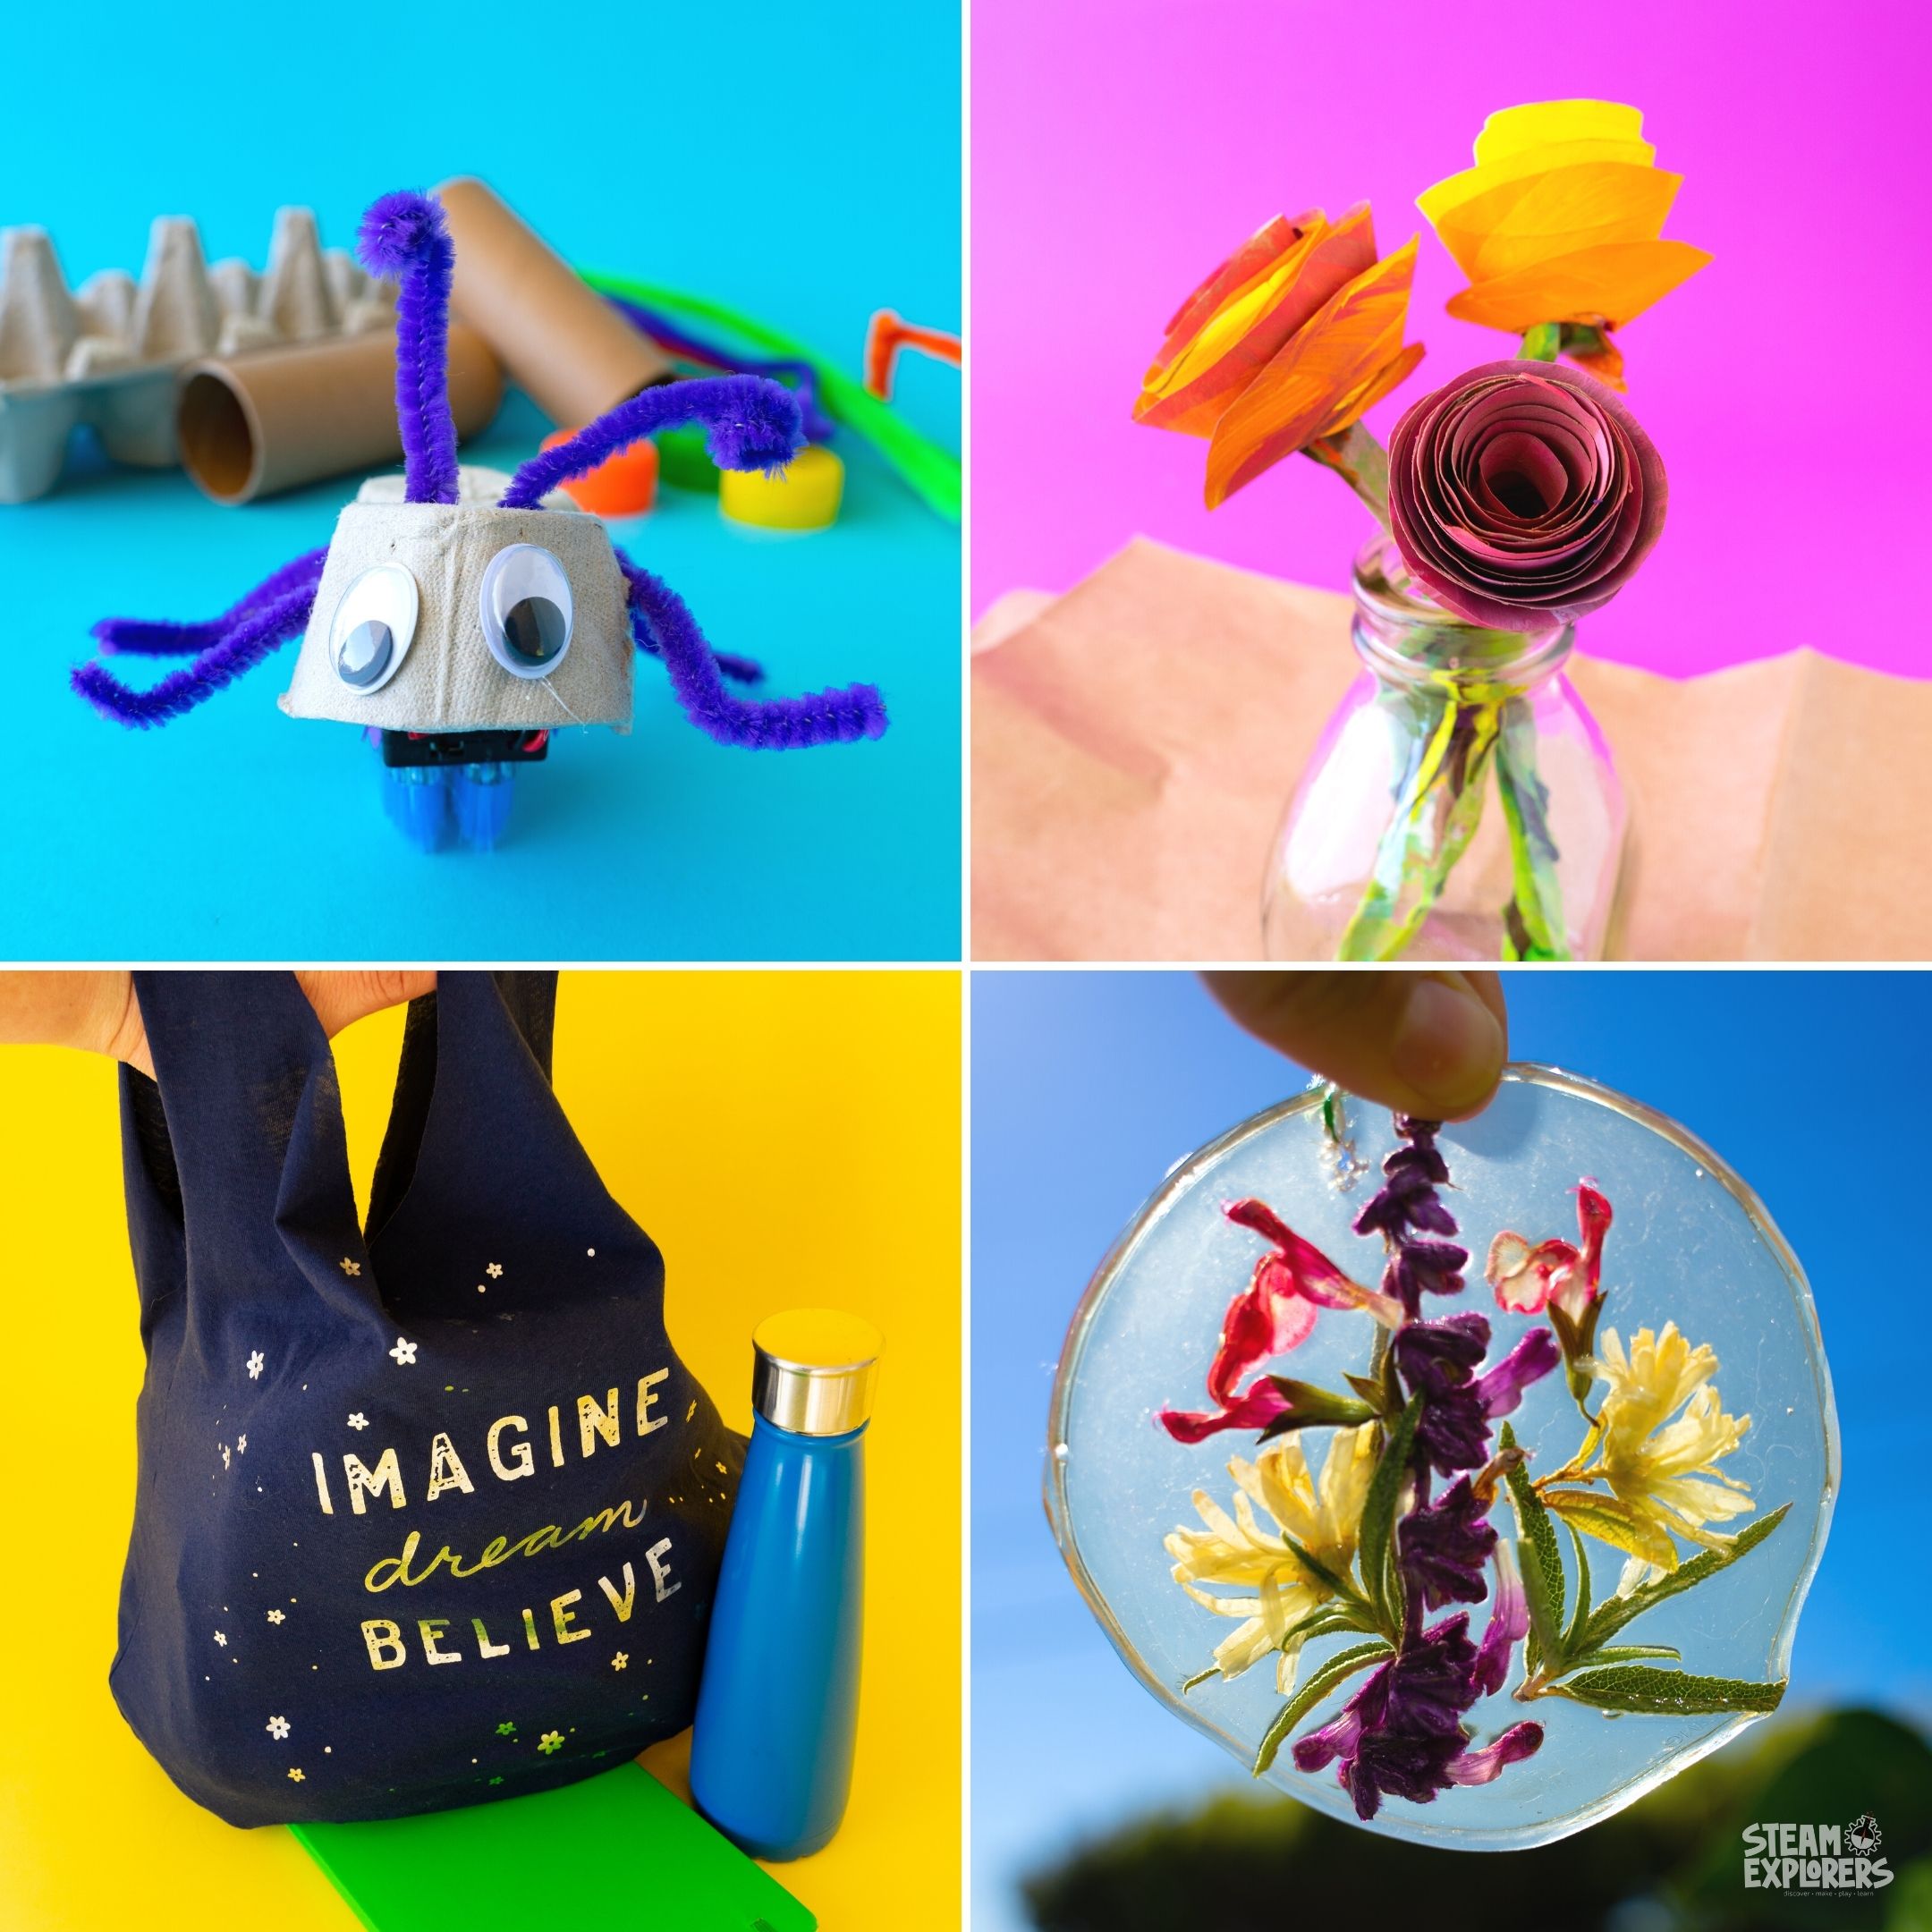
Have fun as we reduce, reuse, renew, and recycle in April with the STEAM Explorers Recycle Issue! The kids will love upcycling old shirts into tote bags, building litter bug bots, making bioplastic, eating garbage cookies, renewing plants, making Earth sculptures, and so much more! You'll love the helpful standards-based learning, printables, and tools that make STEAM (science, technology, engineering, art, & math) exploration easy!
We’ve split the issue into four weekly themes:
- WEEK 1: PAPER POSSIBILITIES
- WEEK 2: TRASH OR TREASURE
- WEEK 3: MATERIAL SWAP
- WEEK 4: NATURE'S RECYCLERS