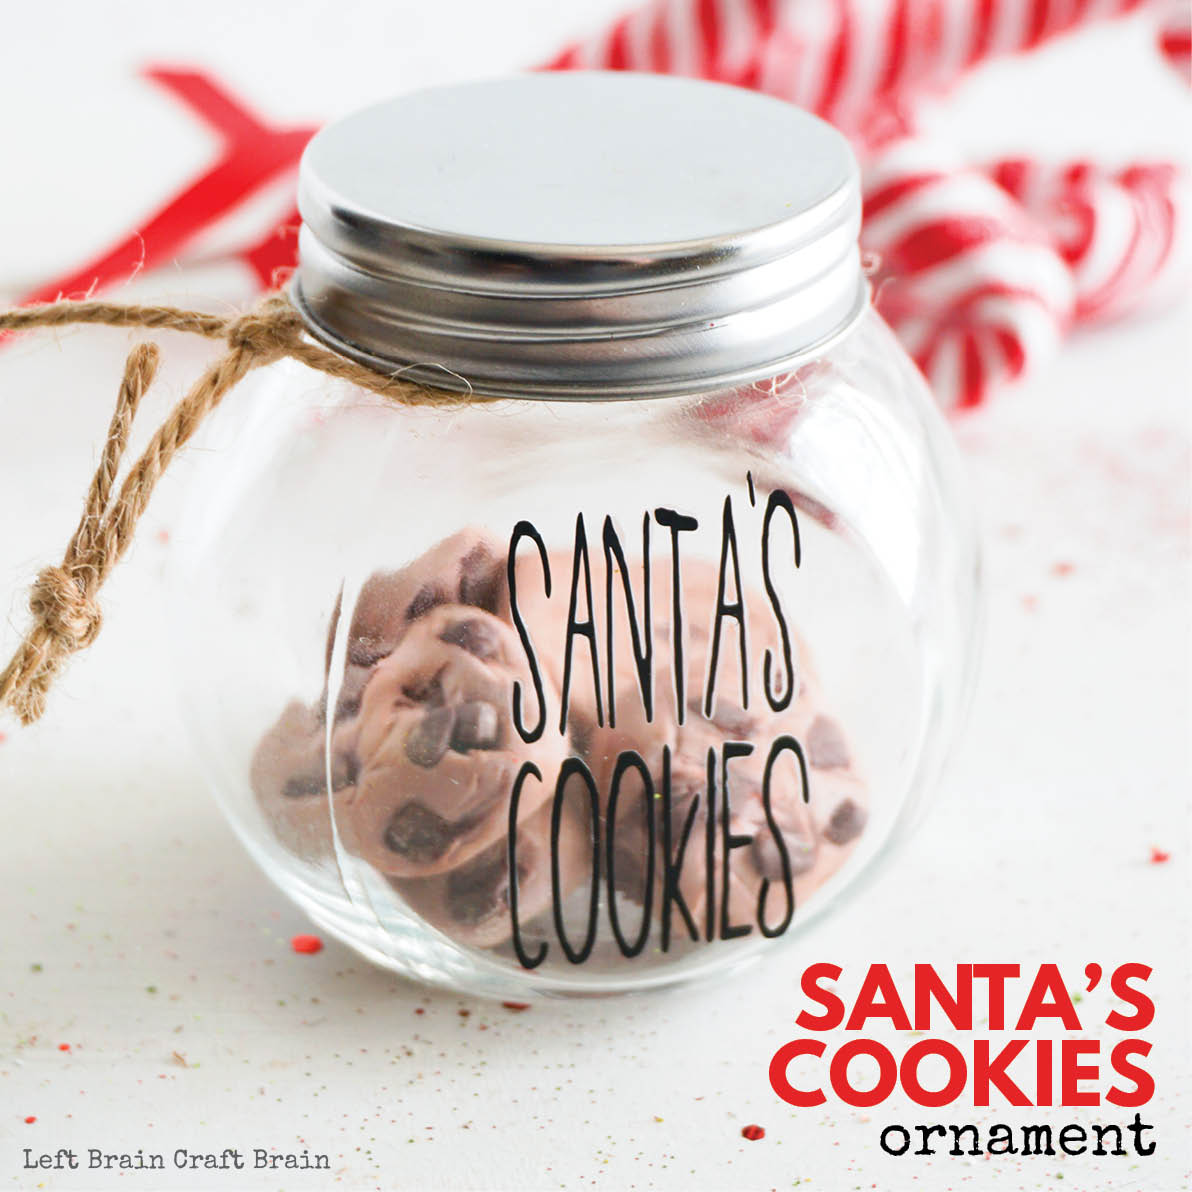
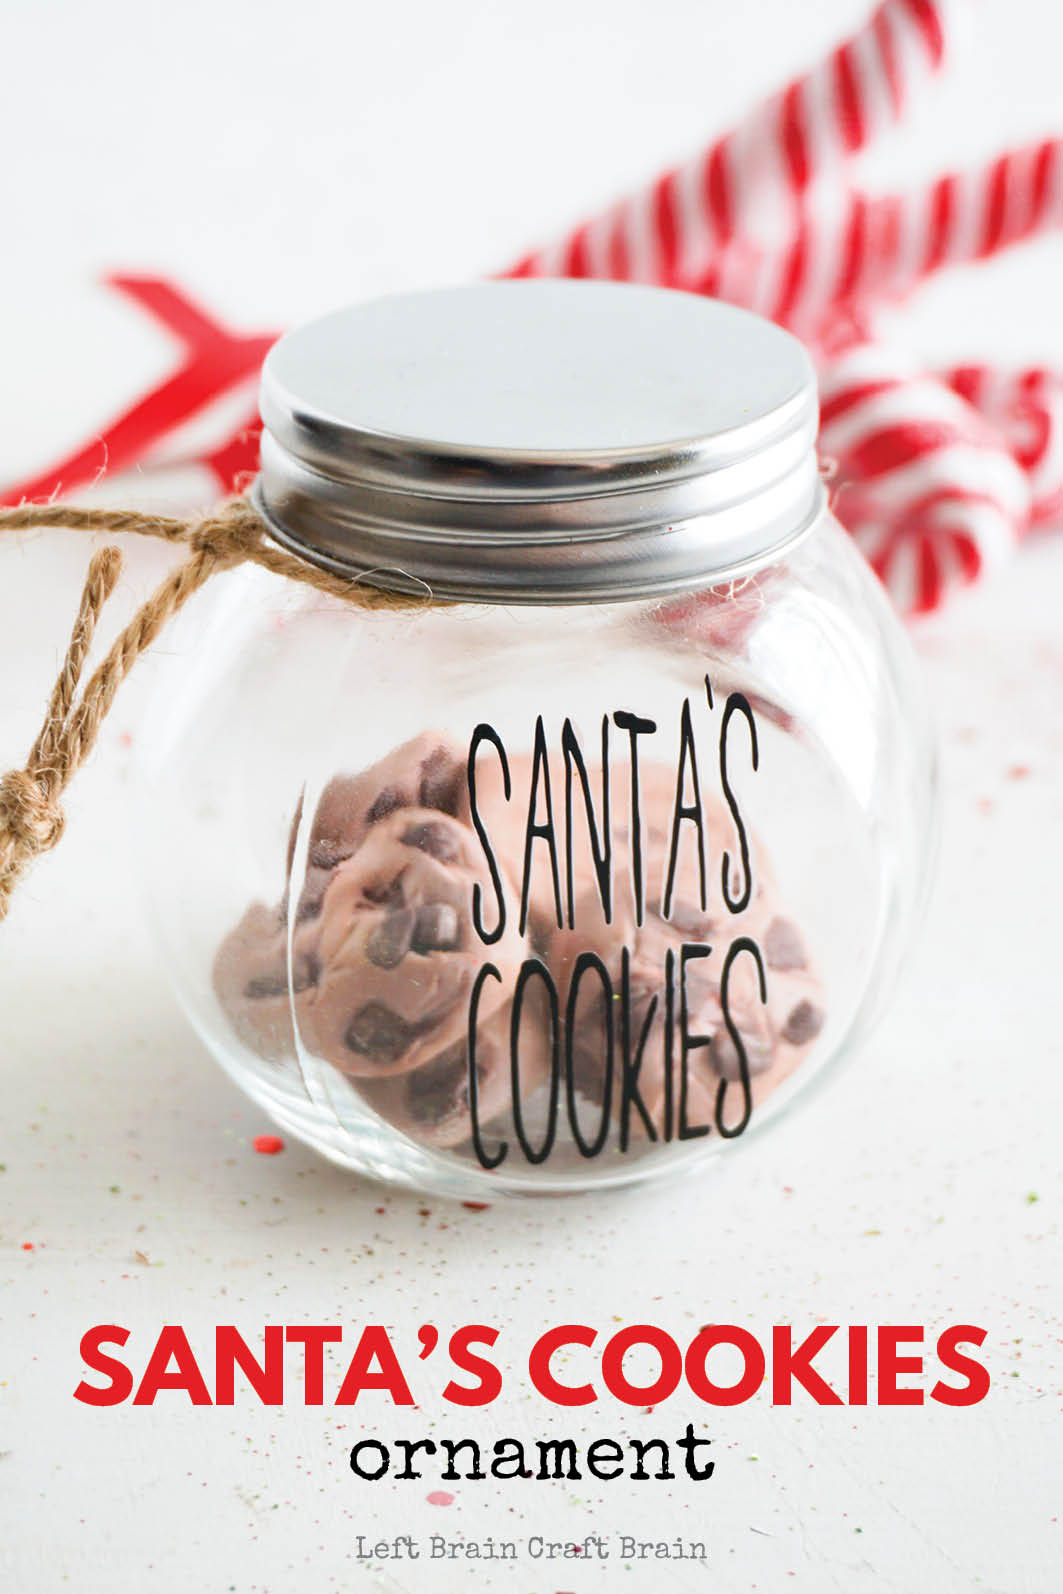
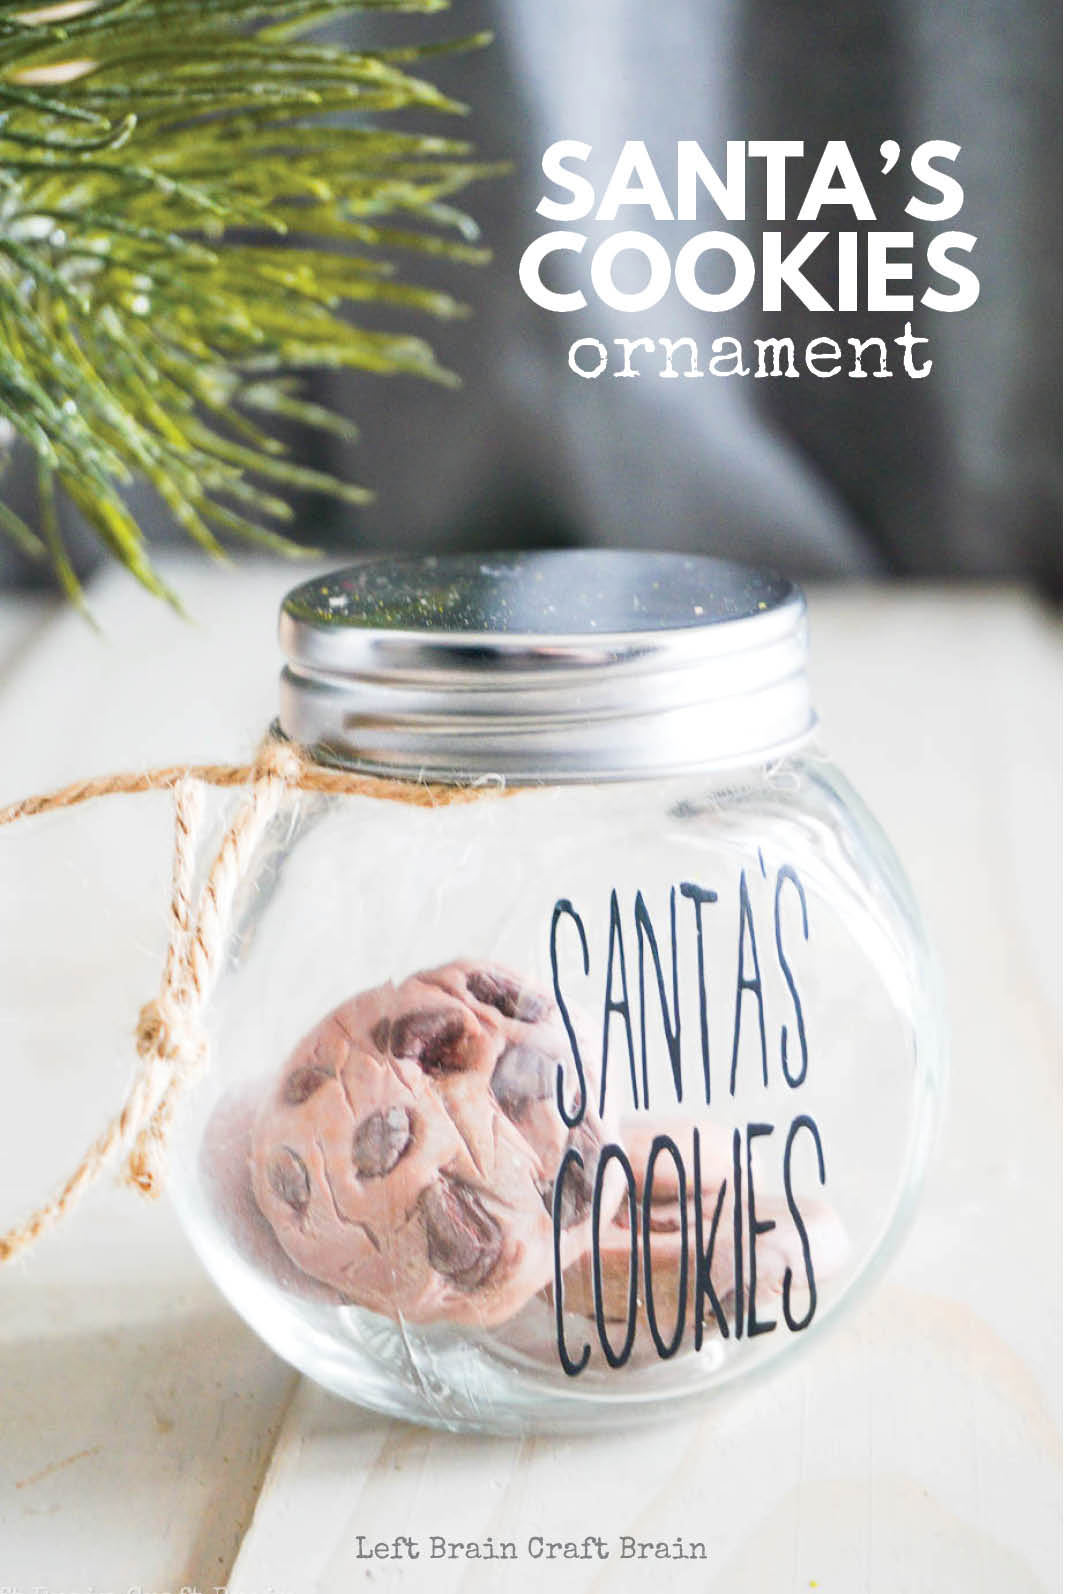
I love craft stores and, standing in the glass jar aisle, I had a brilliant idea to make a Santa’s Cookies DIY Christmas Ornament from a mini cookie jar and some Cricut lettering. It’s simple enough that most older kiddos could do this entirely on their own, and even smaller kids could make the cookies and fill the jar.
There’s so many fun ways you can customize this project for your own, I really love it. If you would want to add a little Santa hat on the lid, use a different shape of jar, it’s just really easy to make this a custom handmade ornament.
And these make a perfect gift for an ornament exchange or a white elephant party. So simple, you can make these with about 20 minutes of active work and have it done in less than an hour.
If you’re ready to make a fun Santa’s cookies Christmas ornament, let’s gather your supplies.
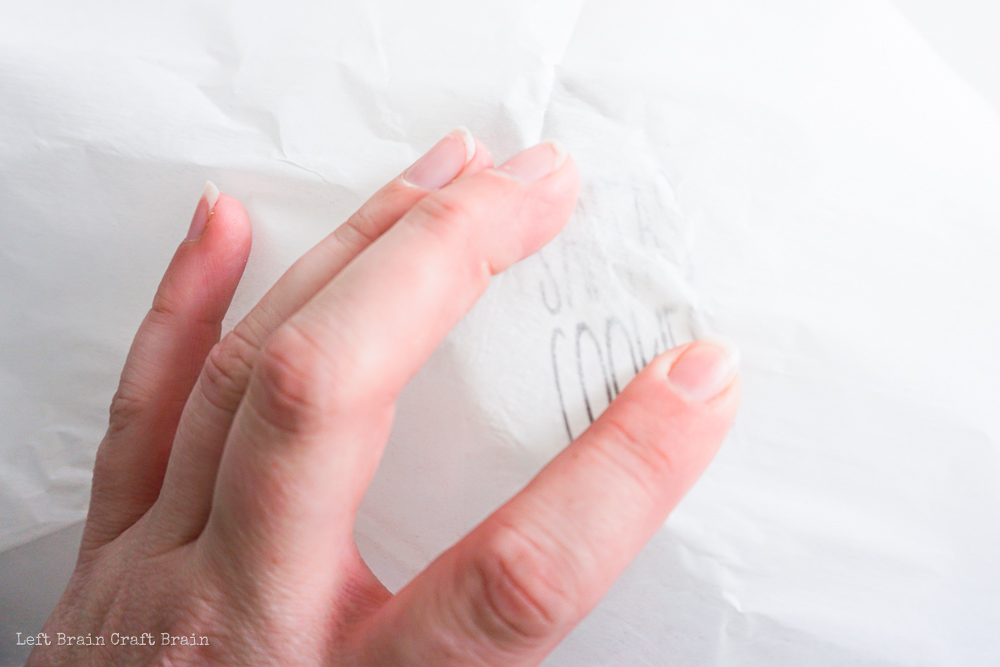
A few notes of caution before we start, though, be sure to keep your fingers protected when ironing on vinyl lettering on something so small. Heat presses and irons get very hot. If you can manage to wear an oven mitt and still hold the jar, that’s probably a good idea. But because kids aren’t usually that capable, I do recommend that a parent help get the lettering on the jar, since it is such a small item.
Now, let’s get started.
Santa’s Cookies DIY Christmas Ornament Supplies Needed
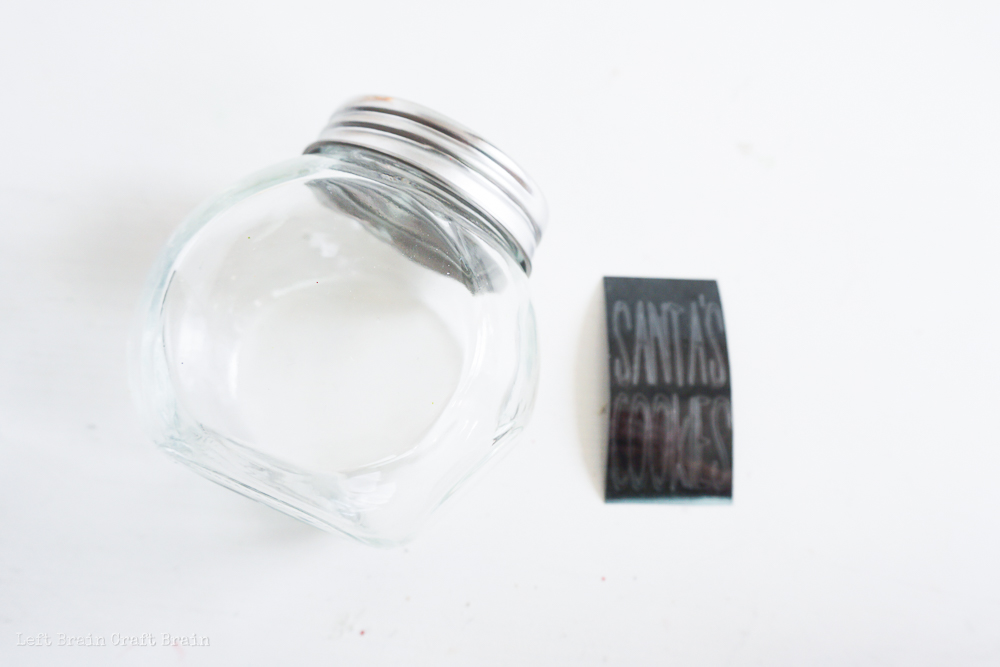
- 1 small glass cookie jar
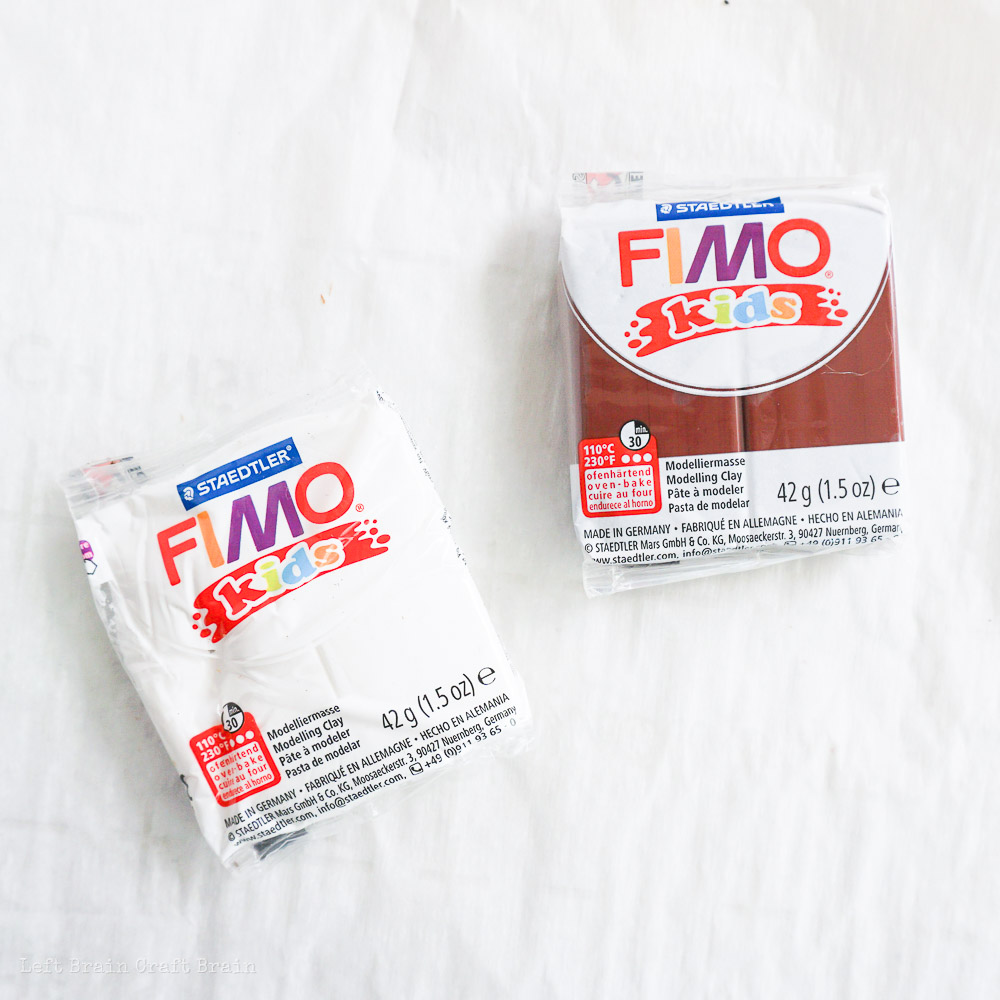
- Polymer clay in dark brown and white
- Cut file for Santa’s Cookies “Santa’s Cookies”
- Black heat transfer vinyl
- Craft paint in brown and white
- 6-8 inch Length of twine or ribbon
Definitely don’t be afraid of oven bake clay. I love working with the Fimo Kids because it’s softer than their regular clay. It doesn’t make little kids’ hands (or mine!) tired of crafting.
I’ve made an easy cut file for you too. You can grab that HERE.
Santa’s Cookies DIY Christmas Ornament Tools Needed
And you need a few tools to get the job done, too.
- Cricut machine (I love my Maker machine!)
- Weeding tools, optional
- Paintbrush
- Oven
- Iron or Heat press like an EasyPress Mini
- Parchment paper
- Scissors
- Toothpick or pencil
Watch a Santa’s DIY Christmas Ornament Being Made
To help you with your crafting, I put together this little video…
Instructions: Make the Clay Cookies
- Preheat your oven to the temperature required on your polymer clay packaging.
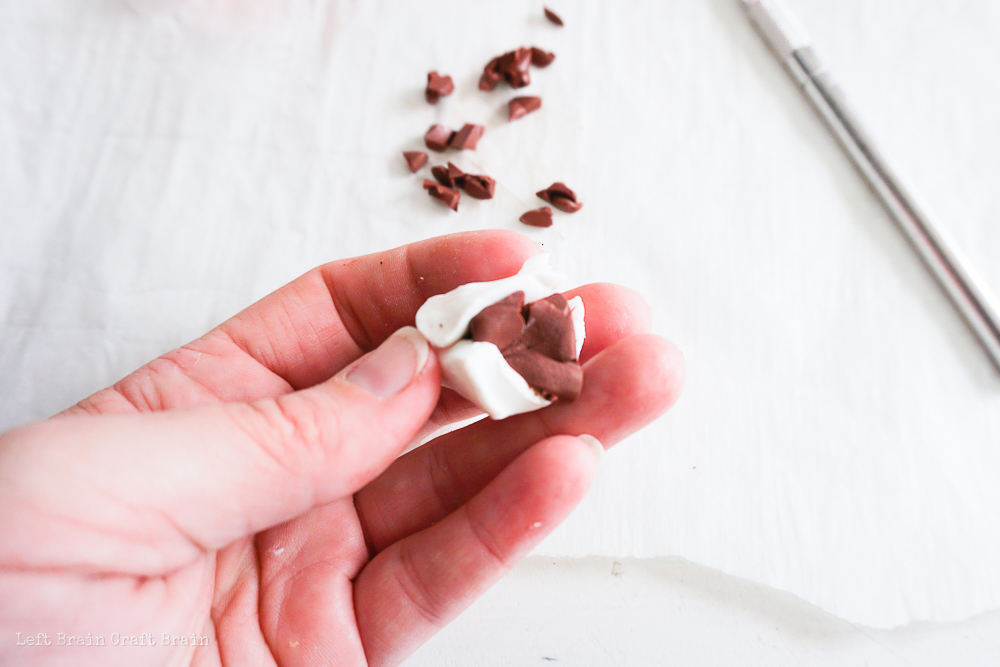
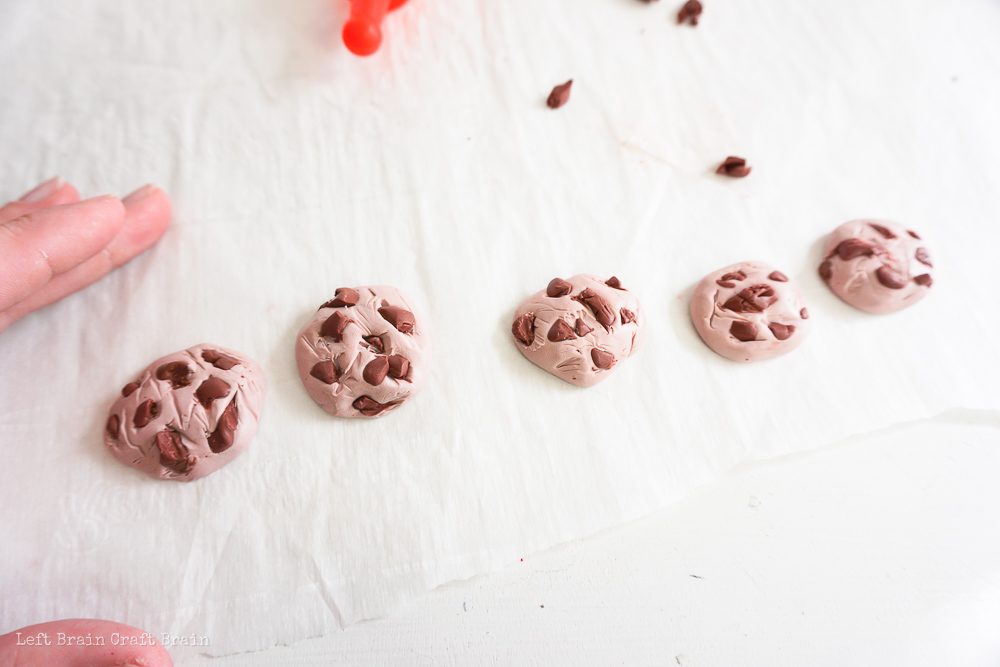
- Break off several portions (maybe 30-45) of dark brown clay in rough, but very small chunks of “chocolate”.
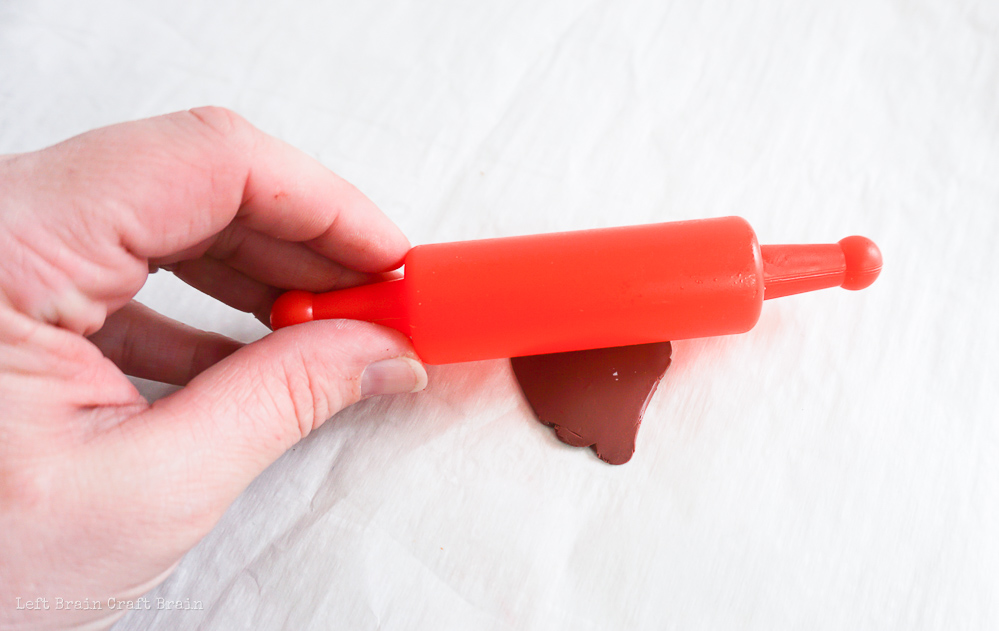

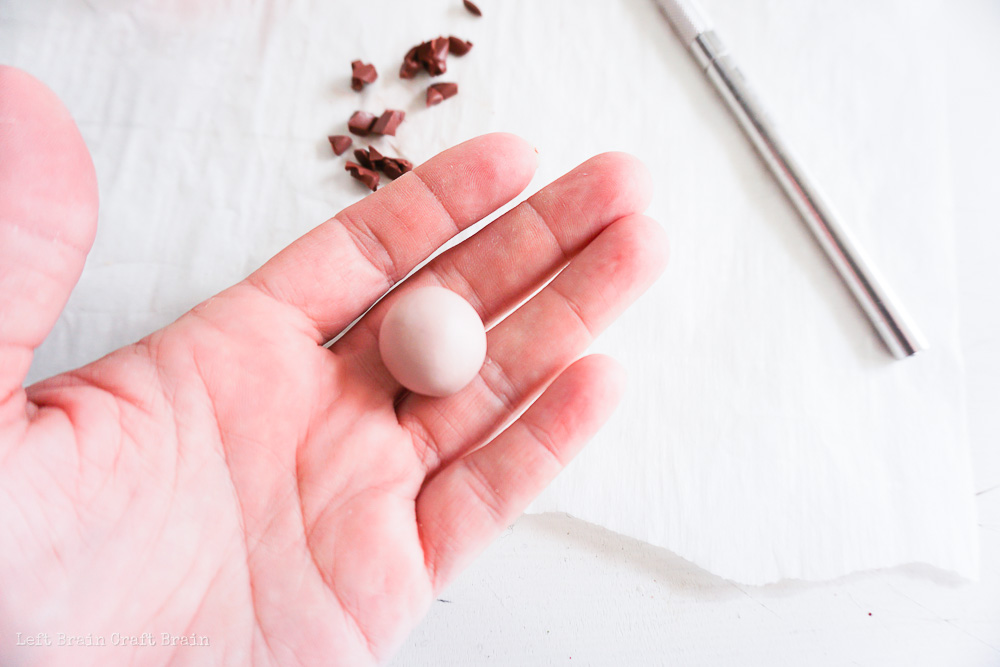
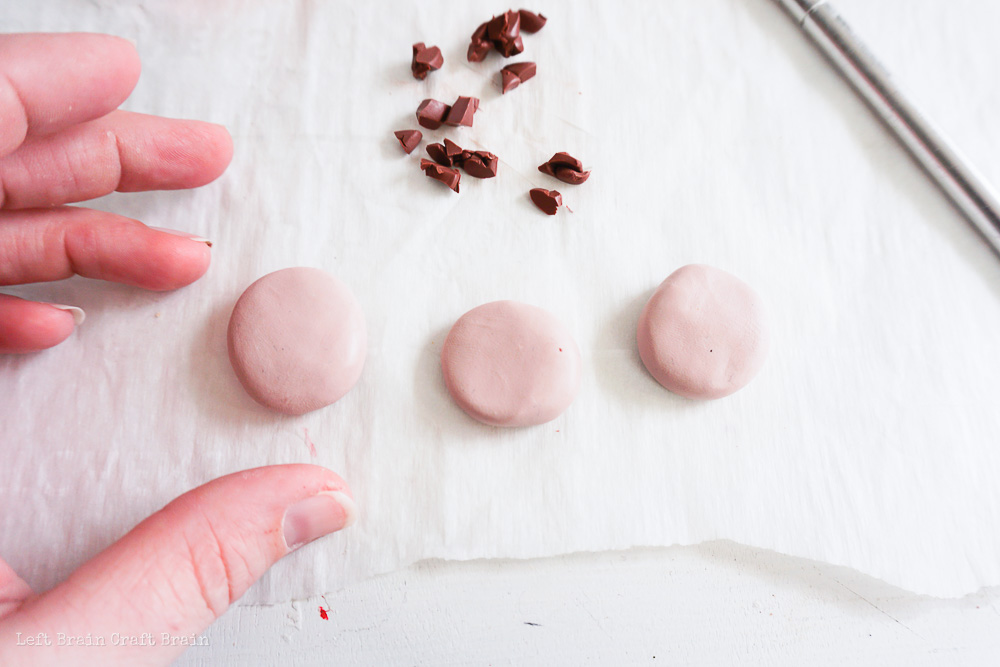
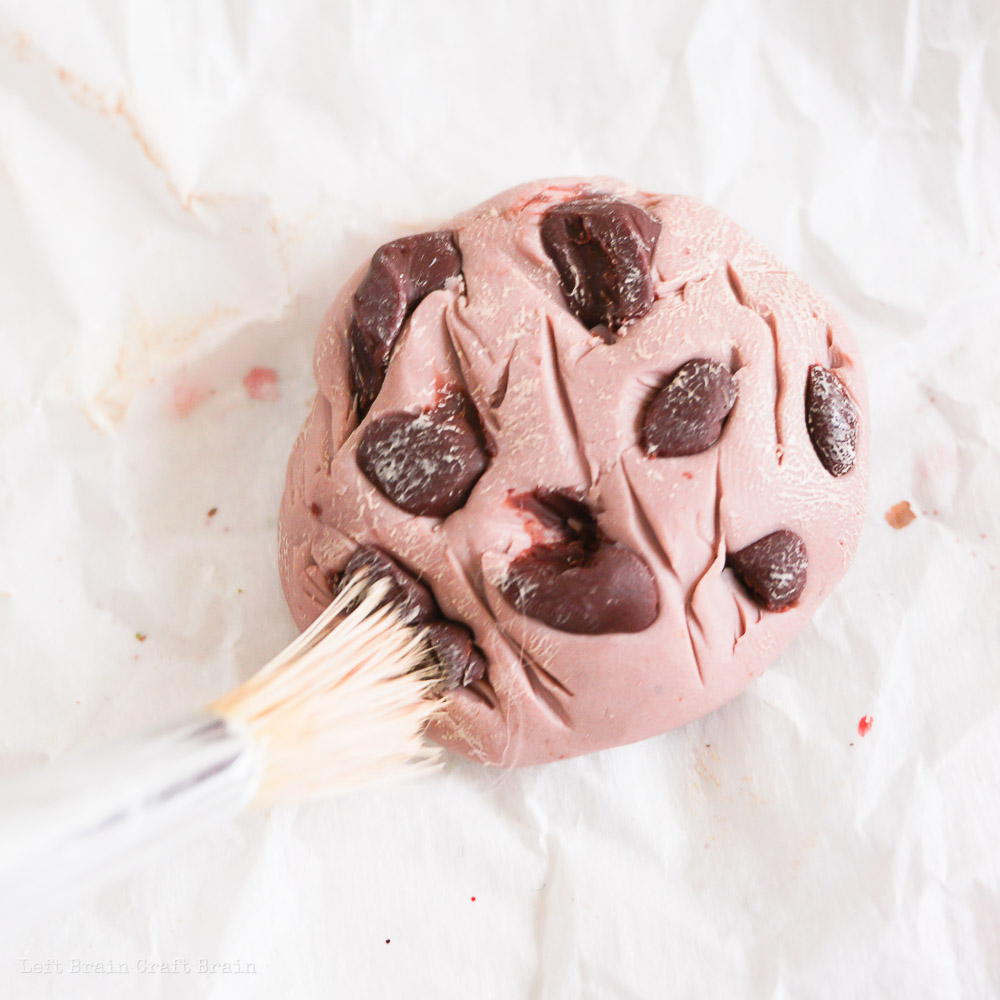
- Combine a portion of brown and white clay until you have made a color somewhat similar to cookies.
- Break your clay into 6-7 small portions of clay about the size of a quarter.
- Roll and flatten each portion of clay into a shape that roughly resembles a cookie.
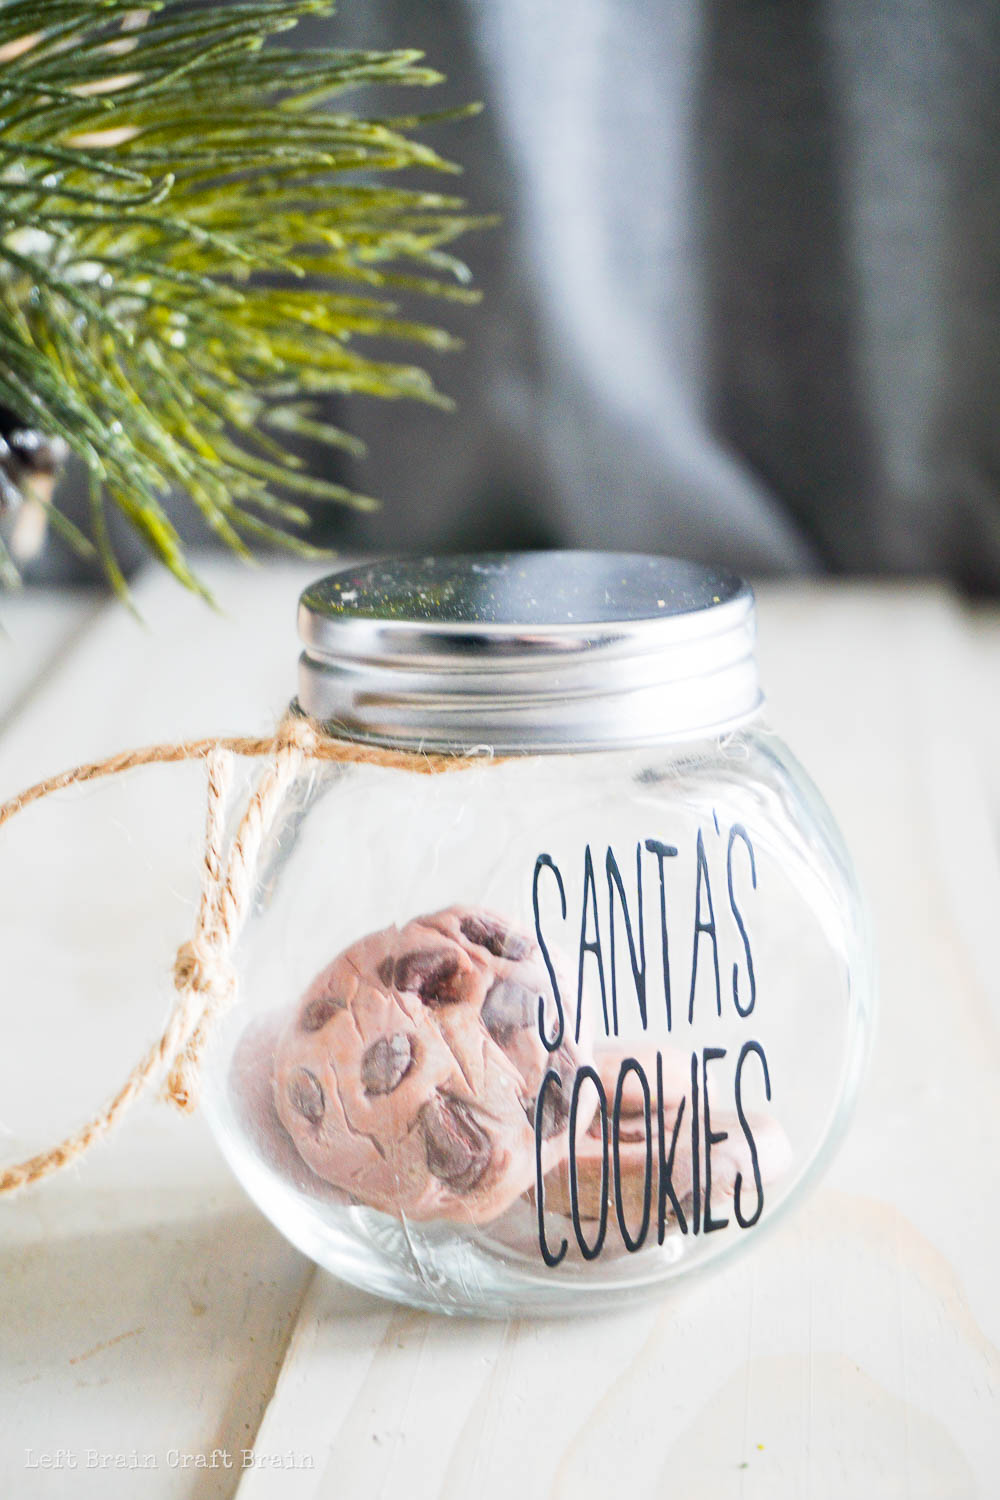
- Press the small “chocolate” chunks into the surface of each cookie (don’t forget the bottoms), using the toothpick or pencil to press them in and make divots for the chocolate, roughing-up the surface of each cookie with cracks and dimples, like a real cookie.
- Bake the cookies per your packaging directions.
Instructions: Make the Cookie Jar
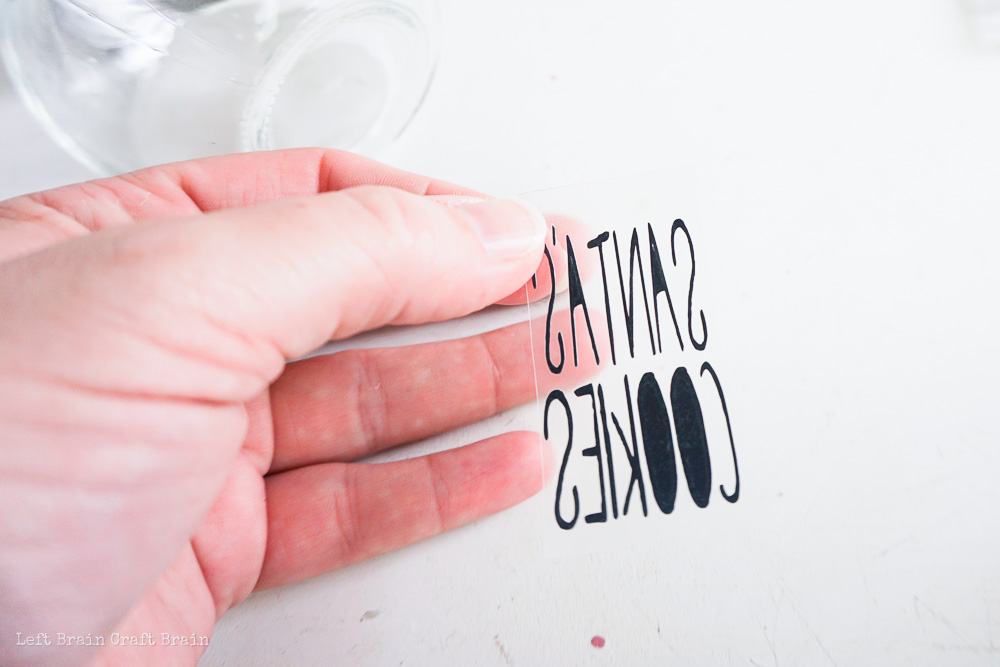
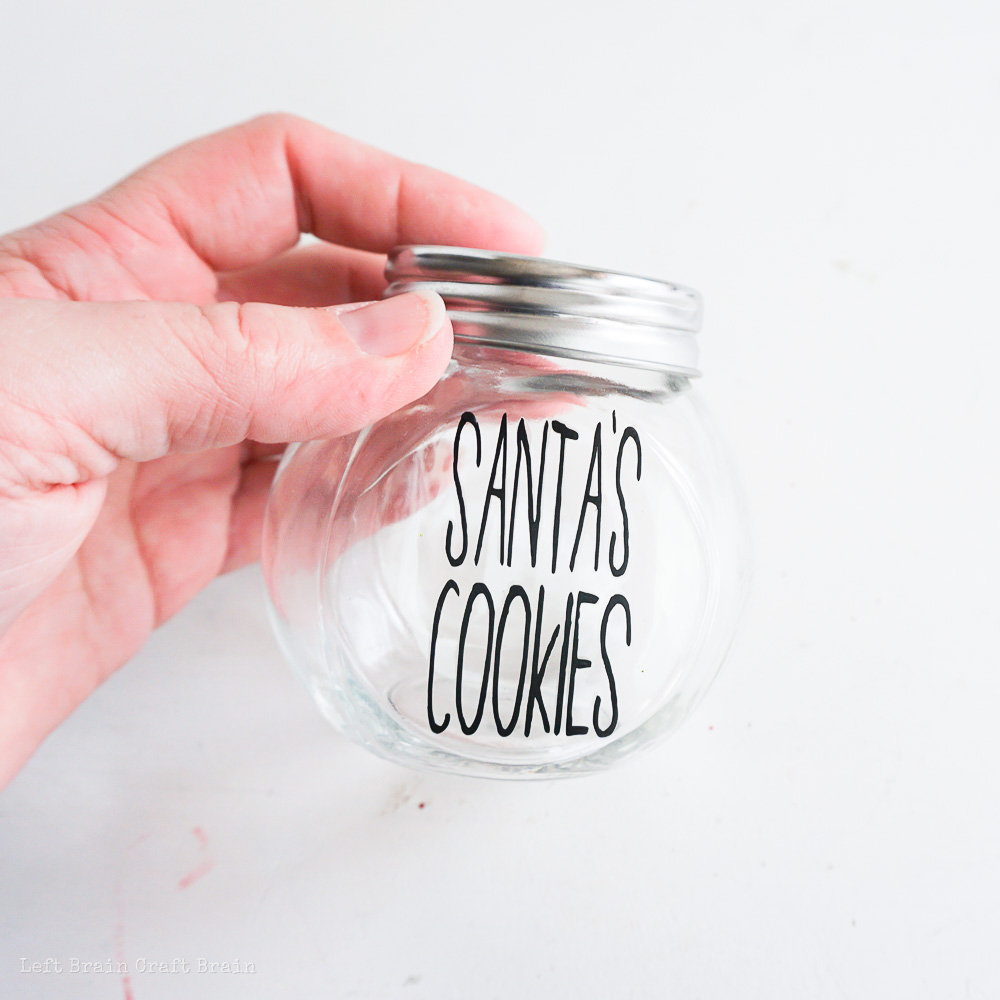
- Start by cutting your vinyl lettering. I find that it’s a good idea to measure the surface you’re going to be applying the vinyl to before sizing the vinyl in Cricut Design Space or Silhouette Design Studio, then measuring my vinyl to make sure the scrap I’m using will fit the element. Once that’s done, just place the vinyl onto the mat. If you’re using heat transfer vinyl, make sure to put the vinyl shiny-side down on the mat and mirror your image so that you don’t waste your vinyl.
- Preheat your iron or heat press.
- Remove and discard the extraneous vinyl from the backing of the lettering cut-out. A weeding tool makes it way easier.
- Press the lettering onto your jar in the location desired.
- Place a sheet of parchment paper over the lettering and iron-on the lettering.
- Let jar cool and remove the backing from the lettering.
Instructions: Finish the Cookie Jar Ornament
- Remove the cookies from the oven and allow them to cool completely.
- Combine brown and white paint and dry brush the surface of each cookie to give them a little more character.
- Allow paint to dry completely.
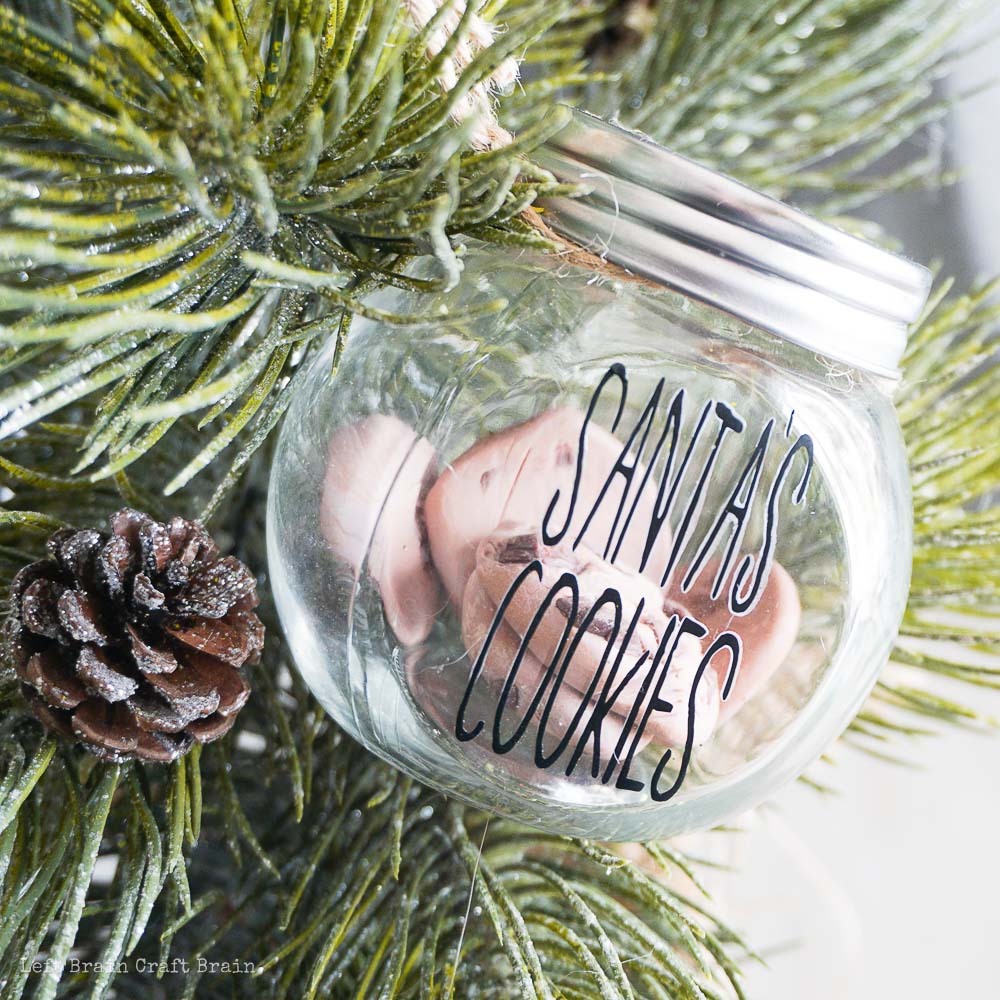
- Place cookies in the jar and place the lid on securely.
- Tie the twine around the base of the lid and make a hanger.


Then all you have to do is hang and enjoy! This would make a super adorable gift along with a batch of homemade cookies!
If you love this easy handmade Christmas ornament craft, be sure to pin this to your favorite holiday crafts board on Pinterest so you can find it easy to send to friends when they get all jealous about your cute Santa cookie ornament!
More Christmas Crafts, Activities, and Recipes for Kids
This cute DIY ornament is part of our December Activity Calendar for kids. In the list you’ll find fun stuff like tinkering trees, cookie recipes, Christmas art projects, and more. Click over to see the full list!