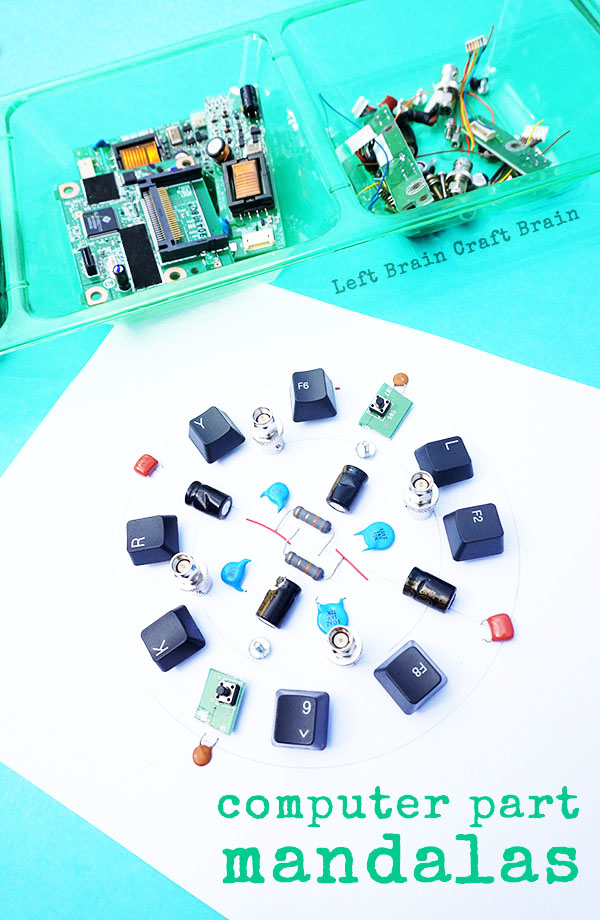
A few weeks ago we deconstructed some electronics. And the fun and the parts just keep living on, this week in some creative skill building Computer Part Mandalas. Kids can combine engineering and art for a true STEAM project. This post contains affiliate links.
SAFETY NOTES:
- Please do not work with CRT (cathode-ray tube) monitors. These hold high voltages long after being unplugged and used and can be safety hazards without correct safety procedures.
- To ensure that any residual energy in the components has been discharged, unplug the equipment and let it sit for at least a day before opening and working on the parts.
- Safety goggles are recommended when removing parts from the electronics as small parts can fly.
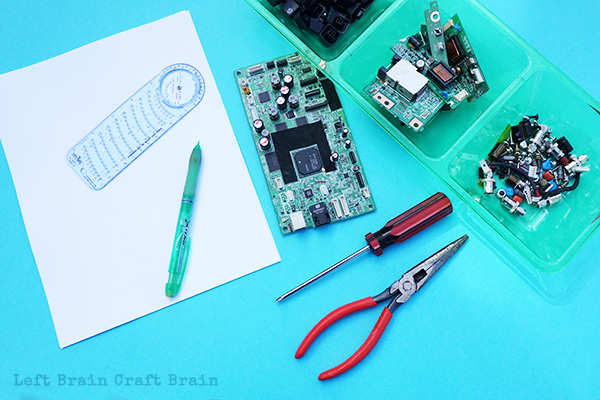
Computer Part Mandalas Supplies Needed
- Old electronics
- White paper
- Compass {affiliate} I am in love with this one that is soooo much easier to use than the old school style compasses.
- Pen or pencil
- Pliers
- Screwdriver {affiliate} A magnetic screwdriver makes it a lot easier for little hands to use.
- Wire cutters
- Container to hold small parts
- Safety glasses or goggles
Make Your Template
To make your template, draw two circles, one at least an inch larger than the other. I found a 6 inch outer circle was plenty big enough given the small size of the parts. Then take a ruler and draw a vertical line through the center of the circle and a line perpendicular to that one. And total plug for the compass that I bought…. My 4 year old daughter has adopted it as her favorite drawing tool and loves making circles! I think maybe because preschool motor skills don’t allow for perfect circles but a compass does.
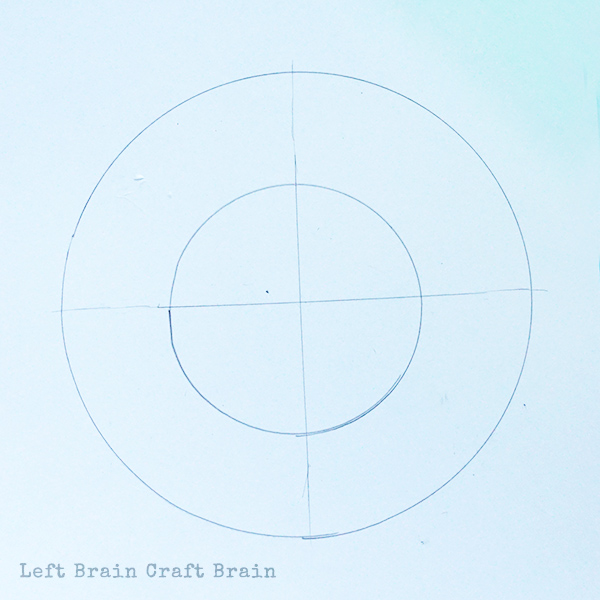
Don’t feel like drawing your own? You can buy polar graph paper instead {affiliate}
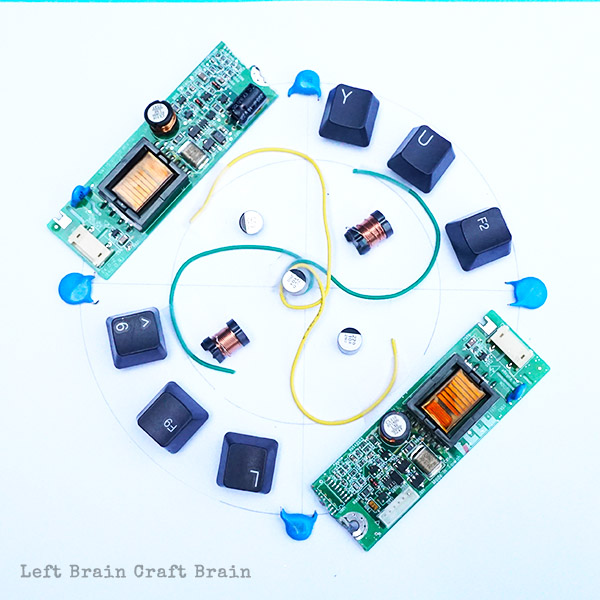
Gather Your Parts
This part is fun! Break out the tools and start taking parts off. Be sure that you’ve disconnected the power for at least a day to let any residual energy subside. You can click over to my Computer Deconstruction post for some ideas for doing this with kids. Some parts that I found especially attractive in the mandalas are resistors, capacitors and keyboard keys. Wires look cool but are a little harder to work with.

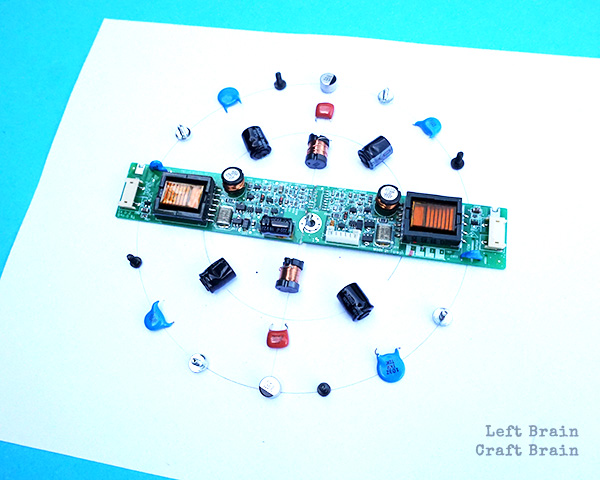
Create Your Mandala
Now that you have a pile of parts, it’s time to create! Traditional mandalas are designed in a symmetrical manner but you may need to break that rule because if you don’t have enough matching parts. If you’re doing this activity with the littles, I’d recommend laying a piece of clear contact paper {affiliate} over the template. Those little bugger pieces tend to roll around a lot.

You can check out the mandala making in action in this video:
More Computer Part Fun
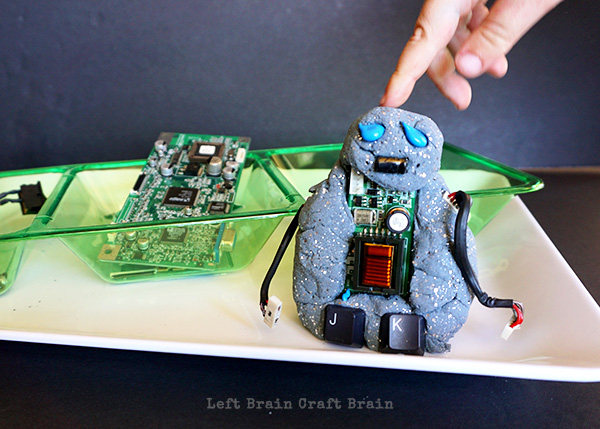
Love playing with deconstructed pieces like we do? Check out these Play Dough Robots.
Science, Tech, Engineering, Art, and Math Fun for Kids
Looking for some more STEAM inspiration that use can use right now? Instant gratification style? Check out STEAM Kids: 50+ Hands-on Science, Technology, Engineering, Art, & Math Hands-On Projects for Kids ebook! It’s packed full of a year’s worth fun learning activities that will wow the boredom right out of your kids.
Pingback: 8 Ways to Play with an Old Keyboard - Left Brain Craft Brain
Love it! My kids will want to disassemble everything in the house :)
Ha ha. Sorry :)
The kids have been raiding Daddy’s junk electronics box recently. They are going to be thrilled with this craft and your play-doh robots activity.
I hope they have fun!! Feel free to post pics on my Facebook page when they finish. I love to see the projects in action :)
Pingback: Building Computer Part Mandala’s – Lesson Plans
Pingback: 20+ Technology Projects for Kids They'll Love - Left Brain Craft Brain