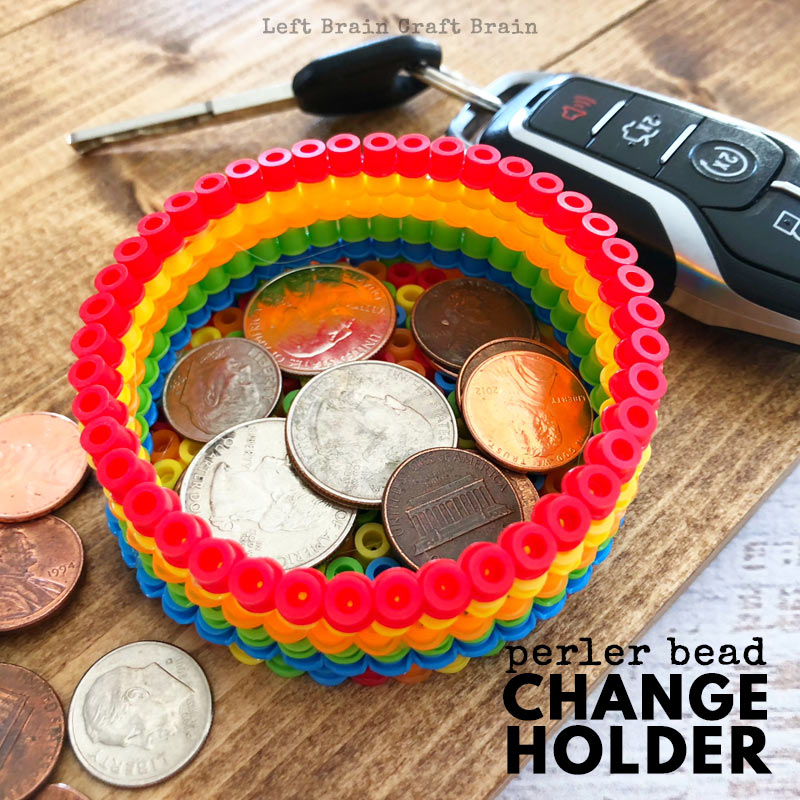
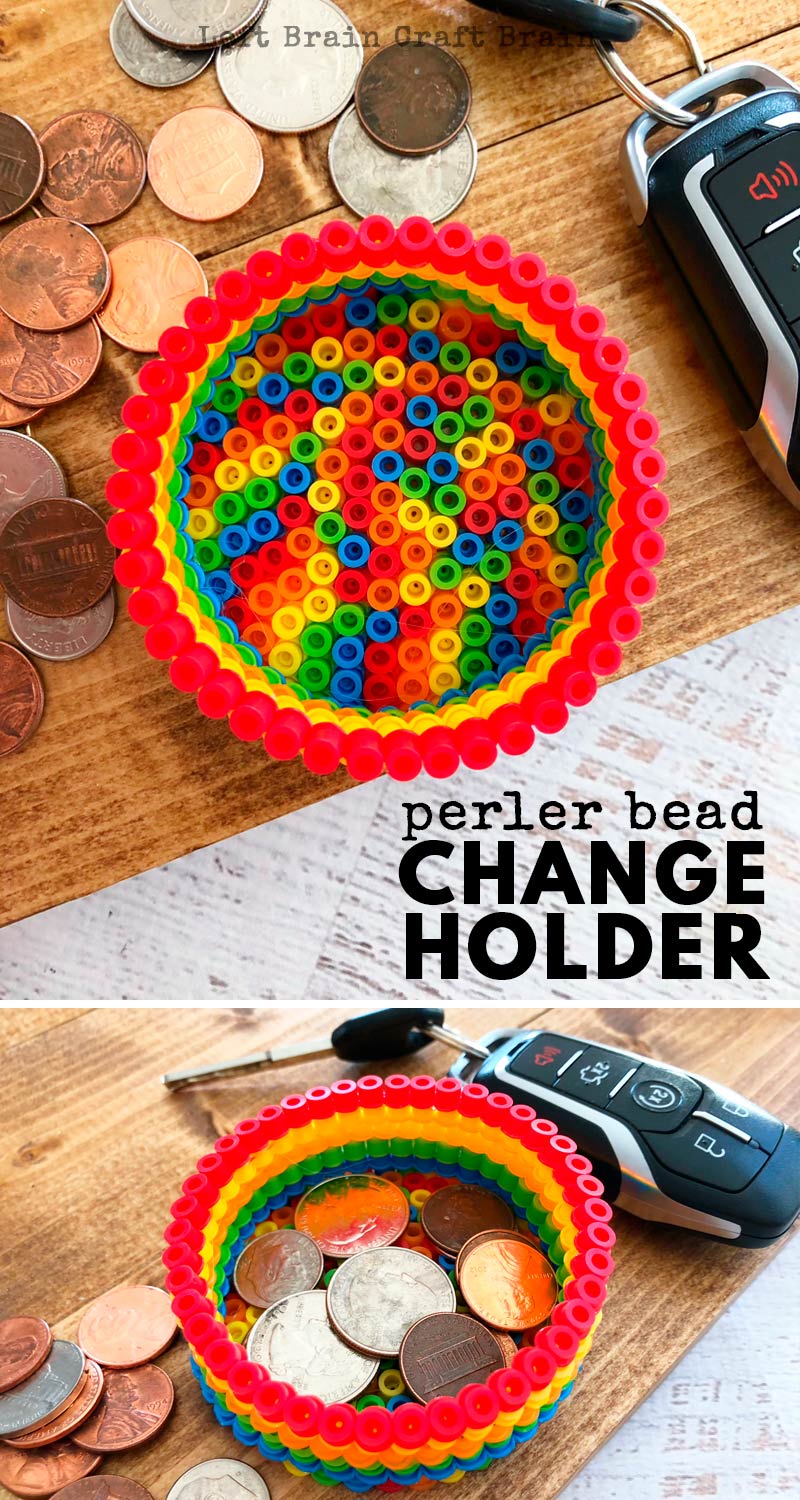
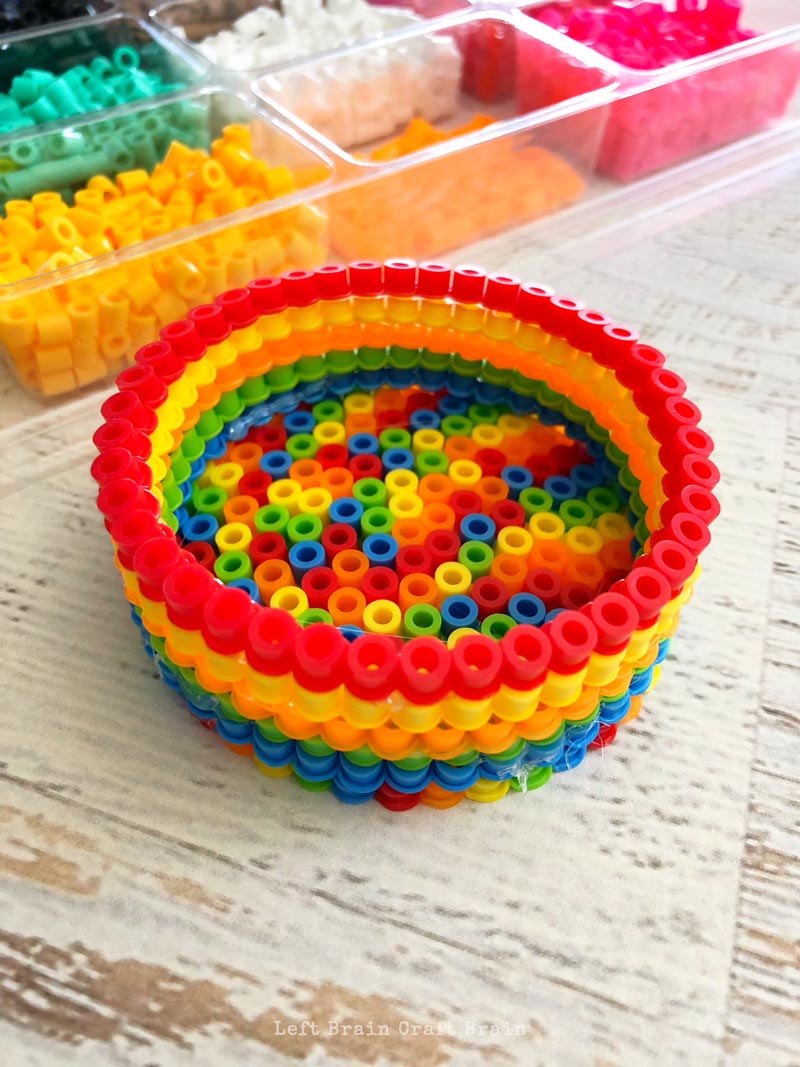
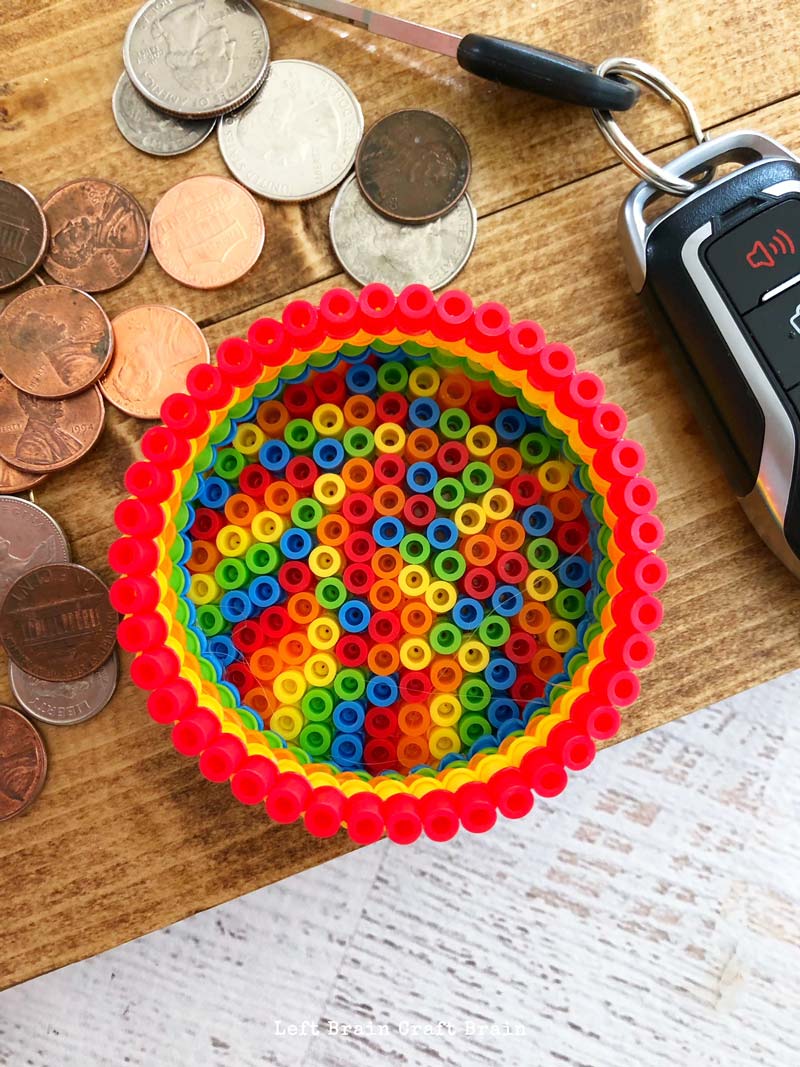
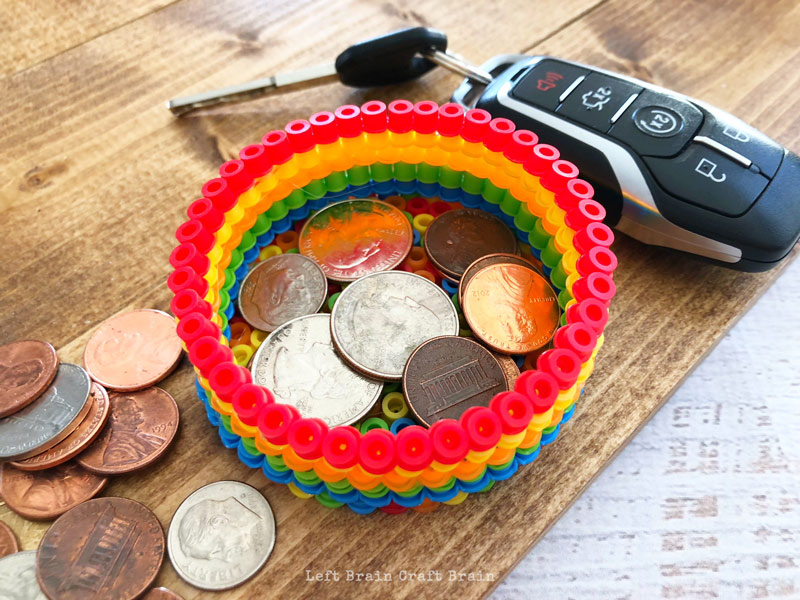
Homemade gifts… They often consist of dripping glue, copious amounts of glitter, and questionable shapes. And I absolutely ADORE THEM. Because the biggest thing they contain is love 💖But, wouldn’t it be cool if the kids could put their love into something you’d actually use? Like this Colorful Perler Beads Change Holder. This handy holder is bright like a rainbow and holds all that random change that would be rolling off your nightstand or dryer without it. Here are the super easy instructions and be sure to grab the free printable that you can pop down on the table for the kids this week :)
Why I LOVE Perler Beads
Perler beads are an amazing crafting supply that builds brain power! Kids practice fine motor skills, learn about shapes and patterning, and can build 3-D structures, a valuable early engineering skill. And it builds stick-to-it-tiveness (yes that’s a word 😜). Because those tiny little beads can challenge the patience of any kiddo, it really works on their flexibility and positive mindset. This project is great because they don’t actually have to build it all in one setting. Just do one ring at a time and iron, and come back at another time.
Perler Beads Change Holder Supplies Needed
- Perler beads in rainbow colors
- Perler bead ironing paper
- Perler bead circle pegboard
- Bead tweezers
- Iron and ironing board
- E6000 glue (I like the jewelry and bead version because it comes with fine tips.)
Get a free set of printable instructions by filling out the form below. They’re perfect for placing on the craft table while the kiddos are building.

FREE! PRINTABLE PERLER BEAD CHANGE
HOLDER INSTRUCTIONS
How to Make This Perler Beads Change Holder
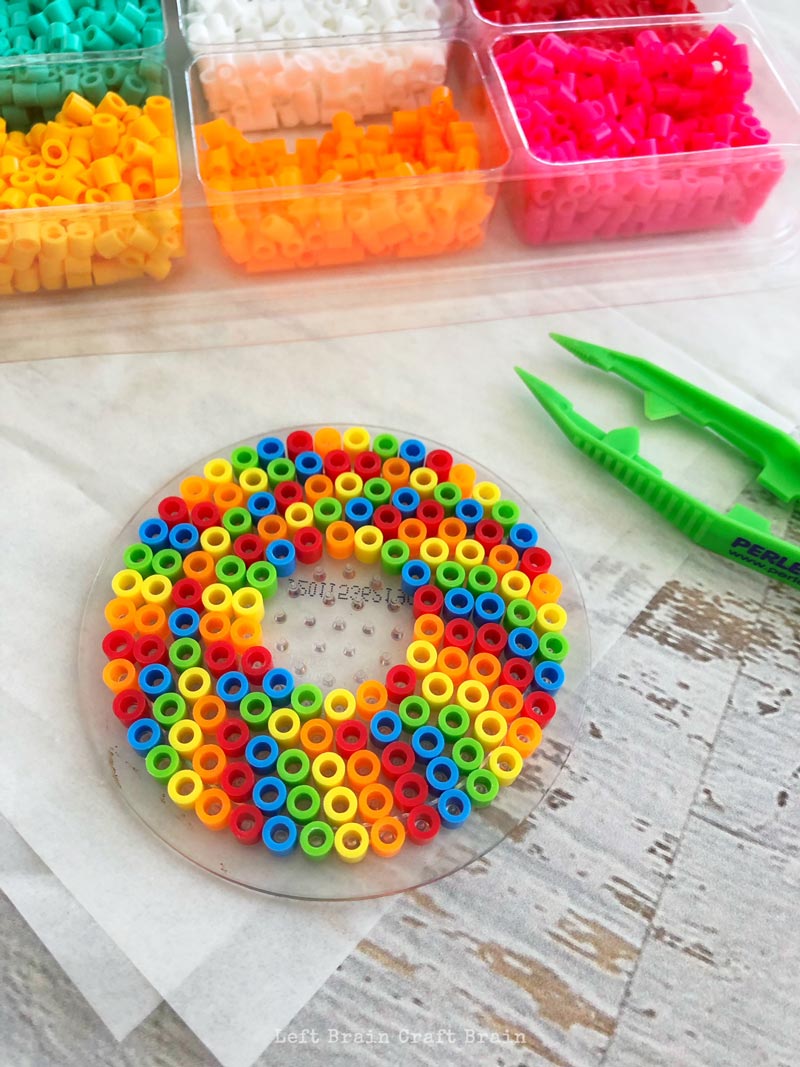
- Use your tweezers to place your beads onto your circle pegboard in a rainbow pattern around each circle until filled.
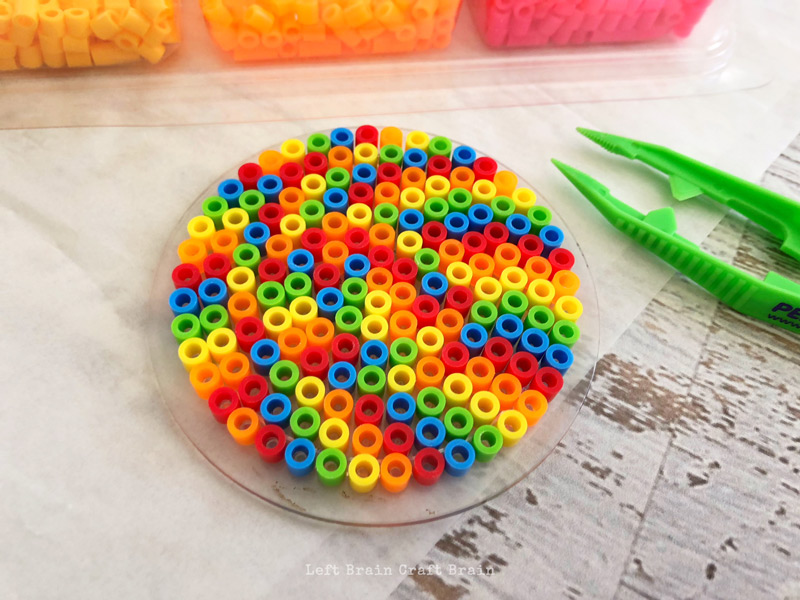
- Carefully place a piece of ironing paper over the circle pegboard and iron (no water/no steam) on medium setting for several seconds or until the beads start to fuse together.
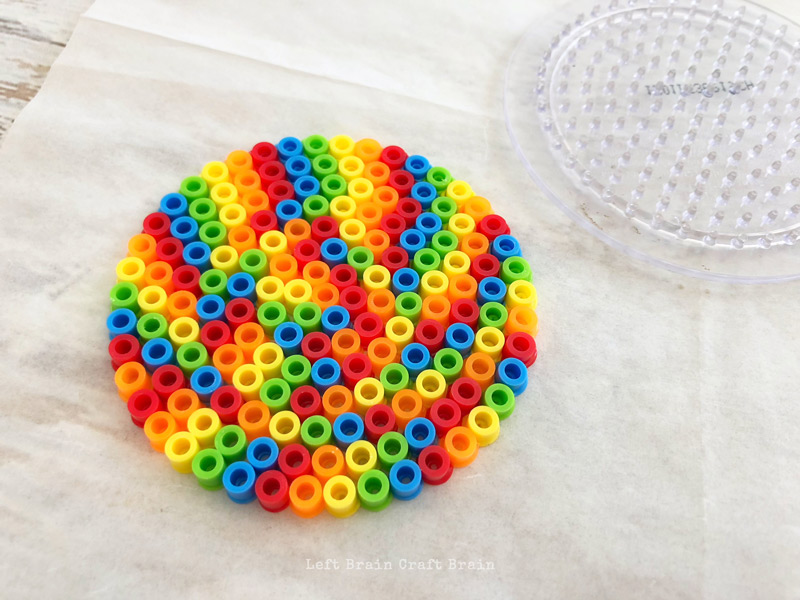
- Once the beads are fused together, carefully remove the ironing paper by peeling the paper back (the beads will stick to the paper).
- Carefully remove the beaded circle off the pegboard (it will be hot) and lay flat until no longer hot.
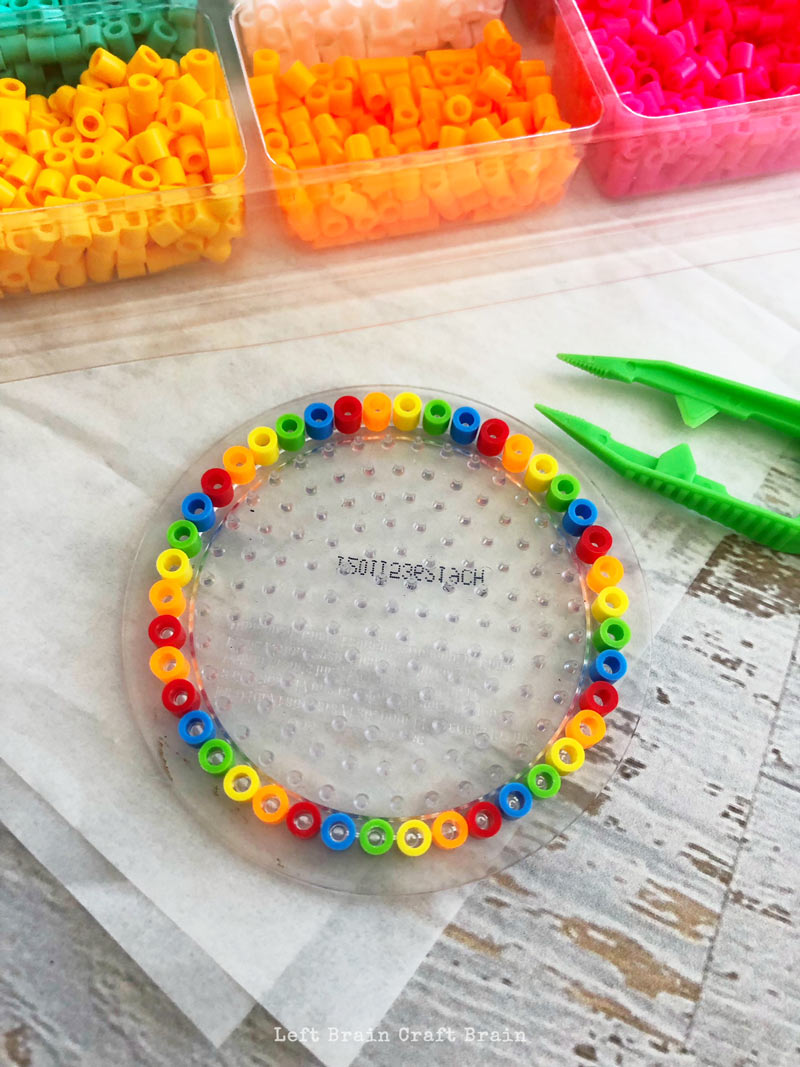
- Now use your tweezers to place your beads onto your circle pegboard only on the outside of the pegboard. One color at a time. You will need one red, one orange, one yelllw, one green and one blue. Or mix and match with whatever colors you like!
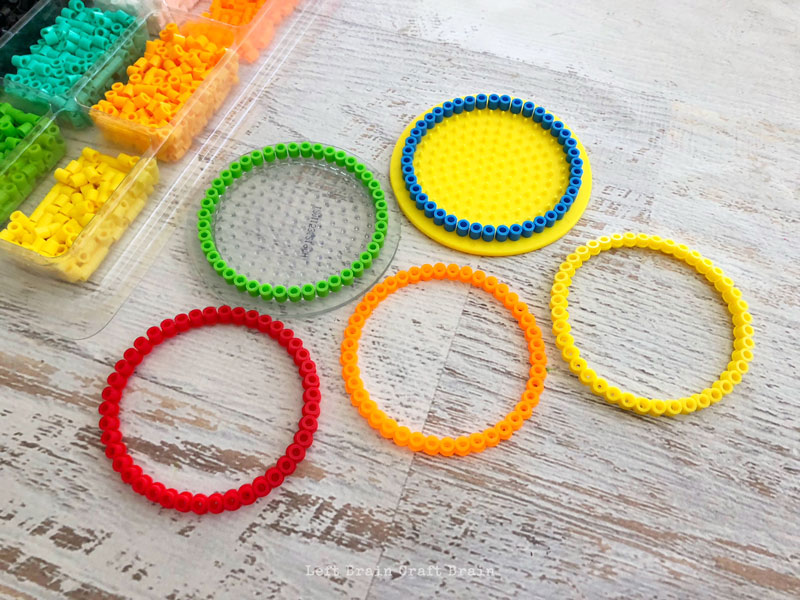
- Carefully piece of ironing paper over the circle pegboard and iron (no water/no steam) for several seconds or until the beads start to fuse together.
- Carefully remove the beaded circles off the pegboard (it will be hot) and lay flat until no longer hot.
- Once all five circles are done and cooled, carefully glue each one to the top of your rainbow circle stacking each one onto the other.
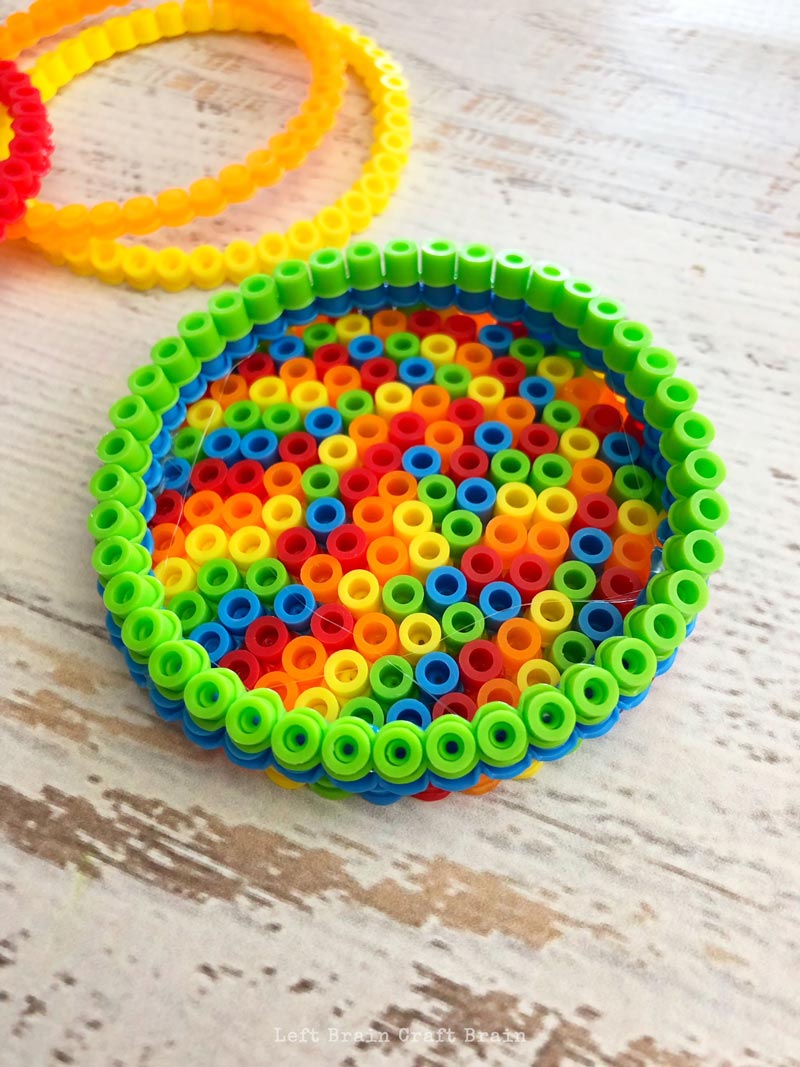
- Let your glue dry overnight and it’s ready for your coins.
More Homemade Gifts
Looking for some more handmade gift ideas? These will really make the lucky recipient say wow! They’re perfect homemade gifts for Mother’s Day, homemade gifts for Christmas, or homemade gifts for Father’s Day.
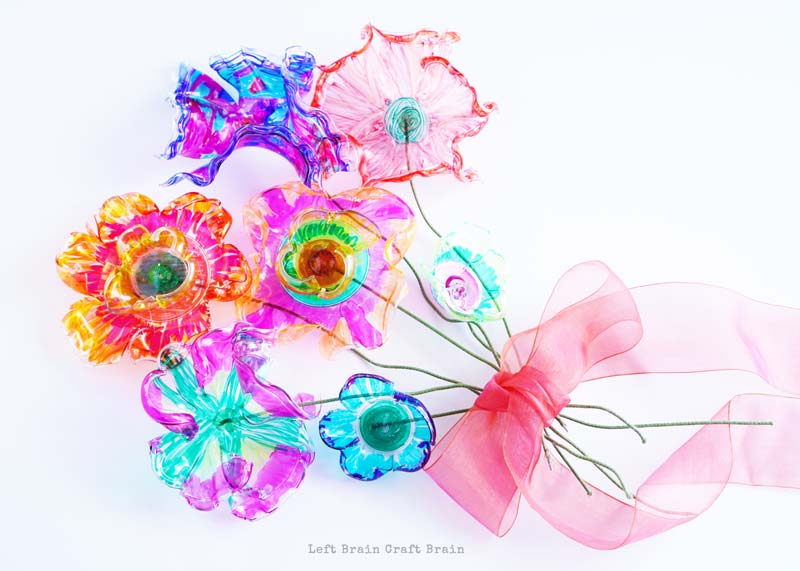
Recycled Plastic Flowers – These gorgeous things are as unique as the kiddo that makes them. Make a bunch (which you’ll want to anyway, they’re so fun), give a bouquet!
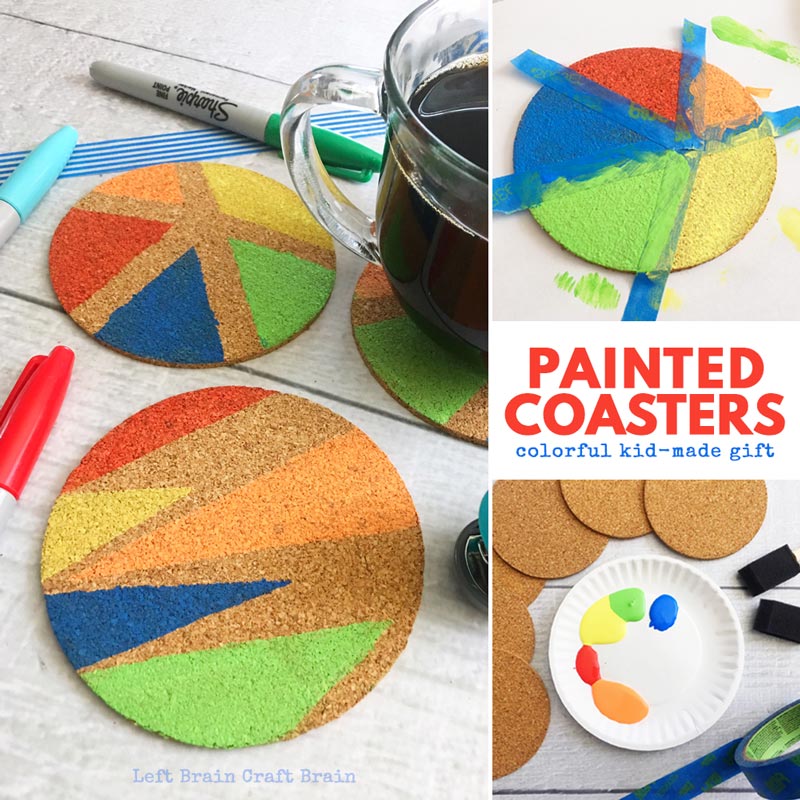
Painted Coasters – Painting on a different surface than paper is always a little exciting for kids.
Spin Art Hearts – Kids can show their love with some colorful spin art hearts. The process is really fun and the hearts are colorfully amazing! Watch the video to see more.
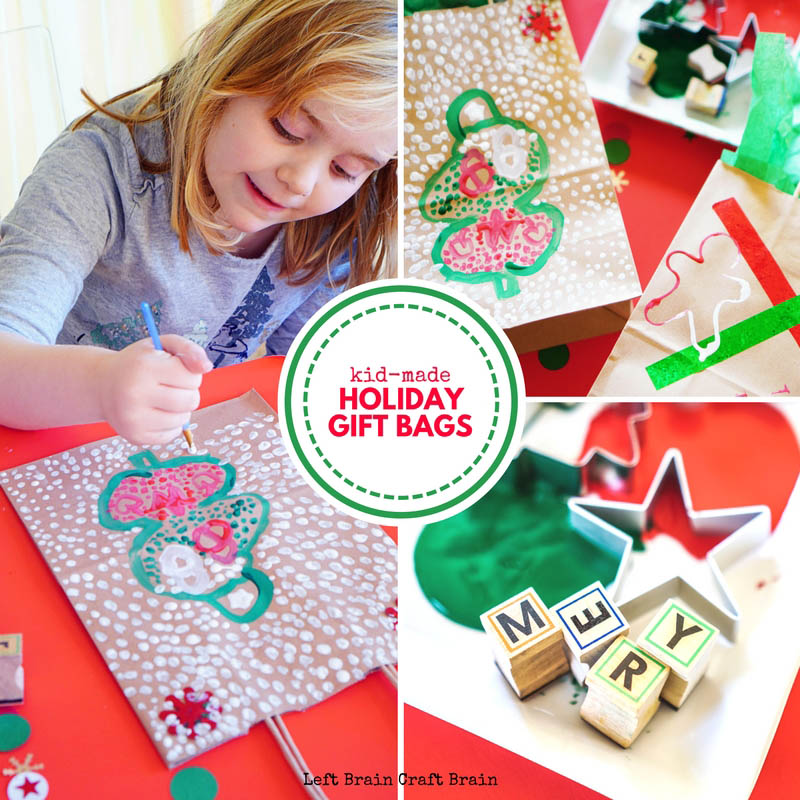
Kid-Made Holiday Gift Bags – Why not add some handmade wrapping and gift bags to their lovingly handmade gift!
Tell me, what are your favorite handmade gifts to give?
FREE! PRINTABLE PERLER BEAD CHANGE
HOLDER INSTRUCTIONS