This is a sponsored conversation written by me on behalf of Cricut. The opinions and text are all mine.
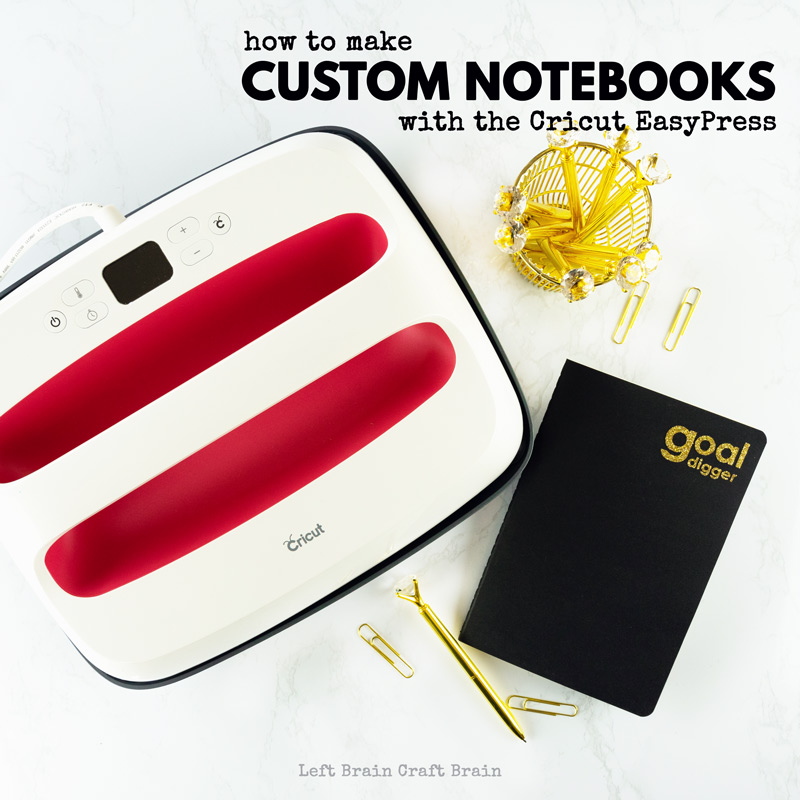
I’m so excited to share with you a new project! It’s a little bit different than my usual stuff… Because I made it for myself, not for kids. I whipped out my Cricut EasyPress 2 and created some super fun custom notebooks. They’re super easy to make and all ready to inspire you in your next goal planning session. Or inspire your kids to design and make their own notebooks, too.
What is the EasyPress 2?
The EasyPress 2 is a handheld iron perfect for creative projects. It’s super useful shape and easy to control temperature gives you perfect results every time with iron-on vinyl. When you combine it with your Cricut Maker or Explore machine, you can design whatever you want and have it ready to go that day. No waiting for custom printing! And I love to customize things and make them my own. Not up for the self-design step? All you have to do is grab my design or another ready-made design from Cricut and you’ll have a cool new notebook in no time.
What can you use iron-on vinyl for?
Iron-on vinyl (combined with your Cricut Maker and EasyPress) is totally incredible for fabric. If you can dream it, you can make it. Like custom tote-bags to sell at PTA meetings. T-shirts for the scouts troop. Or adorable personalized pajamas for Valentines Day. Or maybe you have a budding fashion designer in the house. You can create doll clothes with style (my daughter and I are designing a purse for her doll right now!). But HTV (high temperature vinyl) is about more than t-shirts. Oh and did I mention it comes in glitter??? And way less messy than real glitter…
But you can use it for so many other things in your creative world, too. You can use HTV (high temperature vinyl) on wood, glass, metal, tile, even acrylic (but you’re better off using regular vinyl on this one…). I have one more fave thing you can use it on.
Paper.
You can add it to art, add designs to cardboard, tons of cool stuff in the classroom or at home.
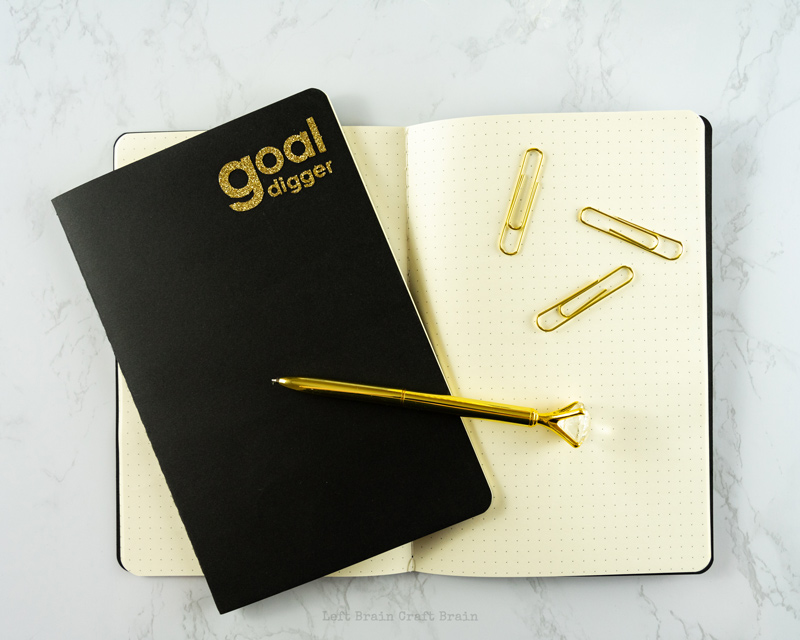
And you can make custom notebooks. That look amazing and will wow your friends. Like I did (hee hee, proud giggle…). Let’s get making!
Custom Notebooks Supplies Needed
You’ll need a few things to make your custom notebooks.
- Cricut Maker or Explore
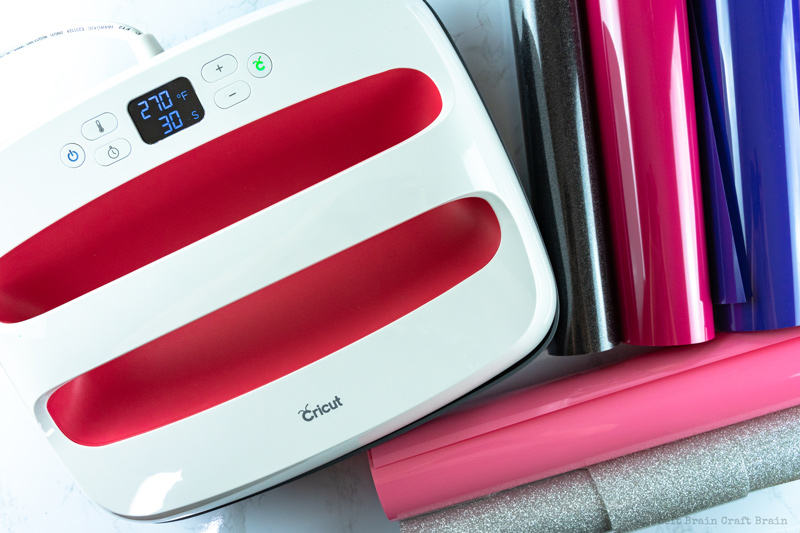
- Cricut EasyPress 2, 9″x 9″ or 12″ x 10″ size
- Travel journal with paper cover (I used these.)
- Glitter Iron-On Vinyl in gold
- Cricut Weeding Tool
- Iron-on protective sheet or parchment paper
- Cricut EasyPress Mat
- And you’ll really want these pens…
How to Make a Custom Notebook with the Cricut EasyPress
First, you want to design your notebook. I don’t usually write about creative projects for adults, but I definitely like to get creative on my own, not just with kids. This month, I was headed to a retreat with a bunch of inspiring women to talk about how we could all succeed in life and meet our goals. So I decided to whip up these Goal Digger notebooks for all the women. It was super easy in Cricut’s Design Space. You can grab my design HERE or you can design your own. This is a fun project to do with the kids, too. Cricut Design Space is easy enough that my 8 year old designs her own stuff!
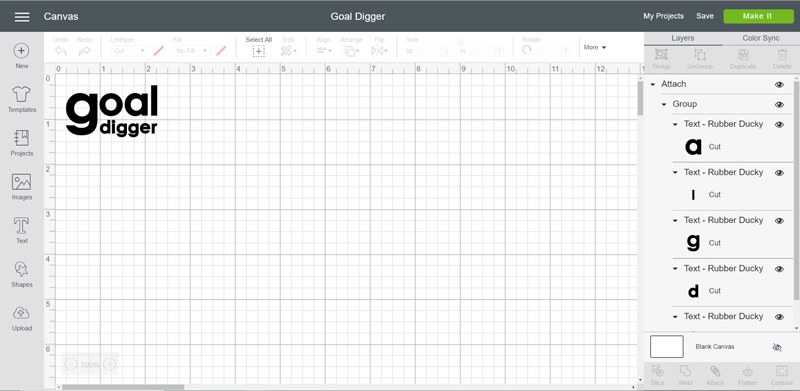
Then, hit Make It. Be sure to hit the Mirror button so the design ends up the right way on your notebook.
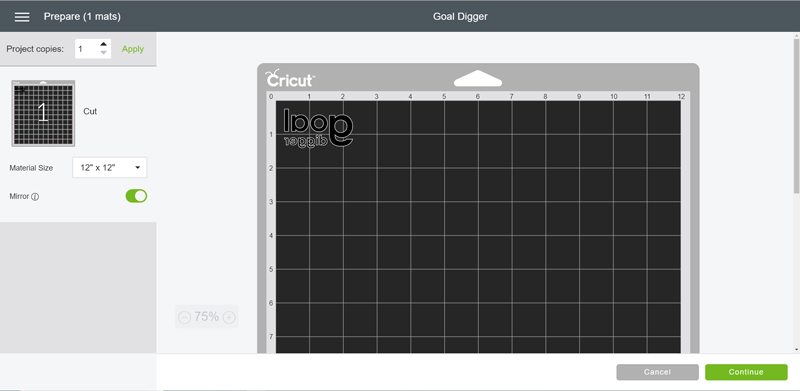
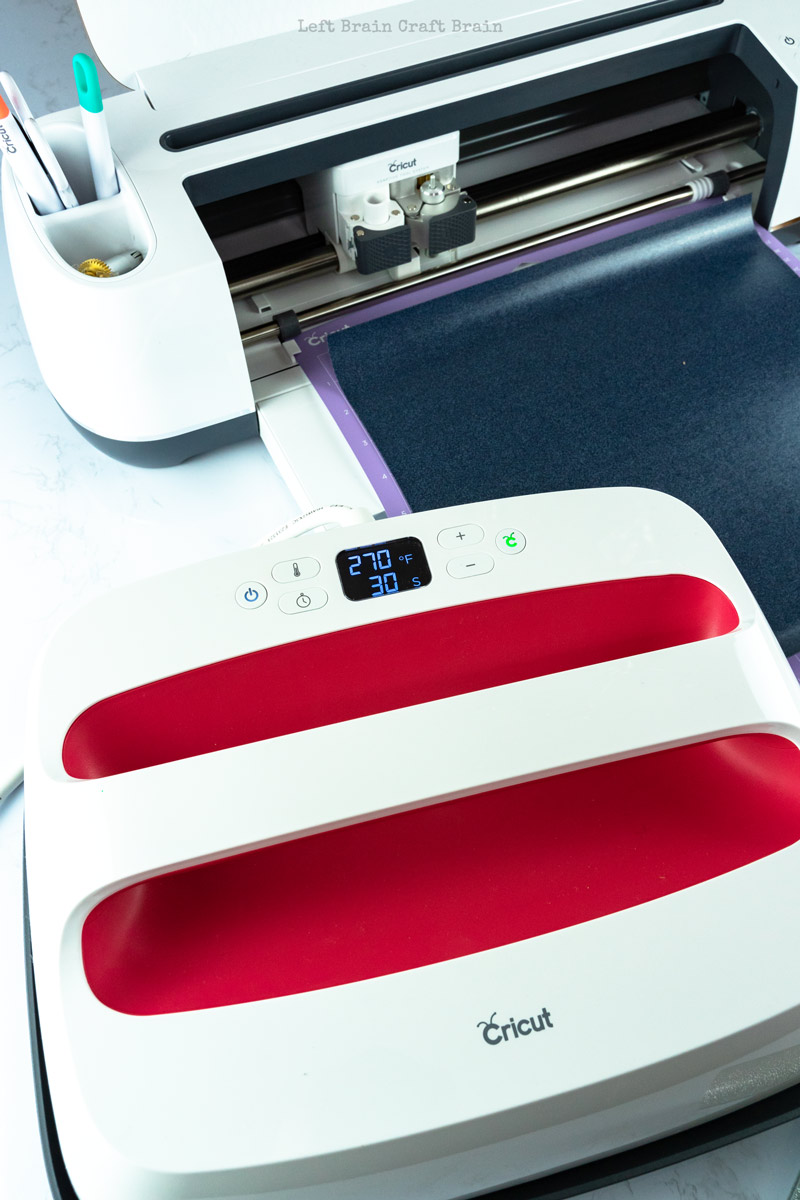
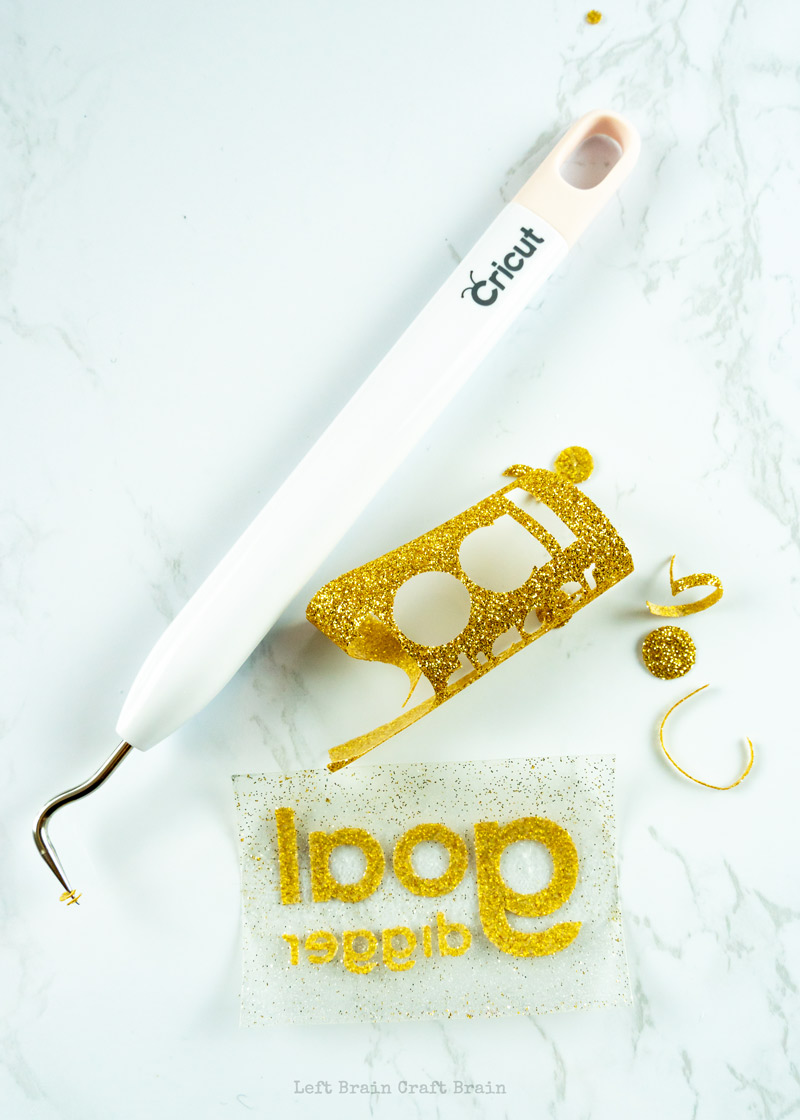
Then get out your Cricut Maker and the Iron-On Vinyl in gold. I’m totally in love with my machine. Did you see my review of why it’s the best thing I’ve added to my makerspace this year? You want to place the glitter vinyl, shiny side-down on a Strong Grip mat. Follow the directions on the screen and then pop the mat out of the machine. Then cut around the design with some scissors and it’s time to weed.
Weed? This was new to me when I started using vinyl. All it means is to remove the pieces you don’t want. Luckily there are some tools that make it way easier for you.
Now it’s time to iron this glittery goodness on! Here are my steps…
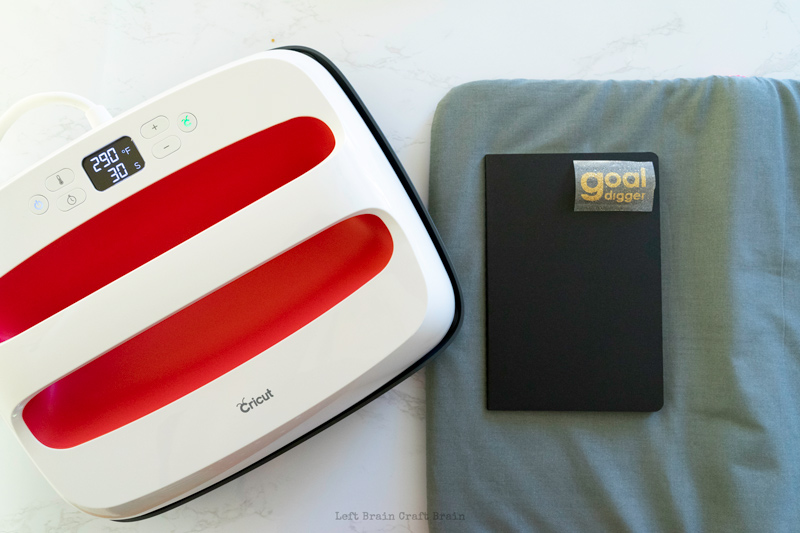
- Preheat the EasyPress to your desired temperature. For securing Glitter Iron-On onto cardstock using the EasyPress Mat, 290 degrees is the recommended temperature. Using a different type of iron-on? You can always check your EasyPress settings here.
- Place your notebook on the EasyPress Mat and cover with an iron-on protective sheet or parchment paper.
- Place the EasyPress on the notebook for 5 seconds (you can use the timer on the machine).
- Remove the EasyPress and place your iron-on vinyl design in the desired location, clear plastic side up.
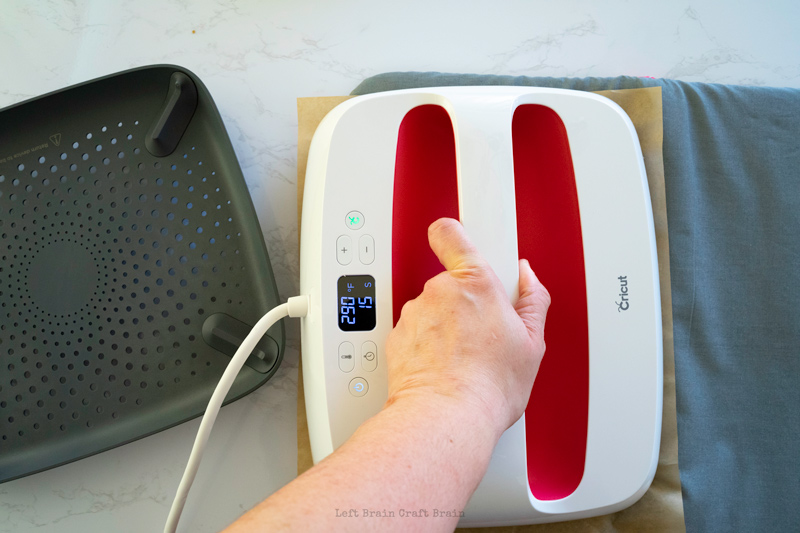
- Set the timer for 30 seconds. Cover the notebook and vinyl with the parchment paper and place EasyPress on top, pressing gently. Hit the Cricut C button to start the timer and remove the EasyPress when the timer beeps.
- Open the notebook. Set the timer for 30 seconds. Cover the inside cover with parchment paper and place EasyPress on top, pressing gently. Hit the Cricut C button to start the timer and remove the EasyPress when the timer beeps.
- Let cool for 10-15 seconds and remove the plastic backing. And your notebook is complete!
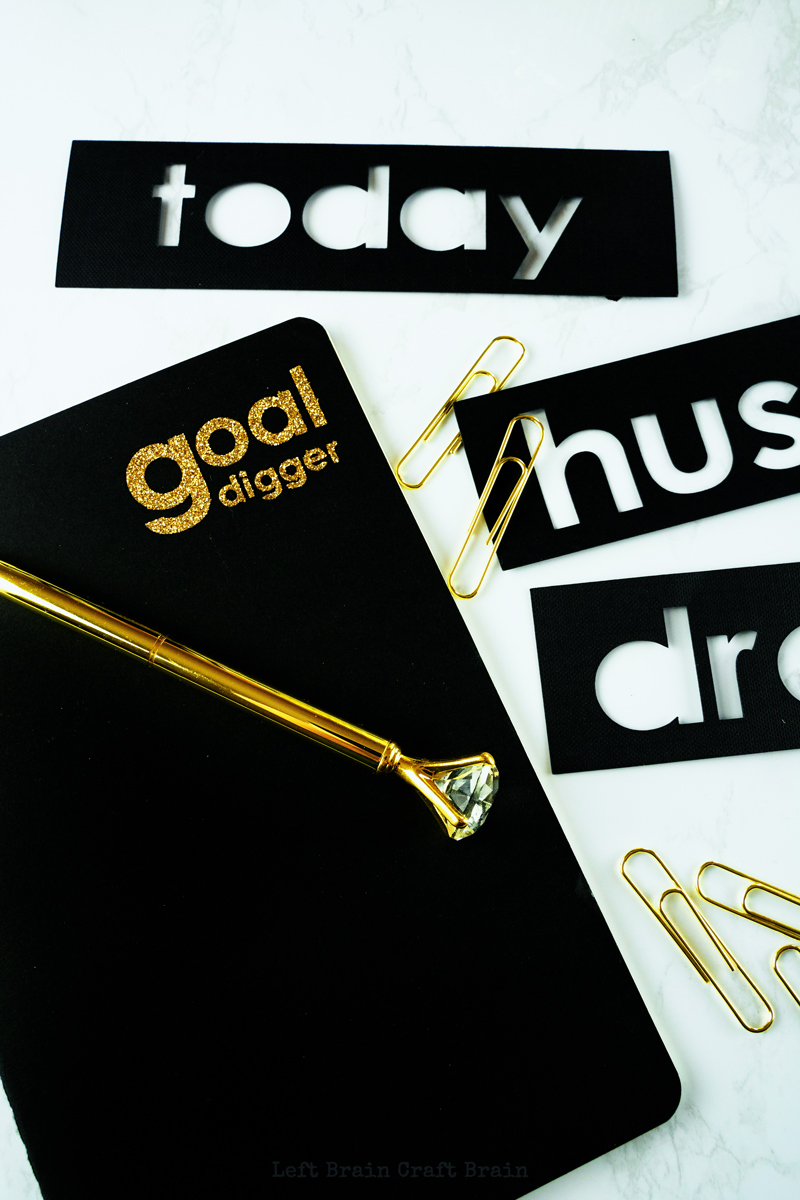
Don’t you love these affirmation bookmarks? You can grab the template over in Cricut Design Space.

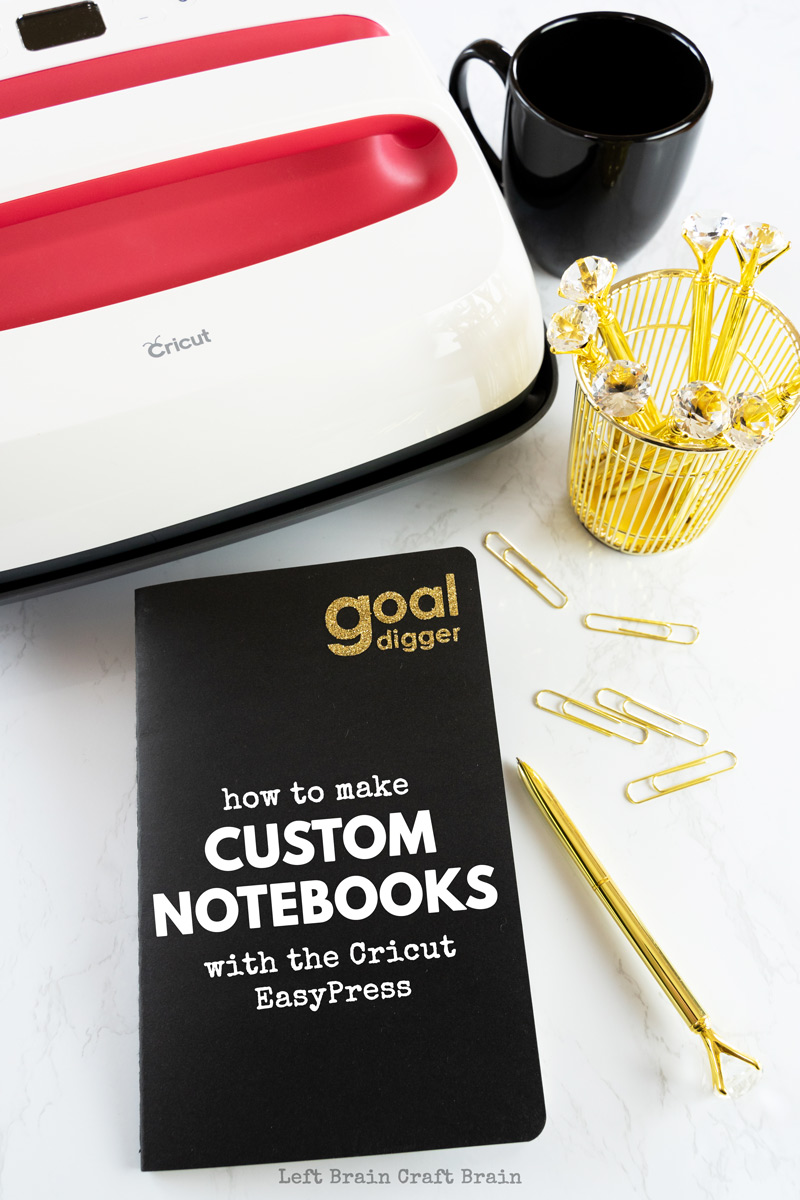
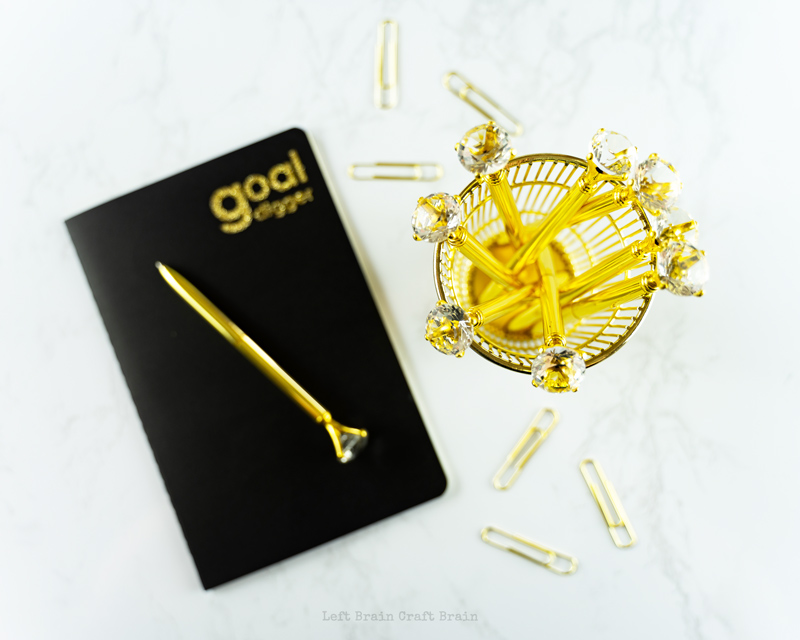
You’re totally going to want the awesome office supplies I had to buy to go along with my Goal Digger notebook too. Check out these sparkly diamond pens, gold paper clips, and luxe pen cup.
More Cricut Projects
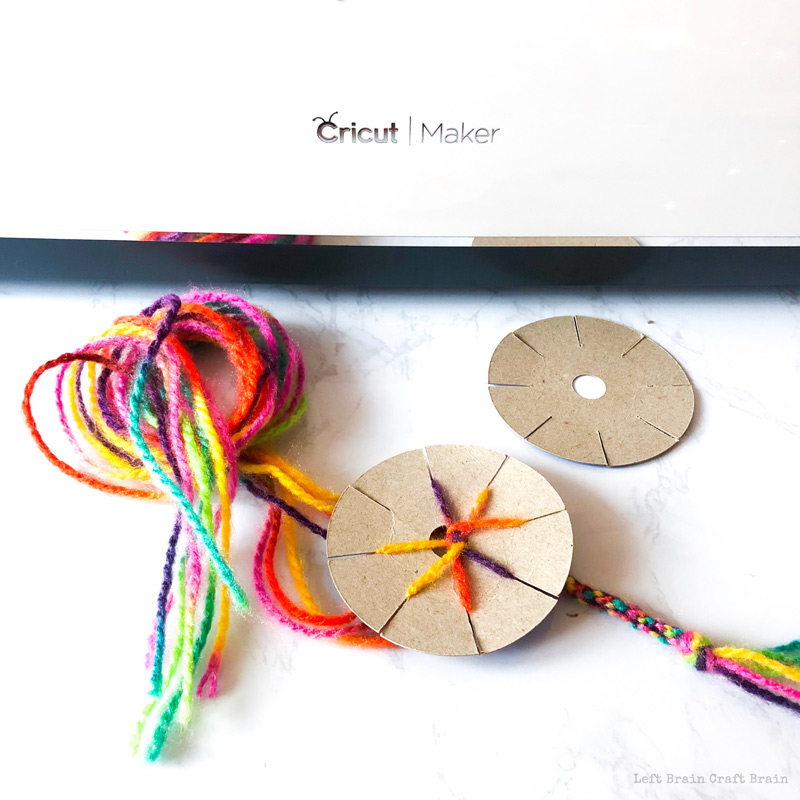
Did you see the fun friendship bracelet looms I upcycled last week? The kids will love them!
I can’t wait to show you the new projects I have coming with Cricut!! Stay tuned for shadow puppets, STEAM building cards, watercolor flowers, and more! Be sure to click over to Cricut to learn more about what you can do in your makerspace.