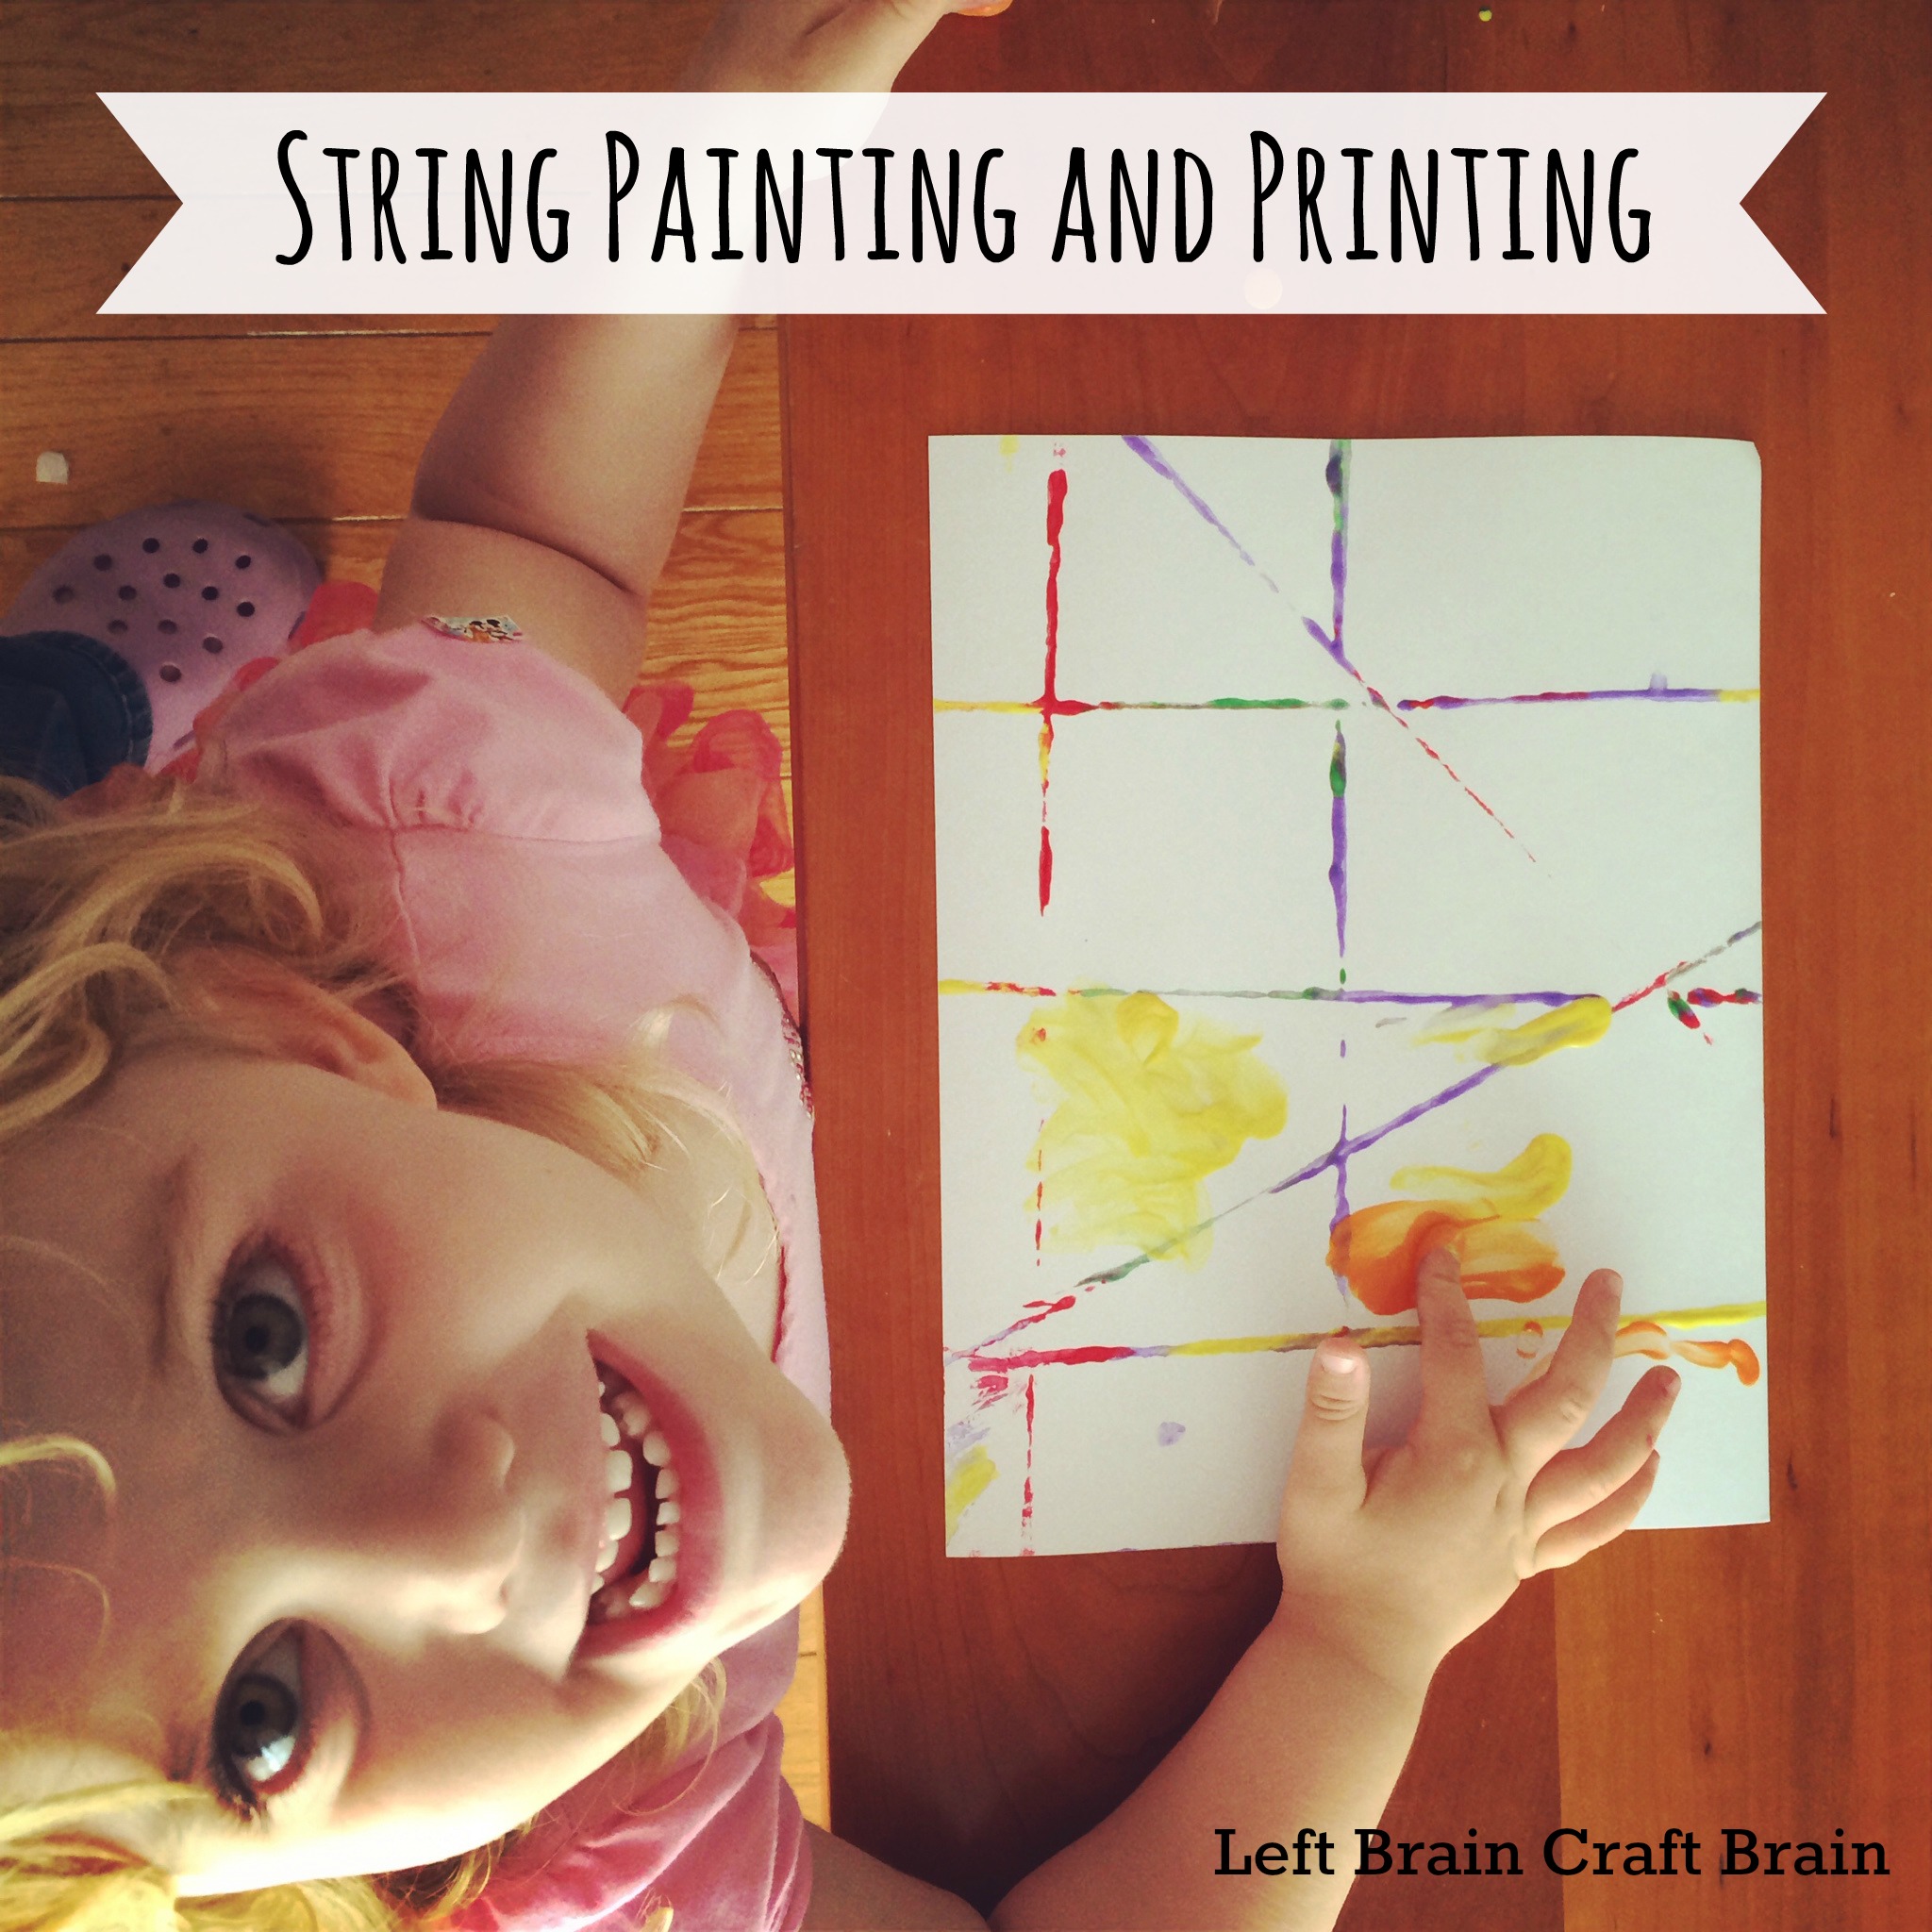
 Painting is pretty much The Babe’s favorite activity. So we do every style of it. Including string painting and printing. This was a super easy one, that even used some recyclable materials. My favorite!
To do some string painting and printing, first find a decent sized box, larger than the paper you want to print. Attach some string in a random pattern by taping along the side. I used my favorite red and white striped kitchen twine. (I used to have a theory that it was time to find a new job when you finished a box of staples. I’m dating myself by talking paper here… Now that I’m a stay at home mama, I believe that it’s time to move to a new house when you finish a spool of twine. These things last forever!!) Make sure that the strings are pulled tight because limp strings won’t print…
Then paint the strings with a variety of colors. (Don’t tell The Hubby that I caught him painting with The Babe… I’m going to turn him into an artist one of these days!) 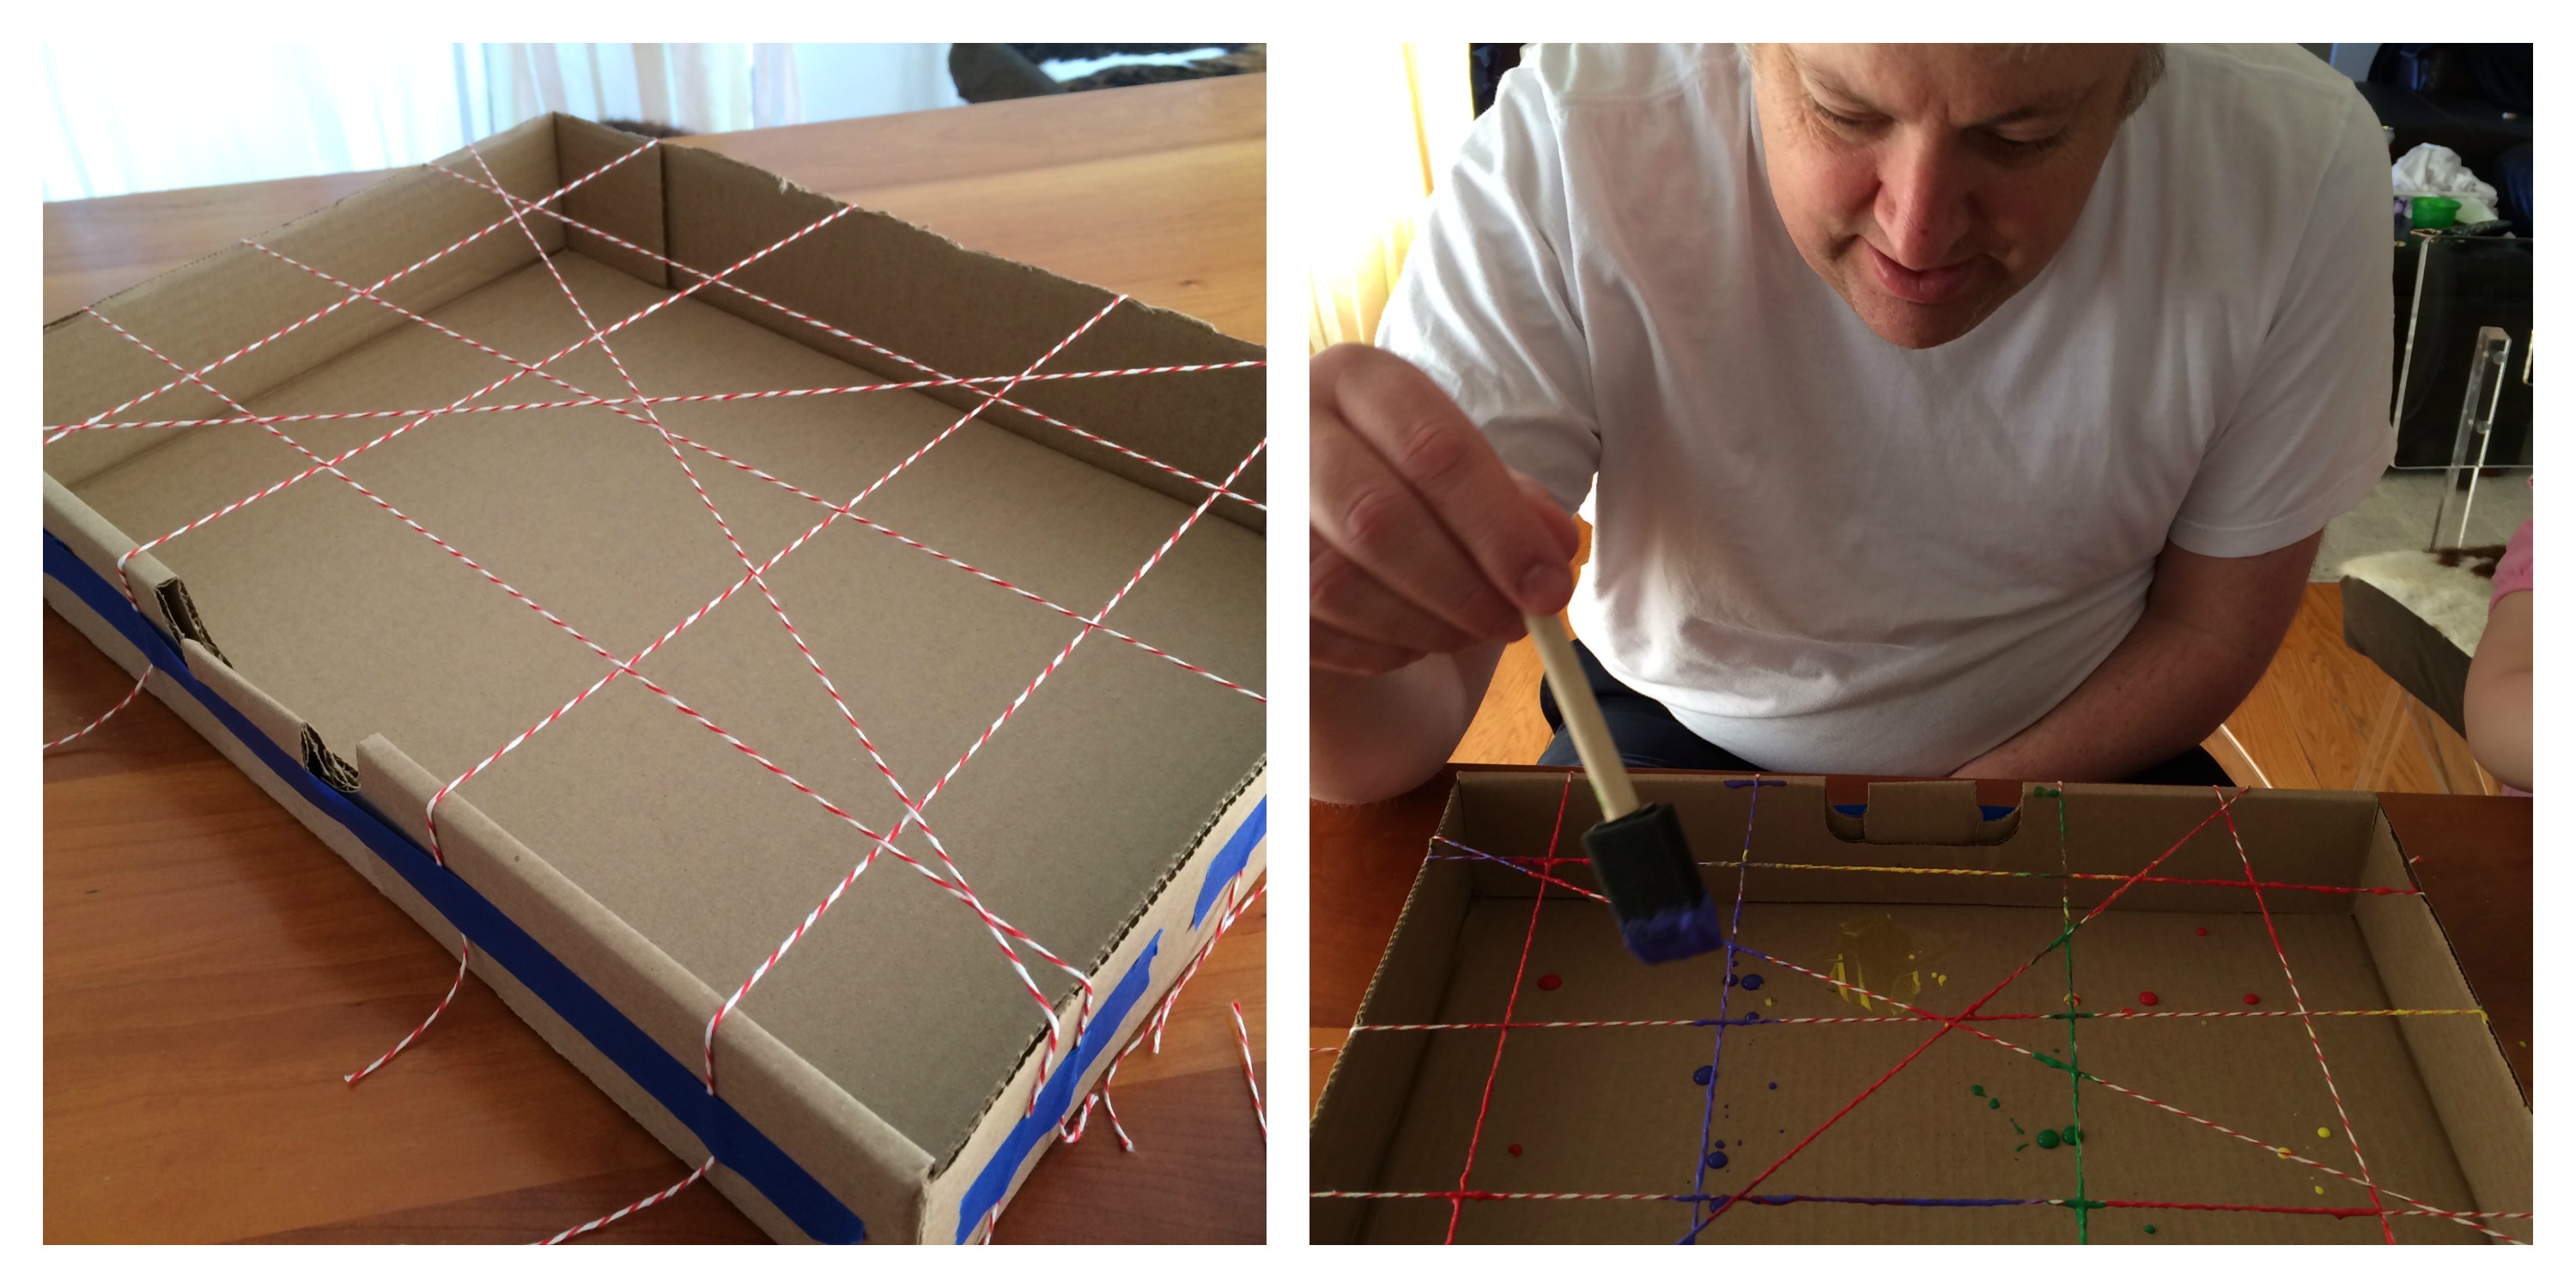 After all the strings are pretty wet with paint, press a sheet of paper evenly onto the strings. Pull the paper strait up to get a clean imprint of the lines. The Babe loved taking these prints one step further by finger painting within the squares and triangles on the paper.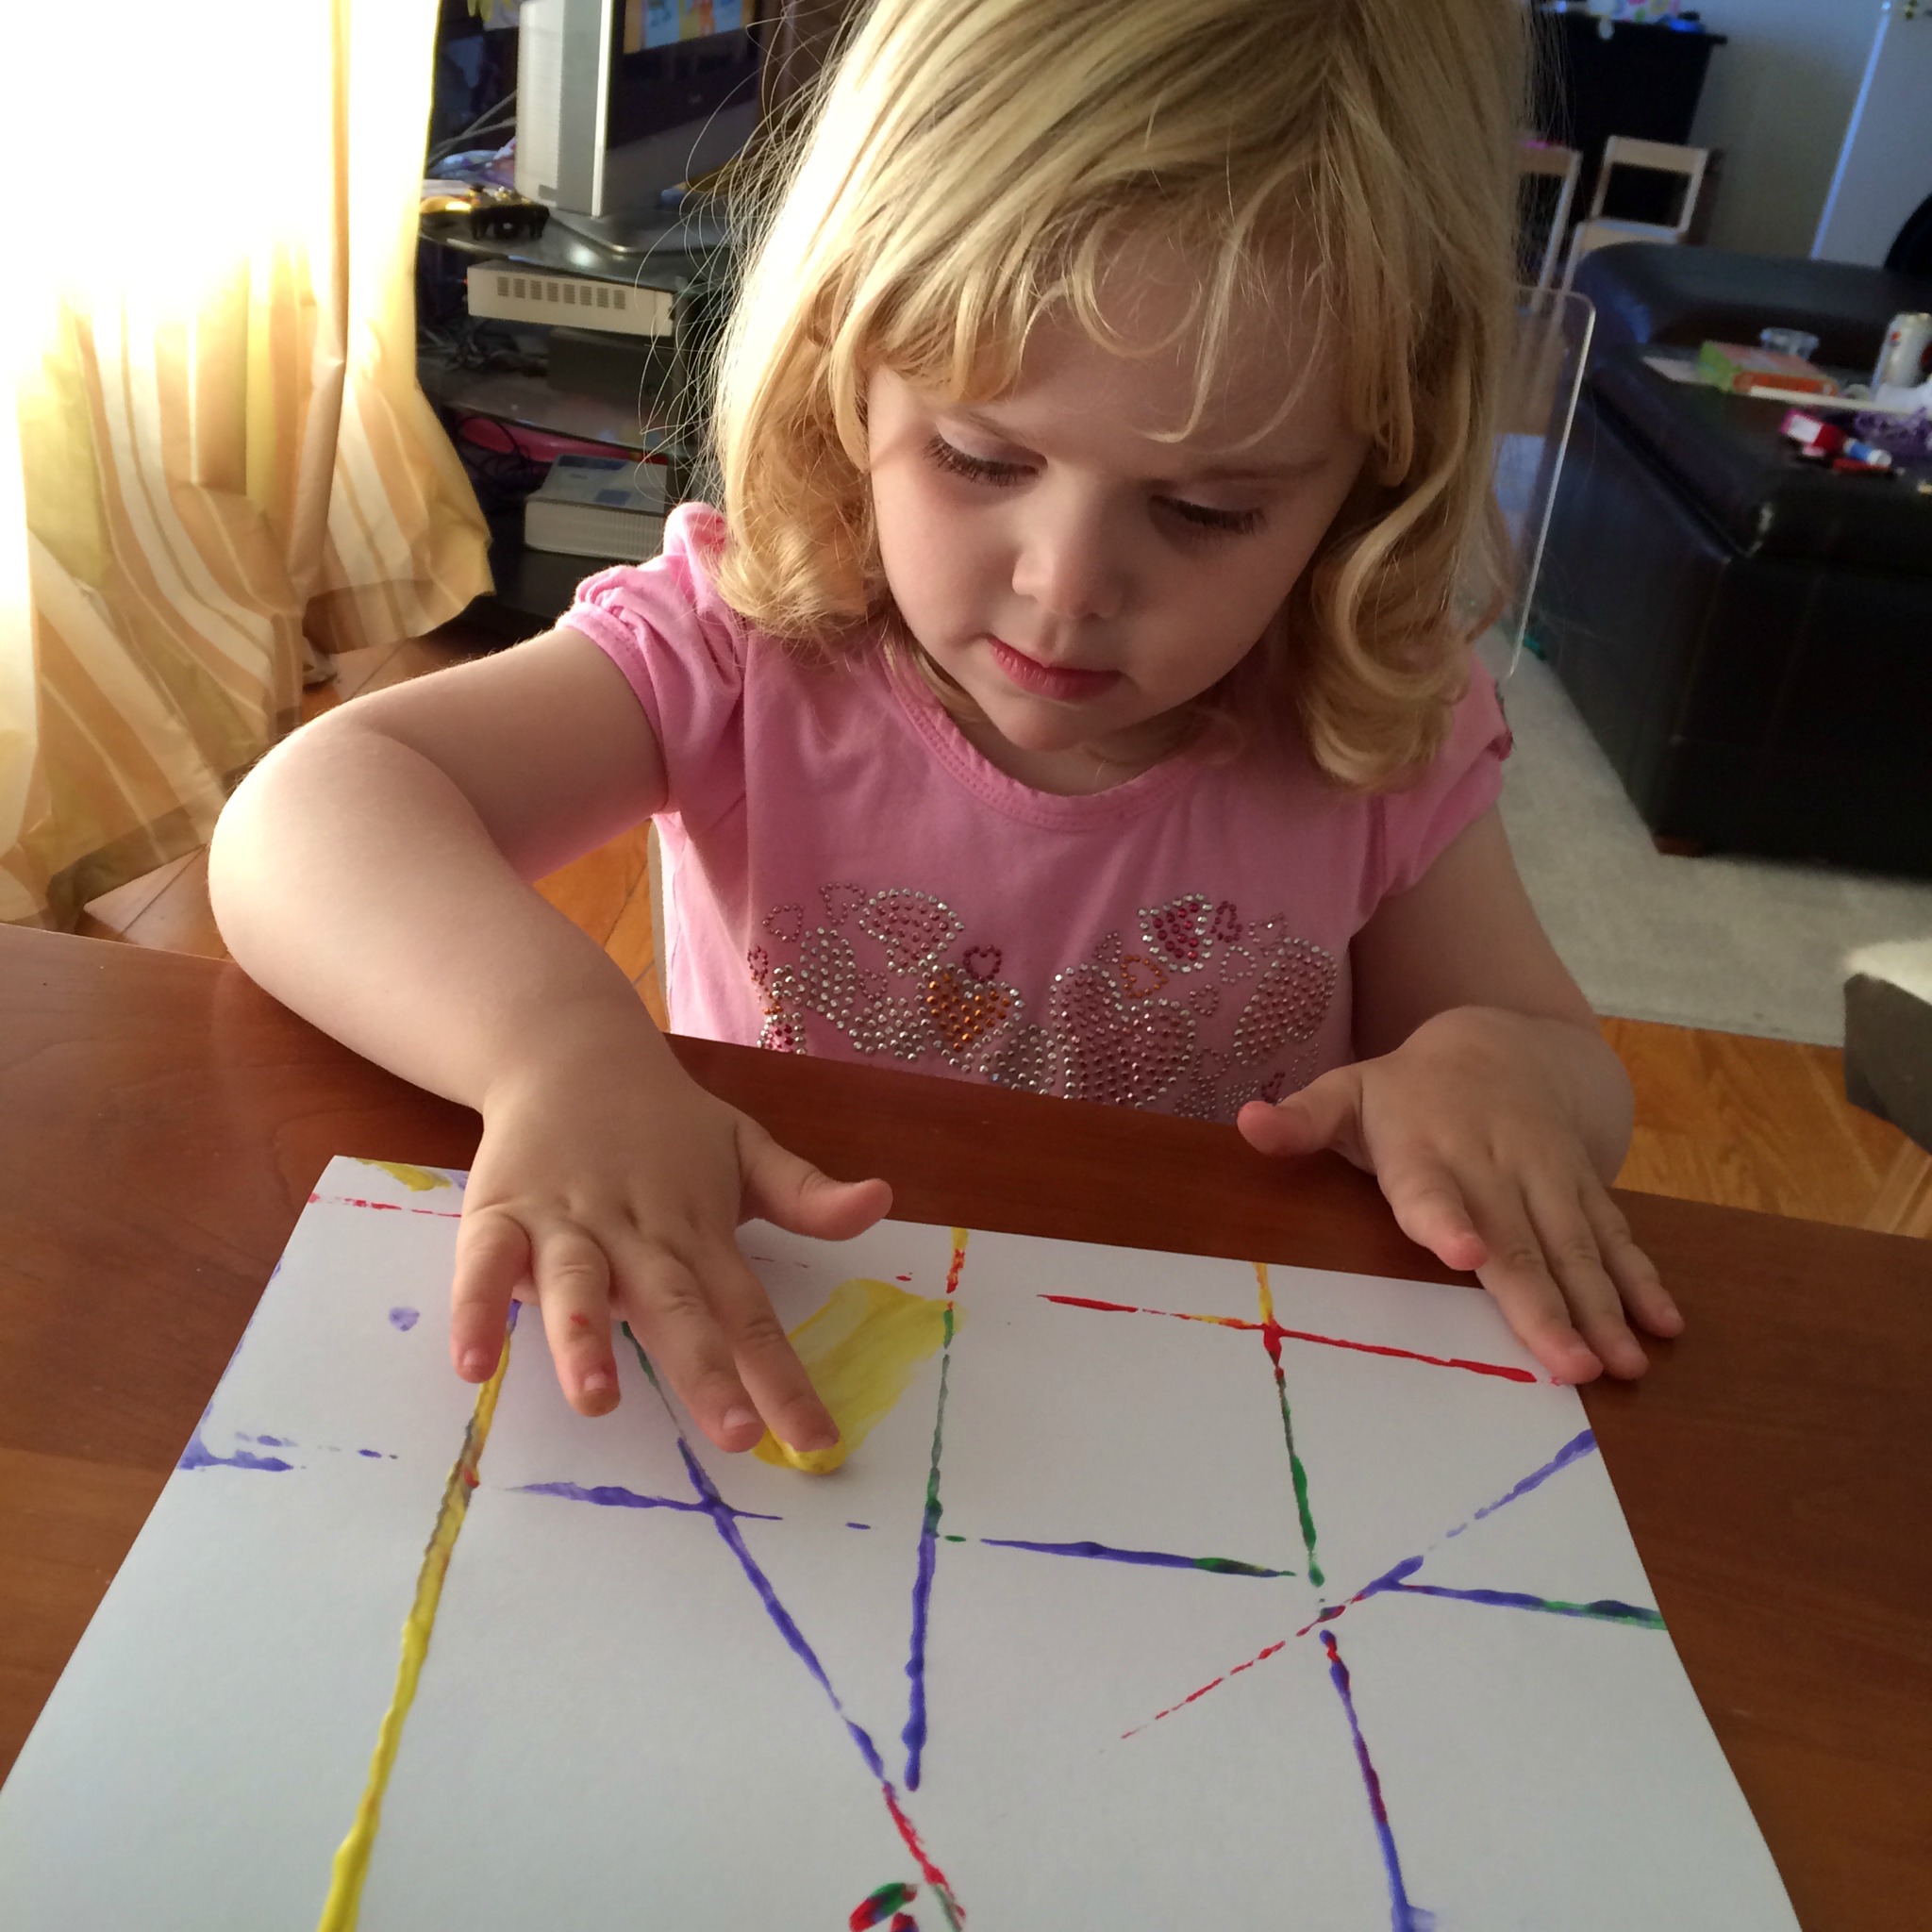
 Need more fun and unique ways to paint? Check out some of the other Left Brain Craft Brain painting posts: