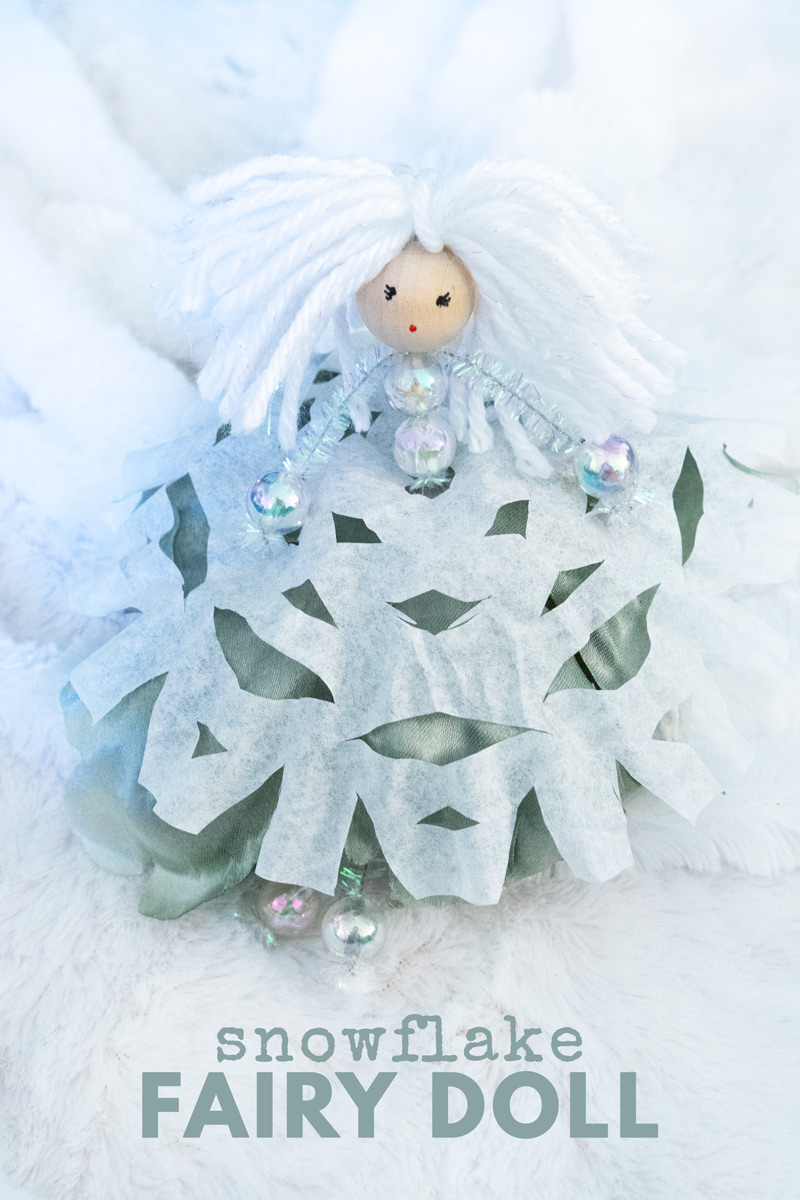
When I was little, I thought that every snowflake that fell in snowy Ohio was a fairy. Unfortunately, you never got to actually meet them because they would melt once they realized you saw them. I’m not totally sure I believe in fairies anymore, but I still believe that snow is magical. And I still wish that we had our very own snowflake fairy here in sunny California. So this year, my daughter and I dreamed up a Snow Fairy Doll that’s made of handmade paper snowflakes. Each doll is as unique as a snowflake, and the child that makes it.
Don’t you just love cutting snowflakes with the kids? I love how every single one is different. This special doll craft highlights the magic that your kiddo puts into their snowflakes!
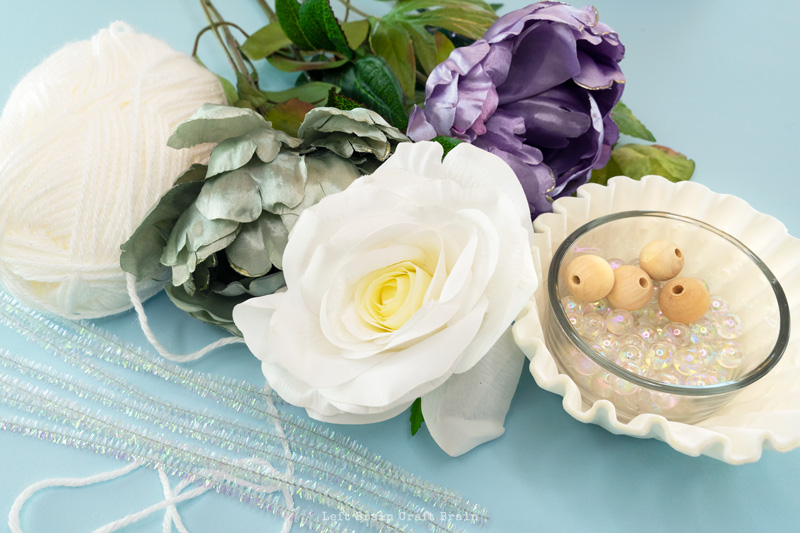
Snow Fairy Doll Supplies Needed
This fairy doll needs a few special materials, but feel free to adjust to what you have! The flowers are a special touch that you can often find at garage sales and second hand stores inexpensively. But if they’re out of budget, just add a few more snowflakes for a full skirt. Please note, I have provided links for supplies as they are hard to find in stores and as an Amazon Associate I earn from qualifying purchases. This is at no cost to you.
- Basket coffee filters (1 per doll)
- Scissors
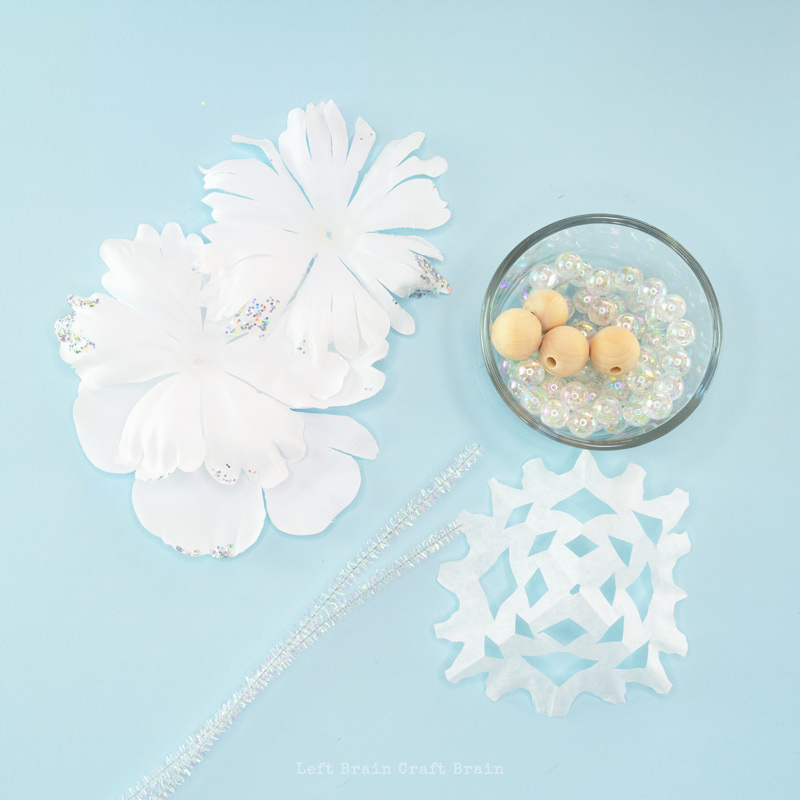
- Silk flowers (See description below for the kind that works. Typically 1 flower makes 2-3 dolls.)
- White sparkly pipe cleaners (2 per doll)
- Crystal beads (7 per doll)
- 3/4″ diameter wooden beads (1 per doll)
- White sparkly yarn (6 feet per doll)
- Black and red fine tip markers
I like my crafts to feel inclusive… And these pale wooden beads don’t quite do it. To offer different skin tones in your face beads, soak the wooden beads in brown food coloring or liquid watercolors and water until desired color and let dry.
How to Make a Snow Fairy Doll
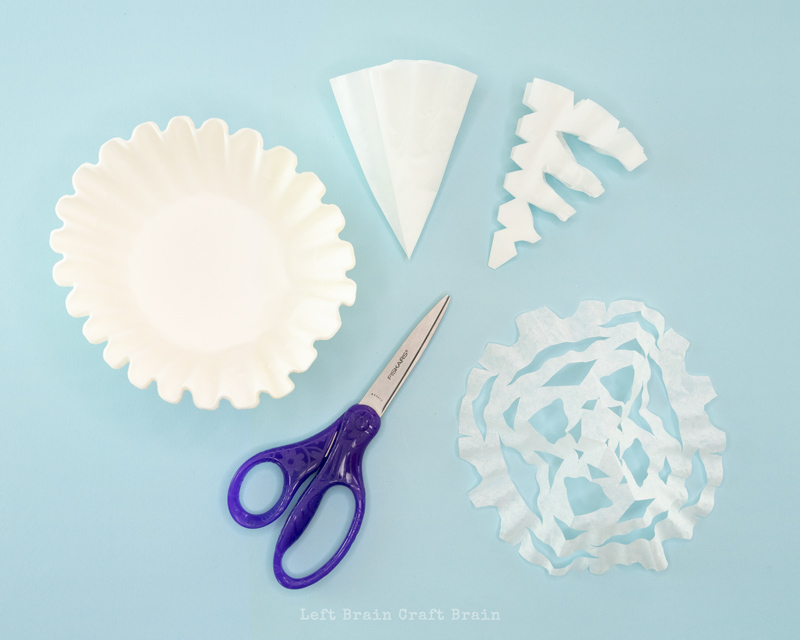
First, cut your snowflake out of the coffee filter.
- Fold the coffee filter in half, then in half again, then in half one more time (3 times total). Check the length of your triangle. You want it to be shorter than the length of your flower petals. Cut to size as needed.
- Cut a very small snip off the point of the coffee filter. This is where the dress will be held together.
- Cut any design you would like into the coffee filter. The more cuts, the more the flowers will show.
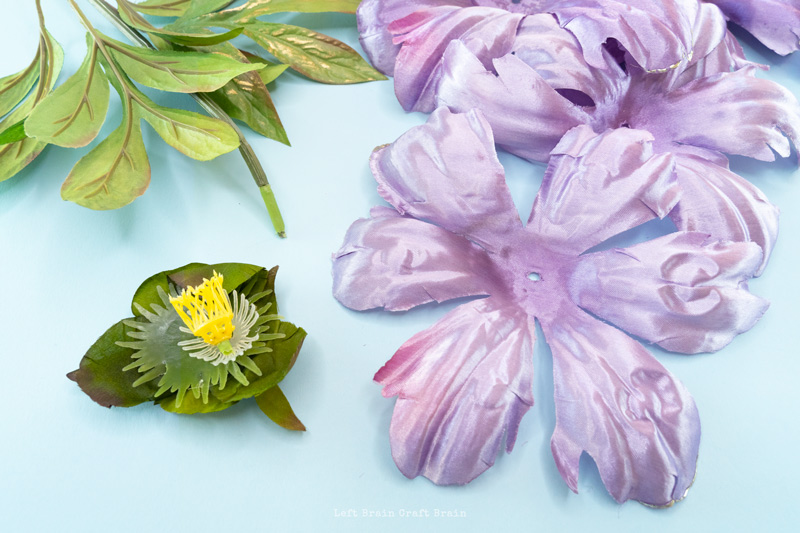
- Now let’s dismantle our silk flowers. The kind that work the best are those that have a small plastic center piece that holds the stem on. Pull that off and remove the petals.
How to Assemble a Snow Fairy Doll
Now it’s on to the adorable part… assembling the doll. Don’t be intimidated by the number of steps! It’s way easier to do that to write instructions for!!
- Grab one pipe cleaner and fold it in half.
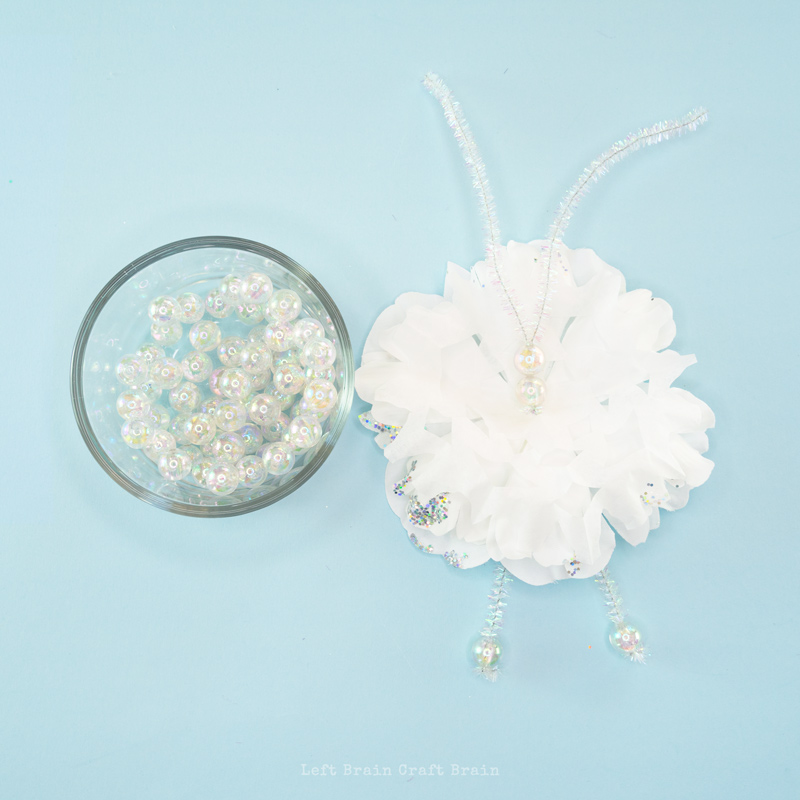
- Feed the folded end of the pipe cleaner through the hole in two to three flower petals, then the hold in the center of the snowflake.
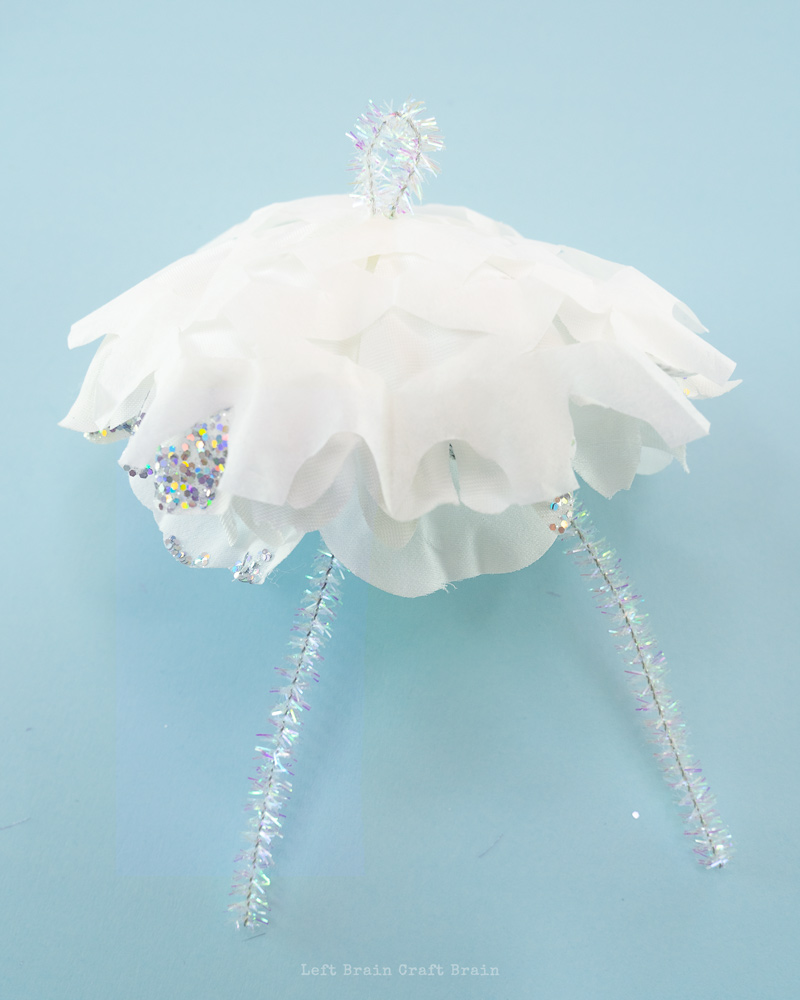
- Feed your second pipe cleaner through the folded end of the pipe cleaner on top of the snowflake and fold the second pipe cleaner in half. Twist to secure.
- Feed the two pipe cleaner ends coming out the bottom of the flower petals through a crystal bead. Pull it tight against the petal. This secures the flowers and snowflake.
- Now let’s make the legs and feet. Cut the ends of the pipe cleaners underneath the petals to desired length plus an extra 1/2″. Place a crystal bead on each leg, fold the end of the pipecleaner back into the bead and twist to secure.
- And, on to the body. Feed both ends of the top pipe cleaner through two crystal beads. Pull tight against snowflake and twist to secure.
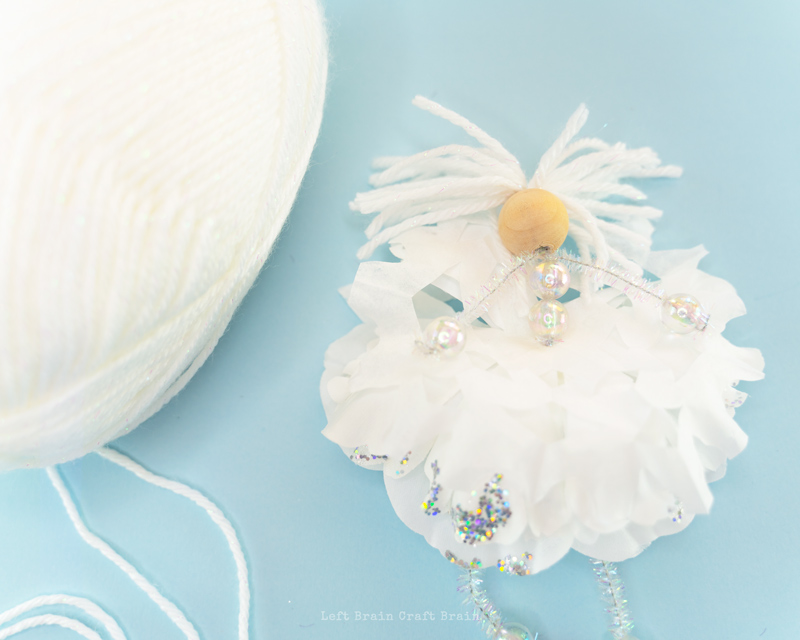
- Feed one end of the pipe cleaner through the wooden bead. Now let’s make some hair!
- Cut a 6 foot length of yarn. An easy way to measure this is put the end of the yarn in one hand and then stretch it all the way across your open wing span. Add or subtract a few inches of yarn based upon your height different with 6 feet. If you want more hair, cut your yarn even longer.
- Fold the yarn in half and keep folding in half until the yarn is twice as long as you want the dolls hair to be. Lay across the hole at the top of the wooden bead and bend pipe cleaner over the yarn and feed it back through the wooden bead. Pull until the hair is secure and the wooden bead is flush with the top crystal bead.
- Cut all but one loop of yarn to style the hair. This last loop can be used to hang the doll on a tree or garland if you want.
- The two ends of the pipe cleaners will now become the arms. Just like with the legs, cut to desired length plus 1/2″ and feed through a crystal bead, fold over and secure.
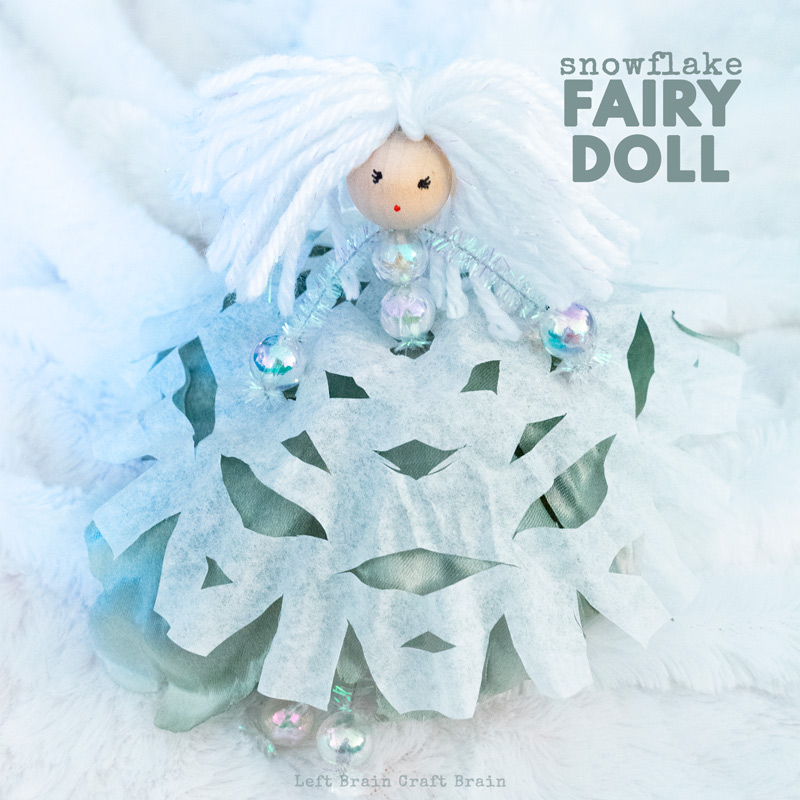
The last step is to add the face! I made a simple sweet set of eyes and lashes and a little round mouth with fine point pens.
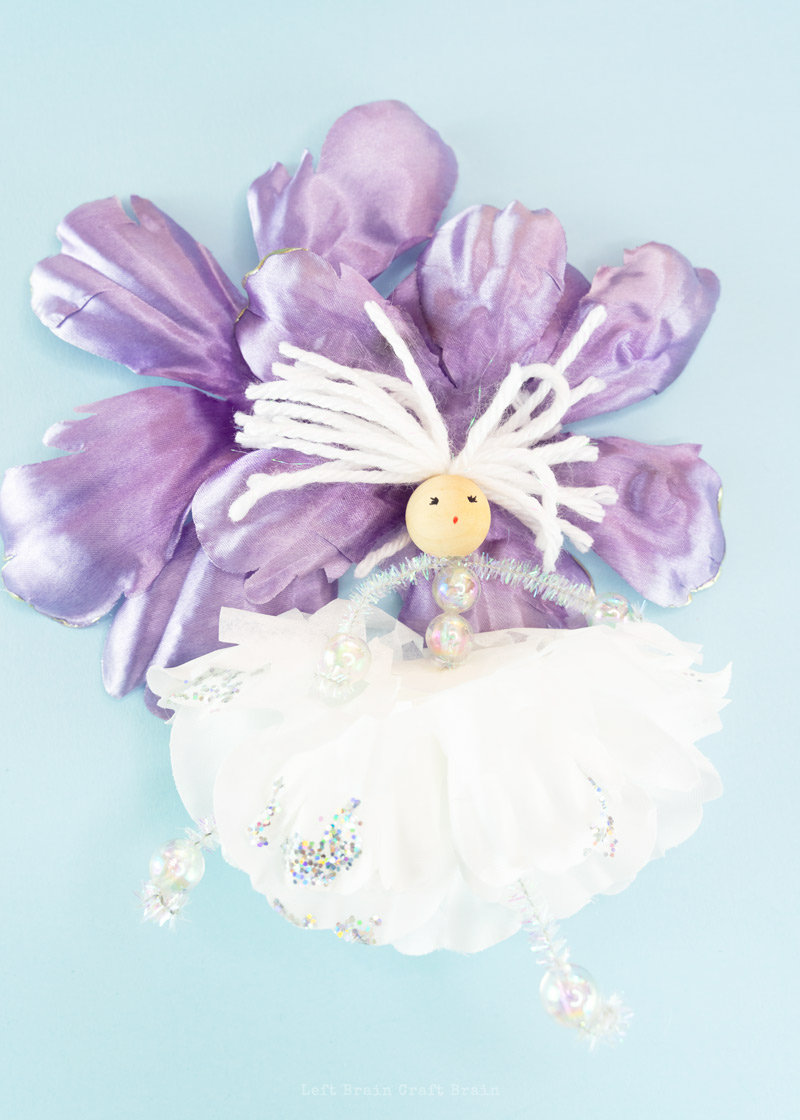
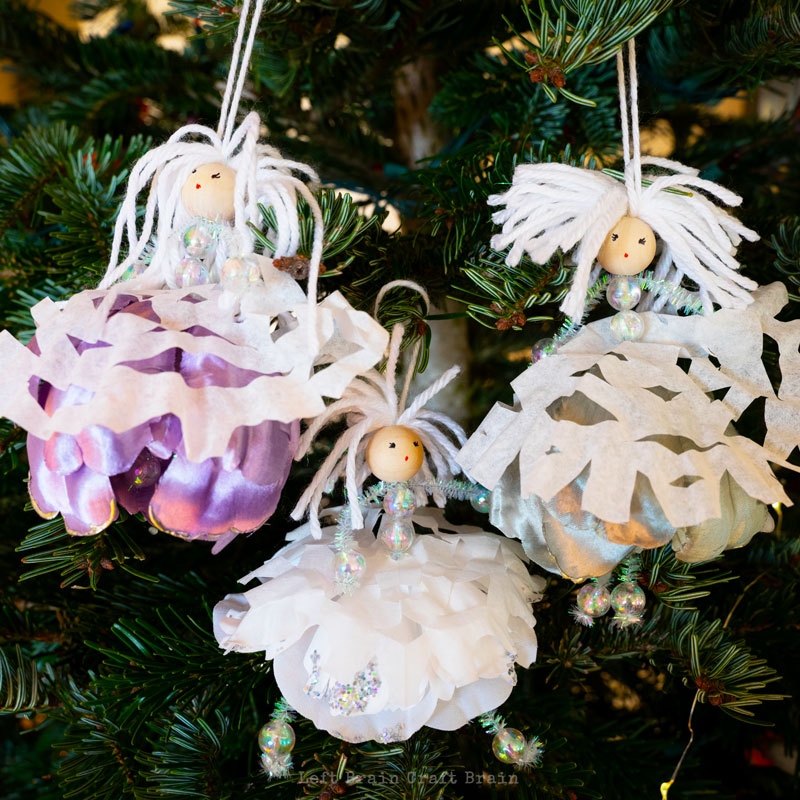
These dolls can be used however you want! We hung them on our Christmas tree. They would make a gorgeous garland or present topper, too.


More Winter Fun!
This sweet snowflake fairy doll is part of a super festive series happening on Instagram called Craftmas! Be sure to jump over there for some kid-made holiday inspiration.
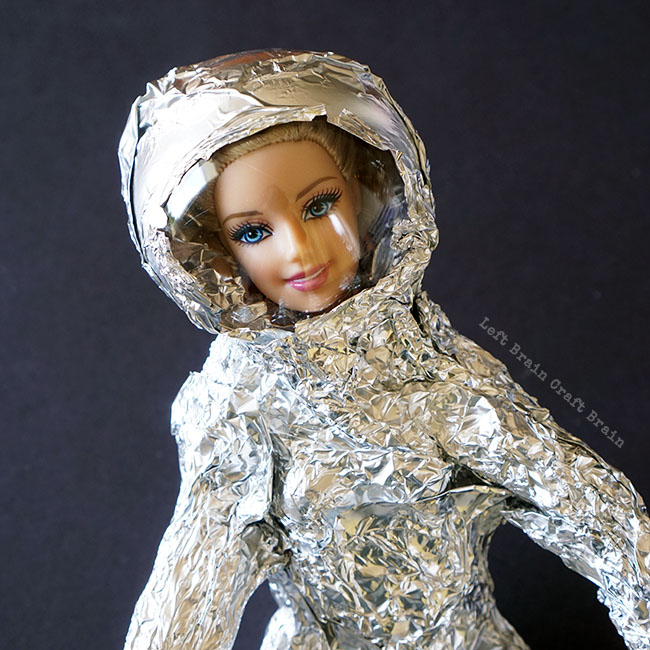
 Do the kids love dolls? Check out this other fun doll tutorial that helps your kiddo turn any of their dolls into an astronaut. And helps them dream big.