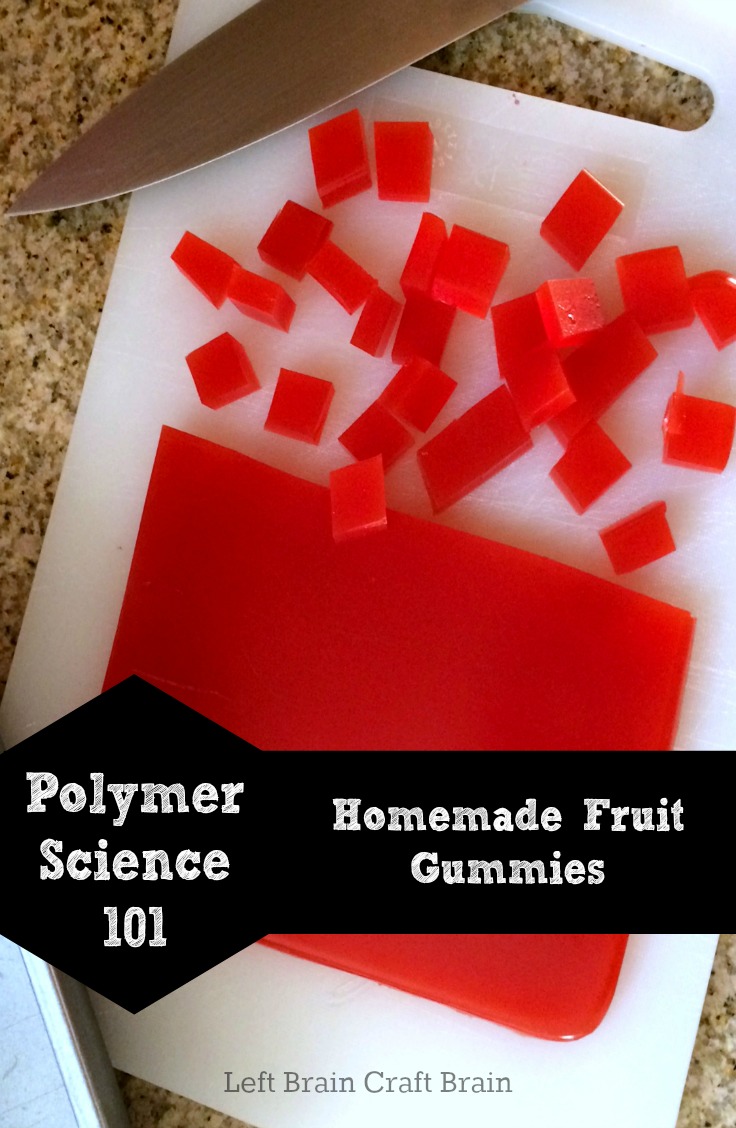
 Did you know that fruit gummies are made of polymers? They’re made with gelatin, which consists of nature’s most common polymer, protein. Today’s science lesson for The Babe was all about polymers and we made some fruit gummies to make the lesson more yummy.
The Babe is only three. Does that sound a little young to be teaching a kiddo about polymers? No! You’re never too young to learn about one of nature’s building blocks. Plus, I was a polymer engineer in my past life, so I could go on and on about this stuff. Some fun ways to help a kiddo visualize what a polymer chain looks like are:
- marshmallows and toothpicks (just like the Marshmallow Castle)
- paper chains
- link up toys
- link necklaces
A polymer is a compound formed of many molecules strung into long chains. Each of these molecules is called a Monomer (mono meaning one…). When they string together into a chain they become a Polymer (poly meaning many…). Polymers take up different physical characteristics depending upon what molecules they are made of and how they link together. They can be gummy, stretchy, hard, clear, cloudy, etc. Think of all the plastics you see (or are trying to minimize using to save the earth) in your daily life (milk jugs, plastic bags, coat hangers, car bumpers, shampoo bottles, toys, toys, toys…). Polymers like DNA are critical to the human body and the world around us as well.
For our last part of the polymer science lesson, I decided to make fruit gummies with gelatin. Fruit gummies are one of The Babe’s biggest joys in life, but the store bought ones are often filled with junk. Homemade ones are super easy to do, especially with a little kitchen helper.
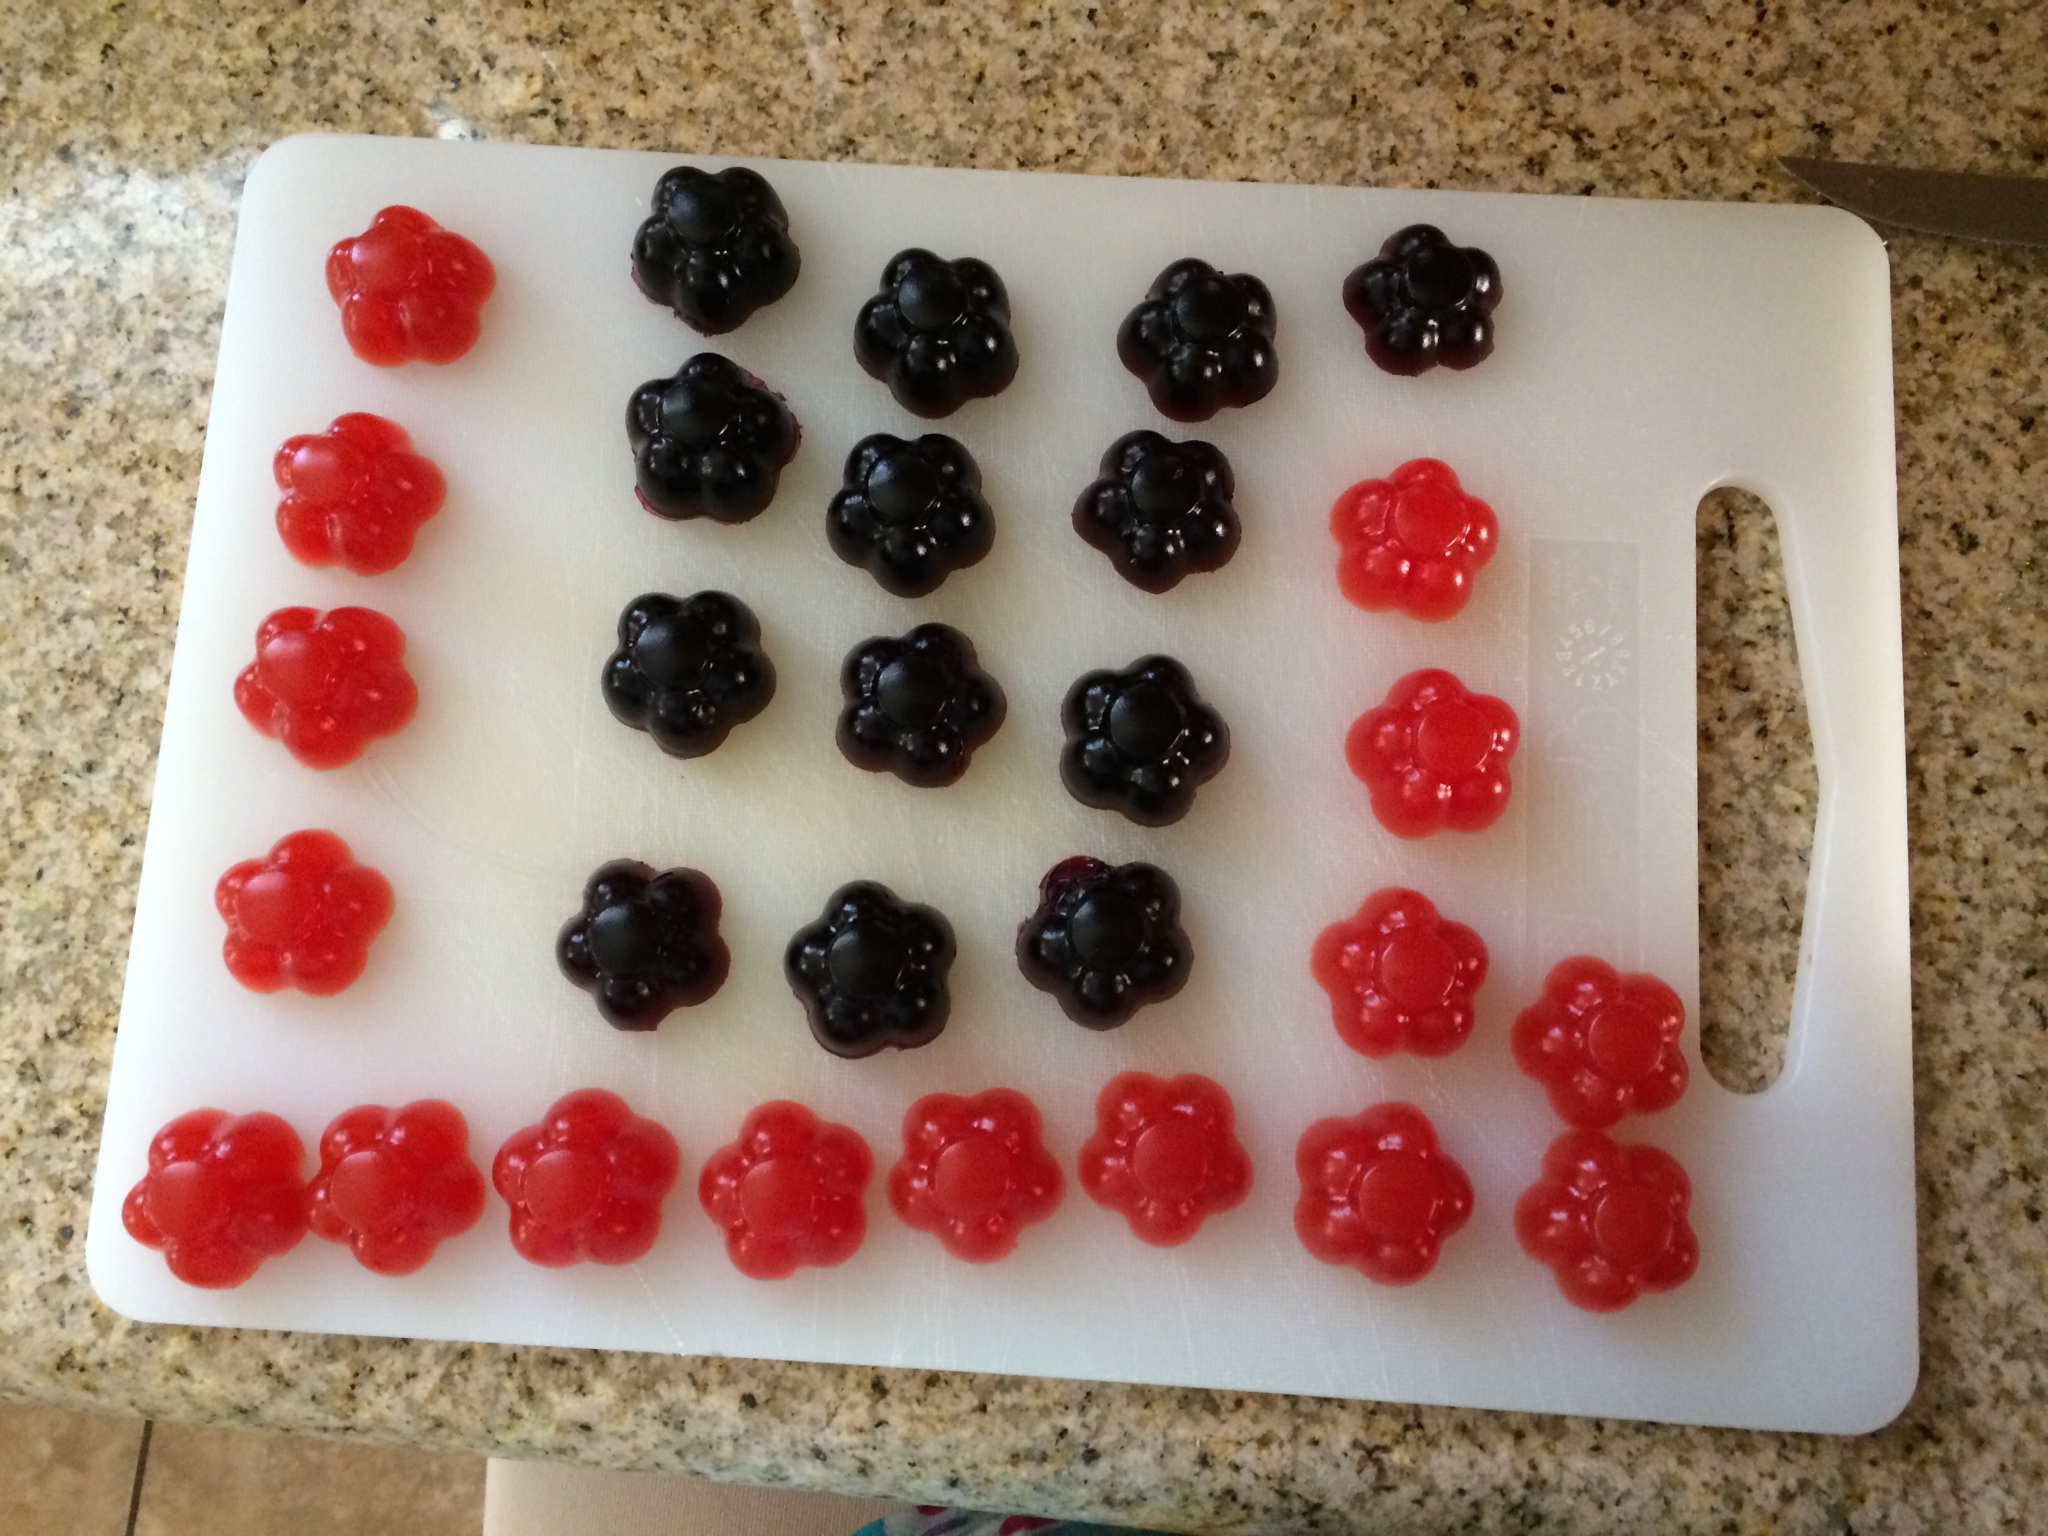
So how does it work? Gelatin’s proteins form a triple helix (i.e. spiral) polymer chain which allows the food to gel once the molecules in the juice intersperse within the gelatin’s helix. Picture it getting bigger like a slinky you’ve stuffed with tennis balls. The degree of gelling or expansion of the helix, as well as the physical characteristics of the gummies depends upon what the gelatin is mixed with. I found the juice gummies to be a little more like a Jello jiggler while the fruit puree ones are a little chewier, especially if you leave the seeds in.
 Juicy Fruit Gummies
2 cups fruit juice
4 packets Knox Gelatin (other brands are fine, check package size if using a different brand)
Honey to taste
- Pour 1 1/2 cups of juice into a small sauce pan. Heat over medium heat until it reaches a gentle boil.

- While juice heats, pour remaining 1/2 cup of the juice into a small bowl. Add gelatin and let bloom for five minutes. Teach kiddo about polymer science.
- Add gelatin to heated juice and stir until fully dissolved.
- Take a quick taste of the juice mixture. Is it sweet enough for you? Add honey and stir until it is.
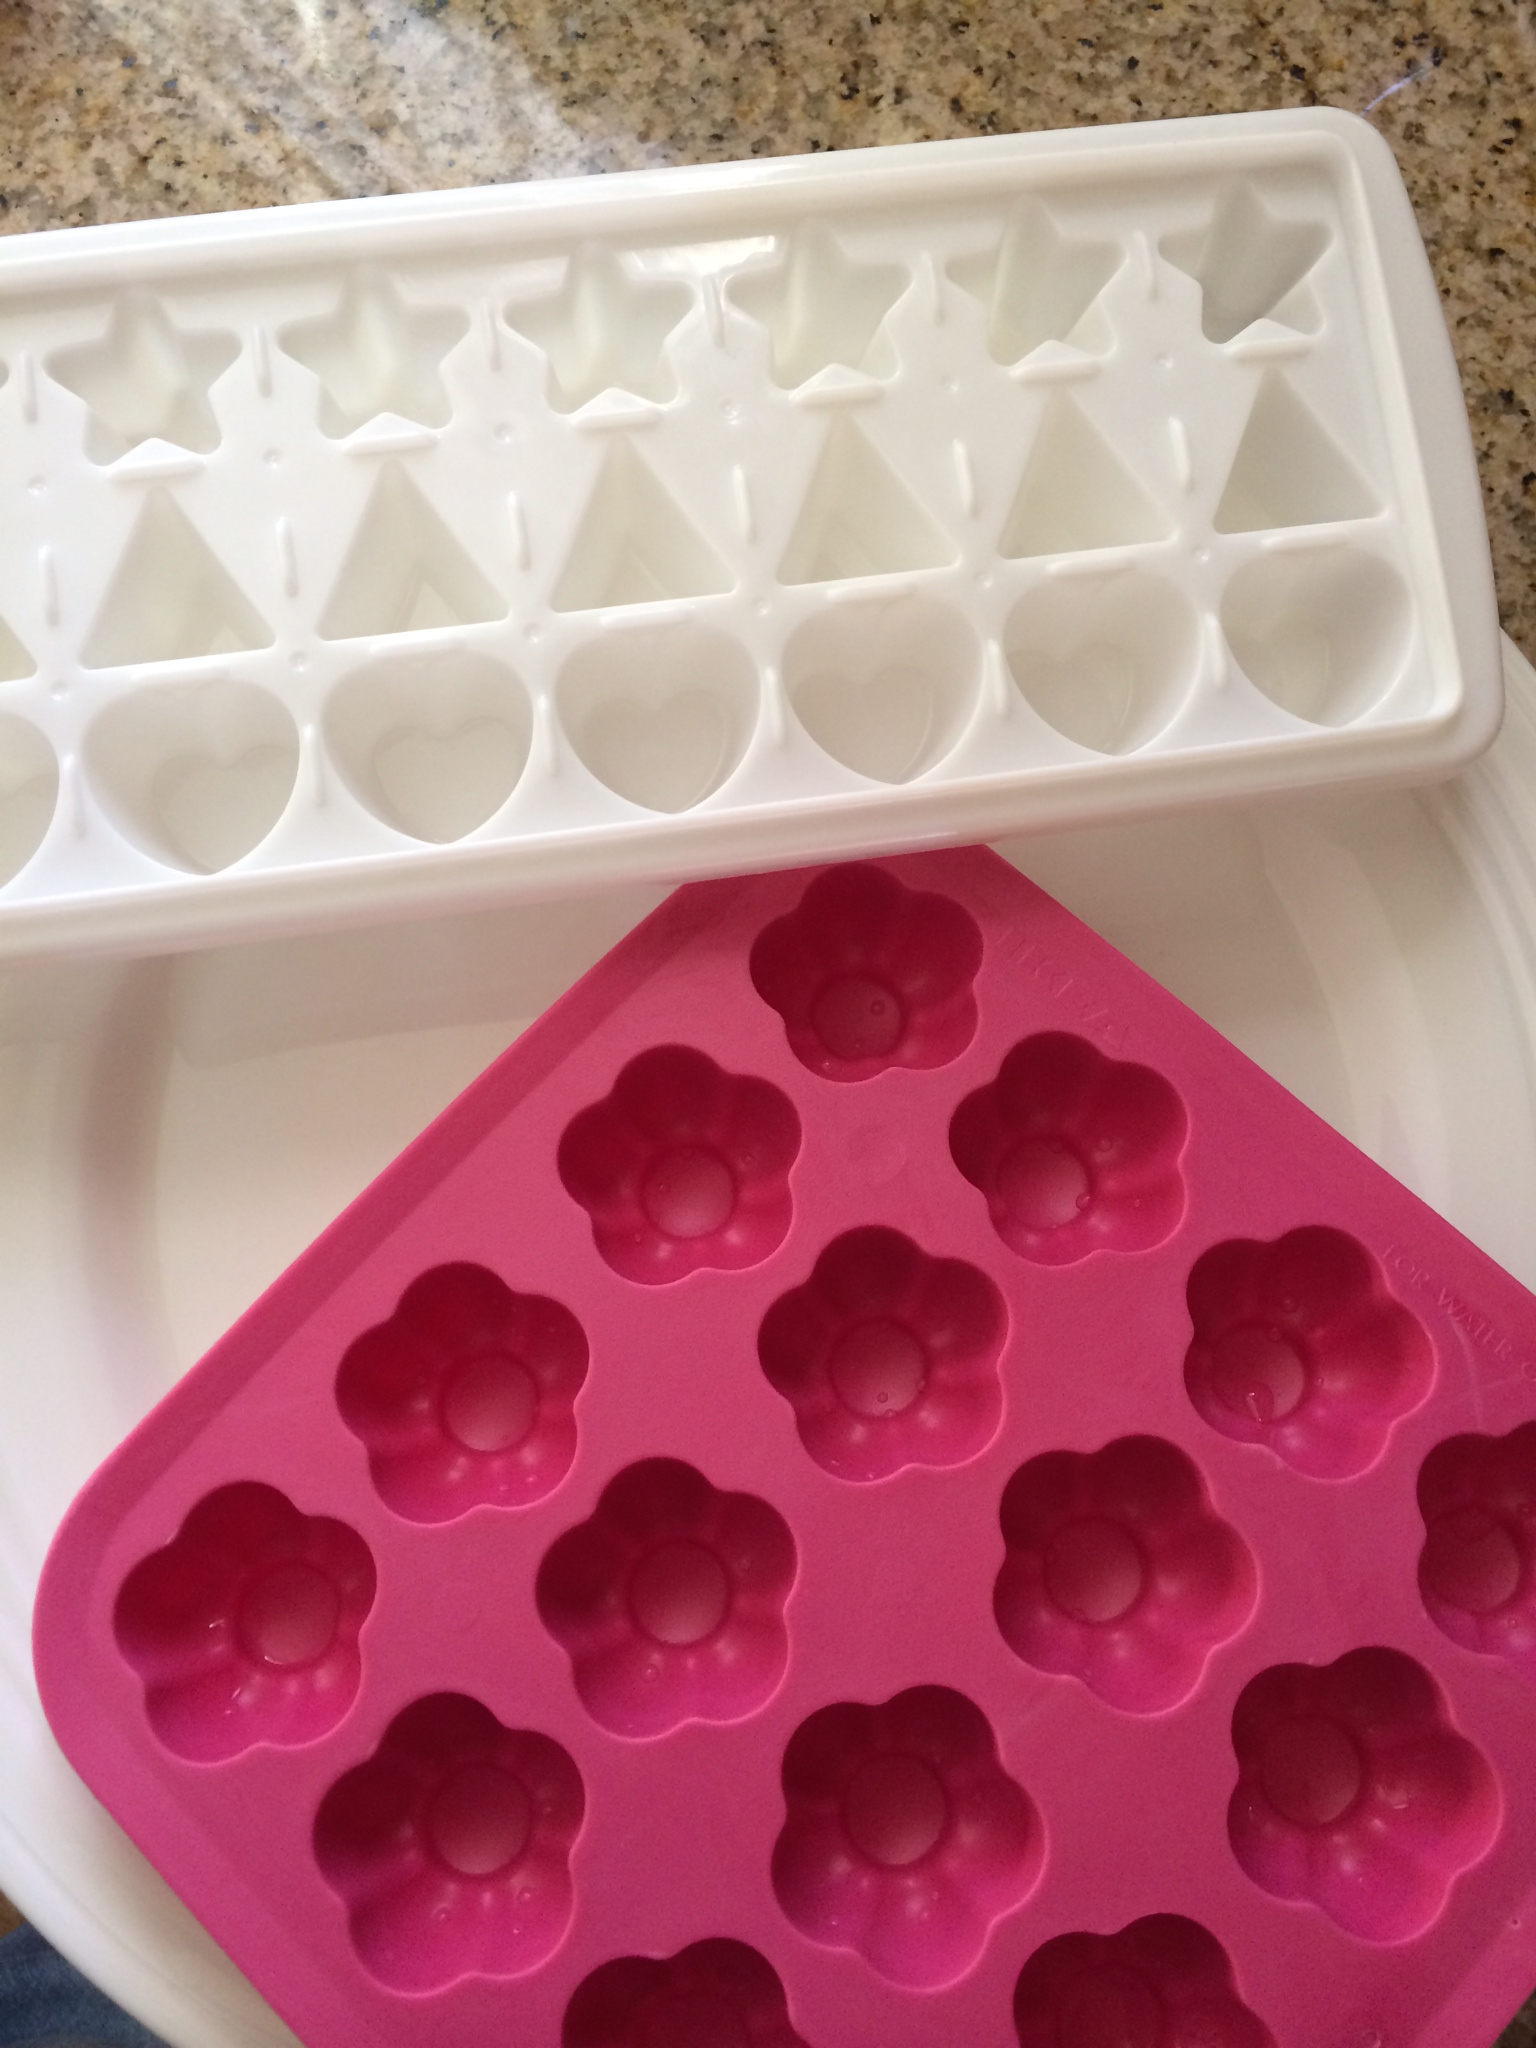
- Pour mixture into silicone candy or ice molds or a 9×9 metal baking pan. Round shapes like hearts work better than pointy shapes like stars.
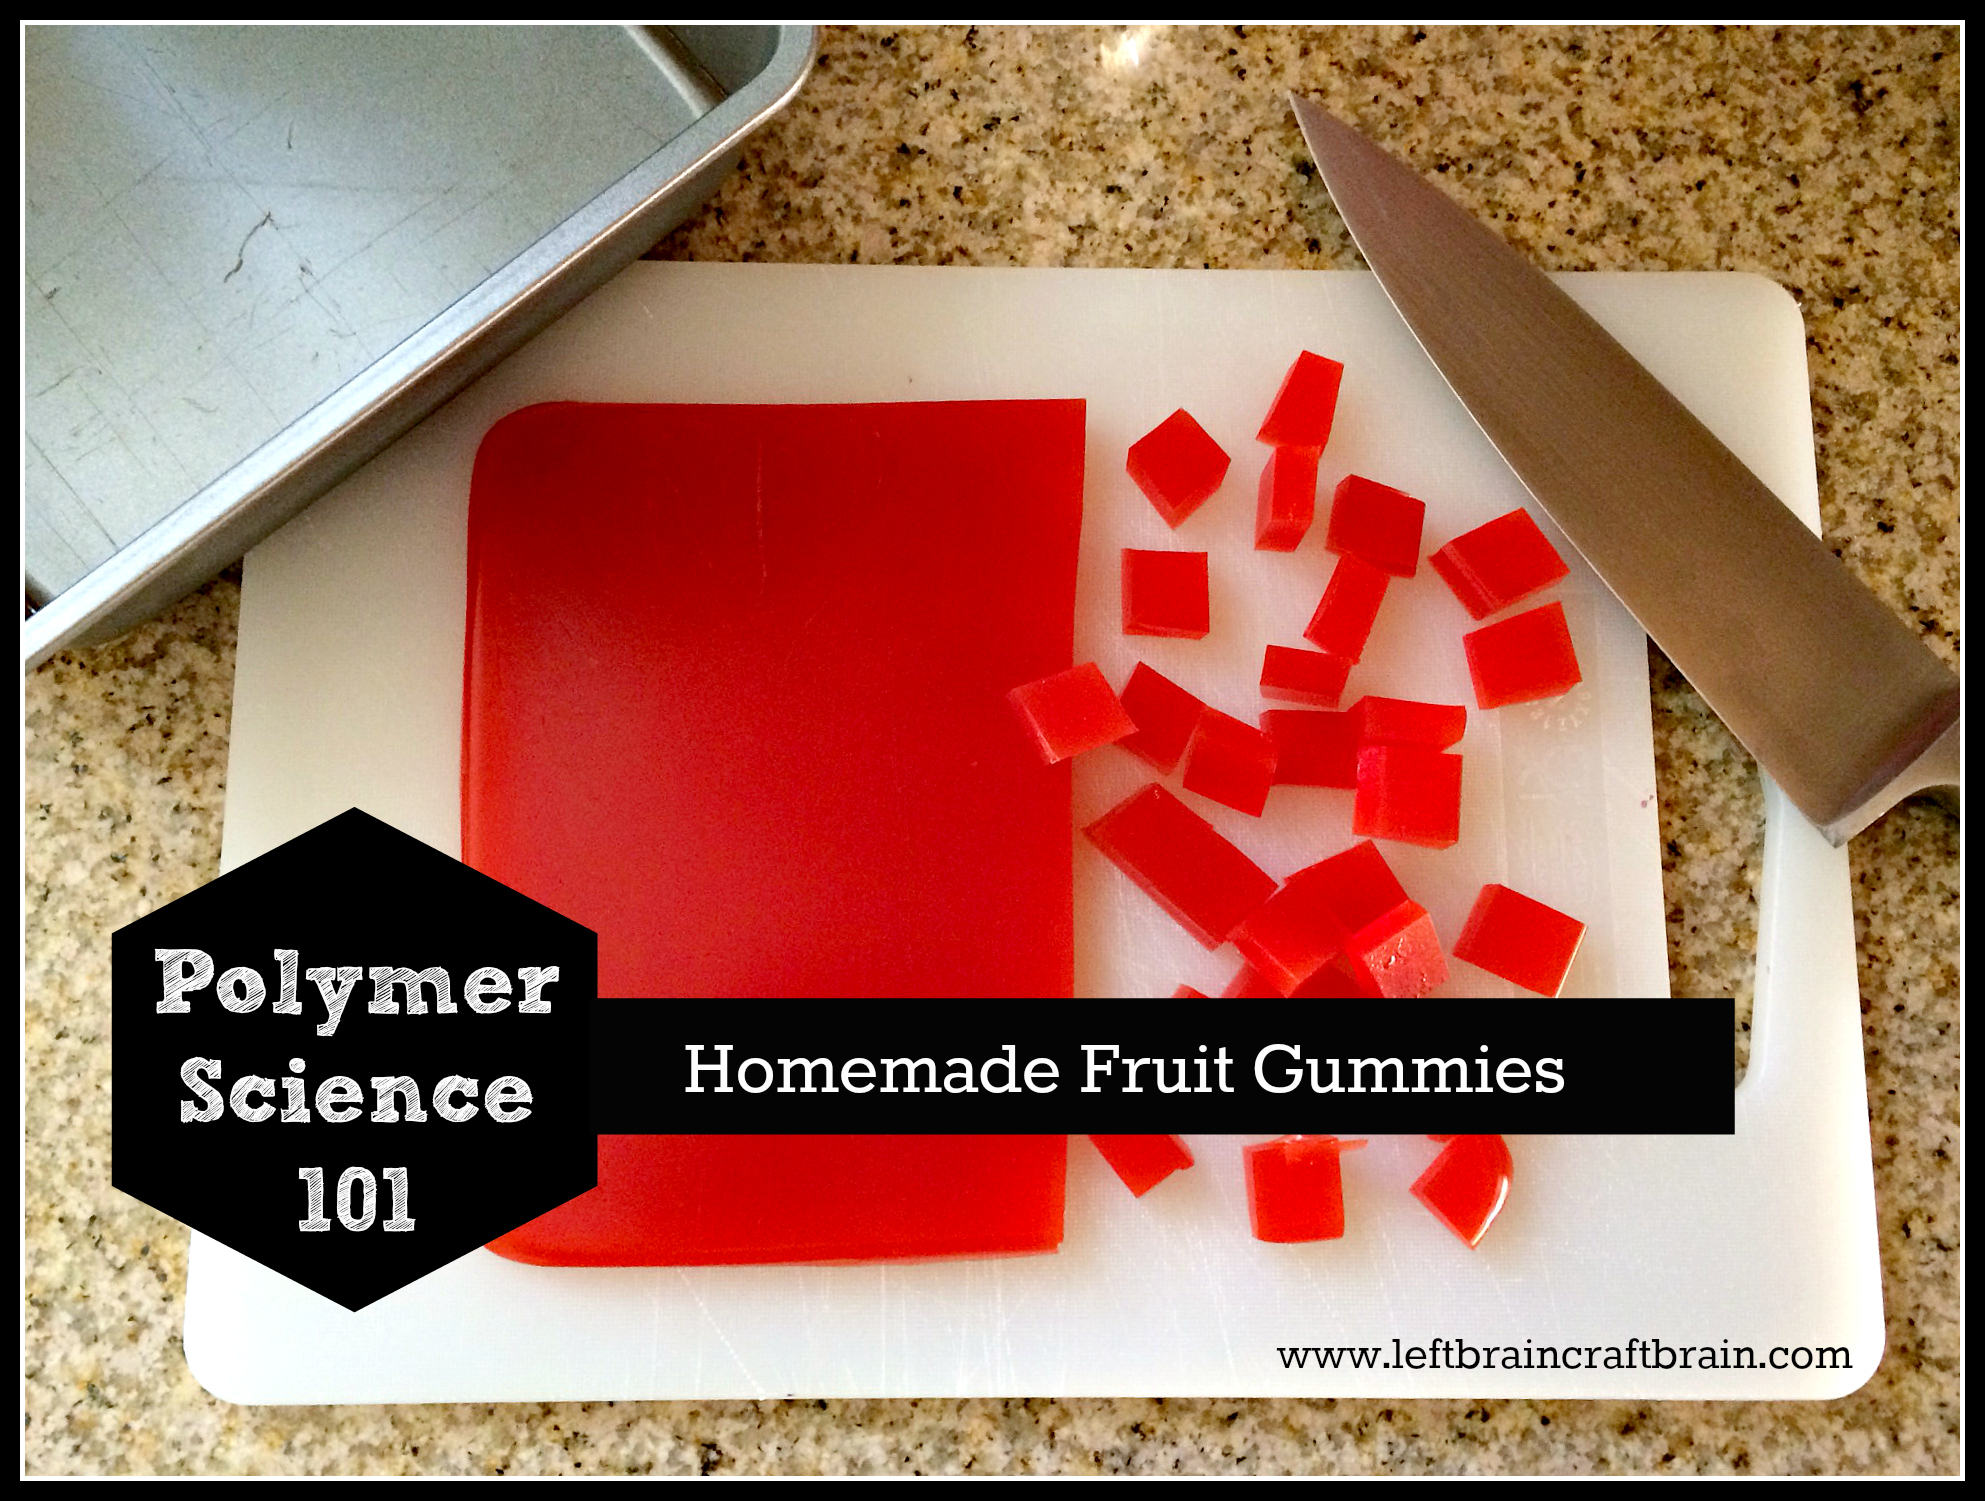
- Chill for 1-2 hours and remove from pans / trays. If gummies don’t come out easily, chill for another half hour. If you used the 9×9 pan, pull out gummy in one piece by running a knife along edges. Then place on a cutting board and cut into squares of desired size.
- Store in refrigerator for up to 3-4 days.
Fresh Fruit Gummies
4 cups fresh fruit such as strawberries, blueberries, or peaches (or a blend of fruits)
1/2 cup fruit juice (pick flavor to match fruit)
3 packets Knox Gelatin (other brands are fine, check package size if using a different brand)
Honey to taste
- Place fruit in blender or food processor and blend until
 smooth. Strain the puree through a sieve if you want to remove seeds.
 - Pour puree into a small sauce pan. Heat over medium heat until it reaches a gentle boil.
- While puree heats, pour 1/2 cup juice into a small bowl. Add gelatin and let bloom for five minutes. Teach kiddo about polymer science.
- Add gelatin to heated puree and stir until fully dissolved.
- Take a quick taste of the fruit mixture. Is it sweet enough for you? Add honey and stir until it is.
- Pour mixture into silicone candy or ice molds or a 9×9 metal baking pan. Round shapes like hearts work better than pointy shapes like stars.
- Chill for 1-2 hours and remove from pans / trays. If gummies don’t come out easily, chill for another half hour. If you used the 9×9 pan, pull out gummy in one piece by running a knife along edges. Then place on a cutting board and cut into squares of desired size.
- Store in refrigerator for up to 3-4 days.
 smooth. Strain the puree through a sieve if you want to remove seeds.
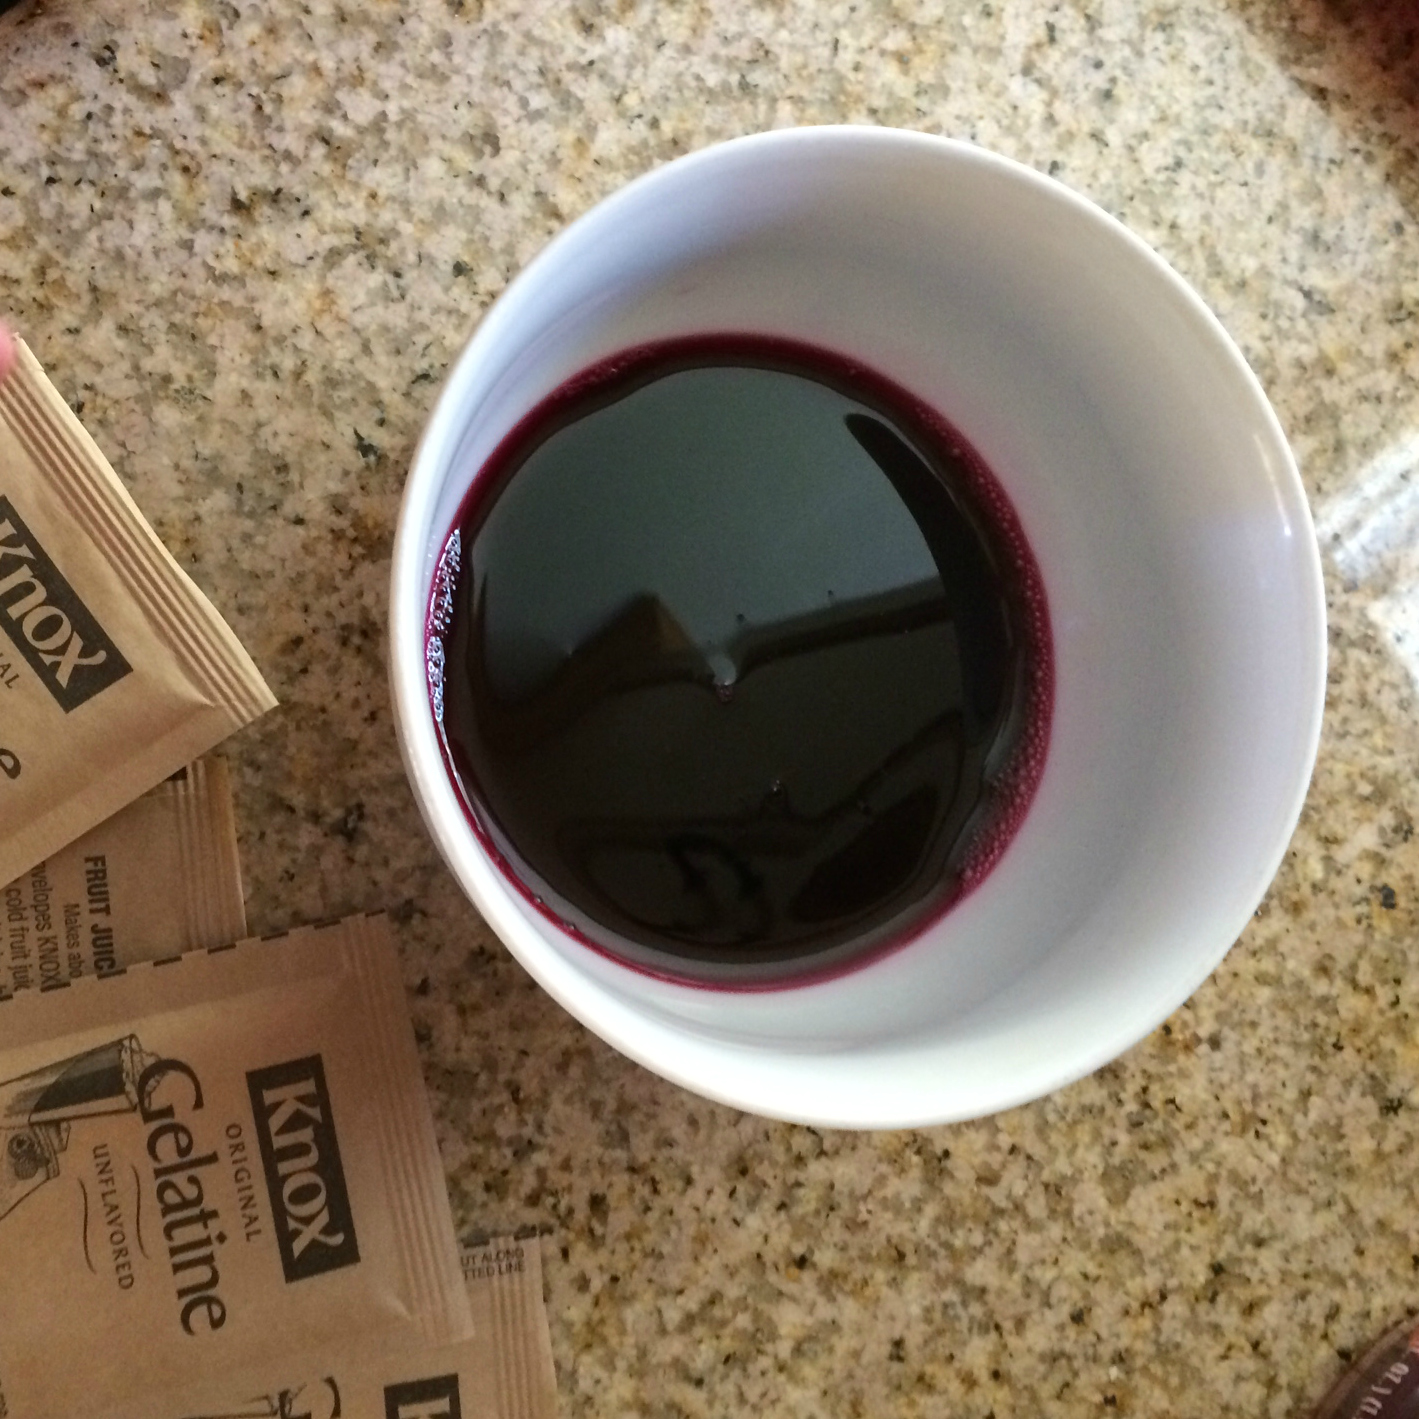
Let me know in the comments how your batches of fruit gummies went. What are your favorite flavors?