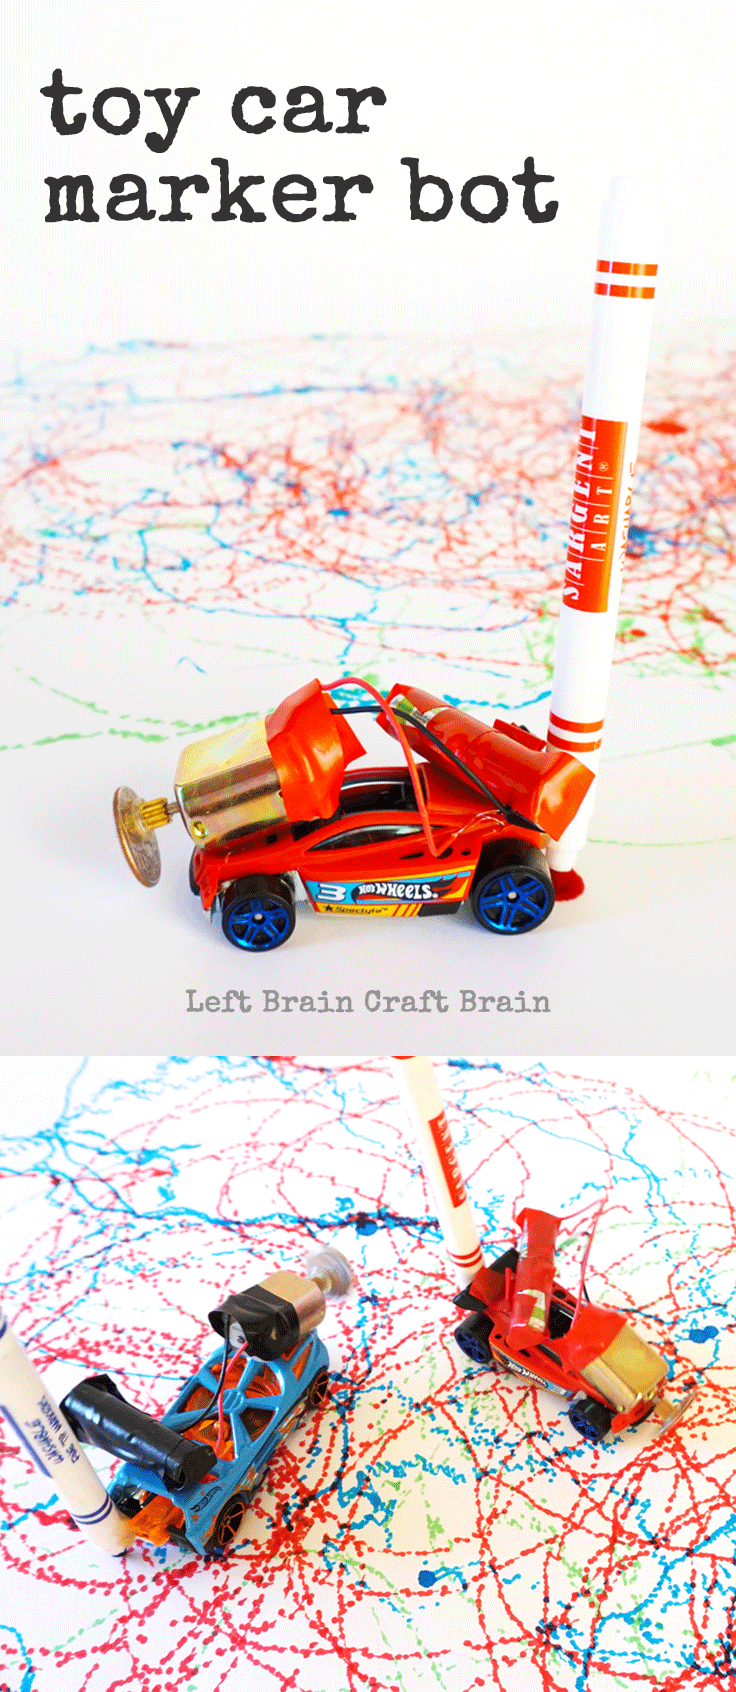
Do you ever wish that you could make all the toys your kiddos have outgrown somehow become new again? I’ve got a closet full of them, waiting to be upcycled into something different. Including a bag full of Hot Wheels, all ready to become these creative and educational Upcycled Toy Car Marker Bots. It’s a sneak peek into our super fun Bot Book filled with 19 cool builds!
Upcycled Toy Car Marker Bots Supplies Needed (1 set per car)
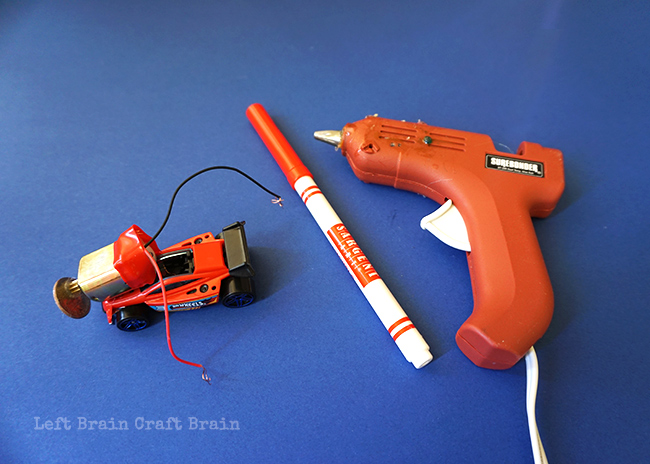
Here’s what you need to make one of these cool cars. You need 1 set per car.
- Hot Wheel or other small race car
- Skinny washable marker
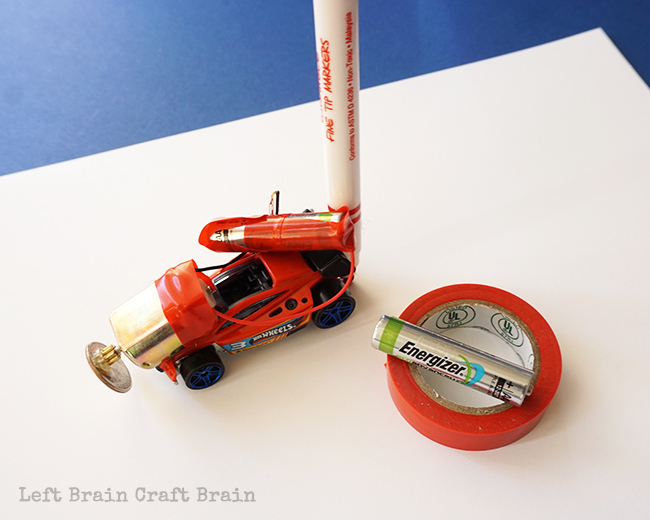
- AAA battery
- 1.5V hobby motor (and a dime if it doesn’t have a counterweight)
- Electrical tape
- Wire if the motor doesn’t have it already attached
- Craft or art paper
- Hot glue gun
Bot Safety Note:
Adult supervision is required when working with electric components and hot glue guns. Ensure that batteries are disconnected when not in use. The exposed ends of wires with a battery connected can shock you and/or heat up and smoke. The fast-moving rotor also poses a safety risk. keep away from eyes and hands when THe motor is running.
Build Your Toy Car Marker Bot
Let’s get building! The build portion is great for somewhat older kids because it’s a little challenging and uses a hot glue gun. For younger kids, I recommend making the car together and then having them do the art portion on their own.
- Attach a positive and negative wire to your hobby motor by feeding them through the contact holes/loops and taping them with electrical tape. If your motor doesn’t have a counterweight, hot glue a dime to the rotor at about halfway between the center and the edge. You want it to be off-balance.
- Tape or glue the motor to the top of the car ensuring there is clearance between the motor rotor and any part of the car surface. You can play around with the motor placement as the alignment controls the movement of the car.
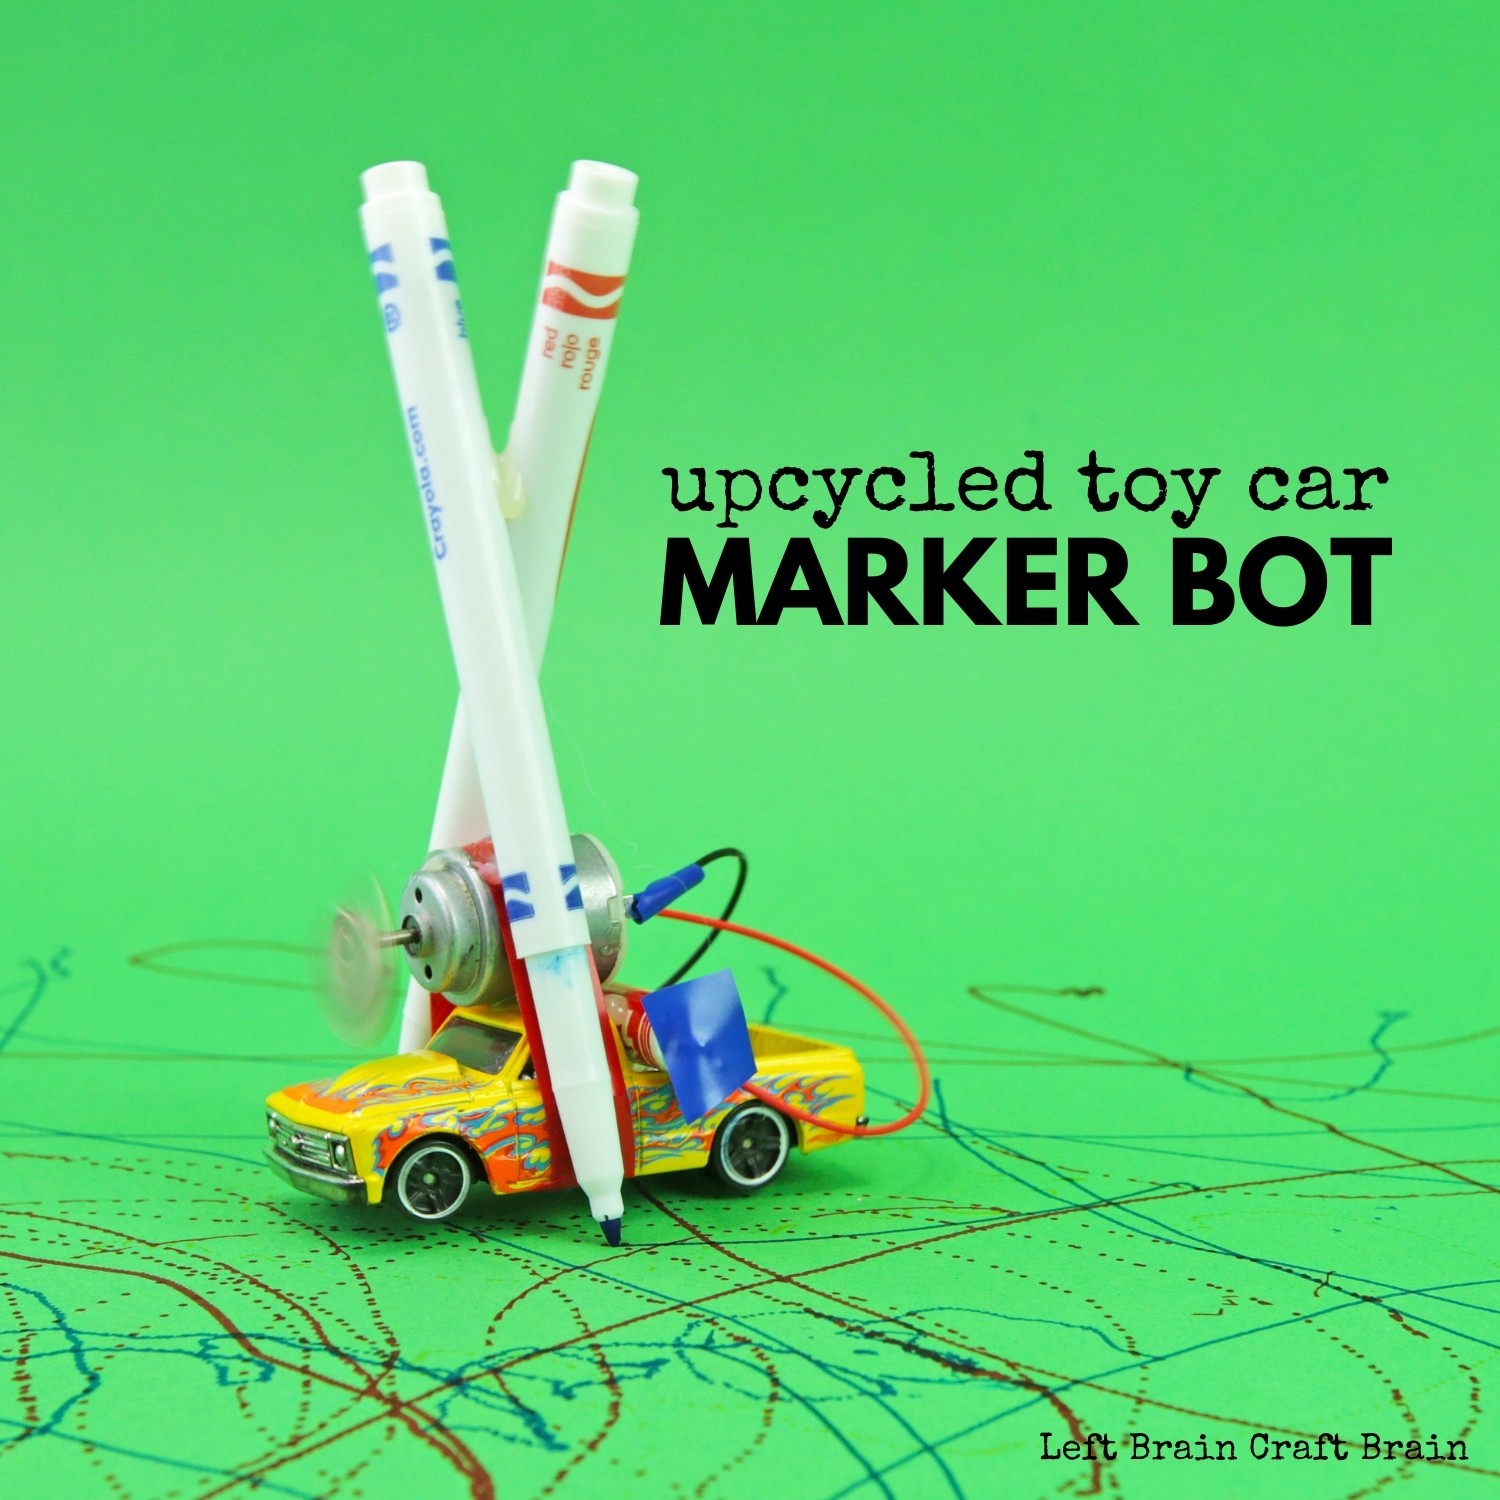
- Tape or glue your marker (or markers!) to the car so that the tip of the marker is level with the bottom of the wheels.
- Connect your battery to the motor by placing the red wire on the positive terminal end of the battery and securing it with electrical tape. Repeat with the black wire on the negative battery terminal. Then tape the battery to the car.
- Lay down your craft paper and let the cars loose! Be sure to disconnect the battery when you’re done playing with the car.

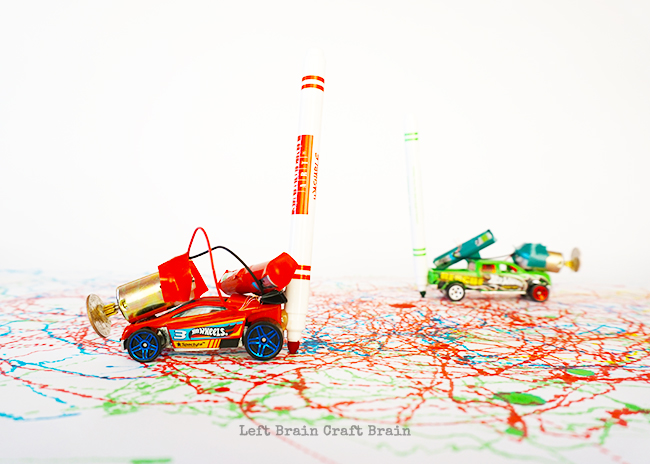
Here they are in action!

More Bots!!
This toy car marker bot is a sneak peek into The Bot Book.
Inspire your kids to create and build with an action-packed ebook all about bots! It includes 19 fun bots and bot activities perfect for builders of all experience levels. Plus extras make working with electricity easy and educational. Get a peek at all of the bots!Love Upcycling?
Got some more trash to play with? Check out these upcycled projects that inspire the engineer in your kiddo:
- DIY Recycled Suspension Bridge
- Tinkering Station for Young Engineers
- CD Case Travel Geoboard
- Balloon Car Derby
As an Amazon Associate I earn from qualifying purchases.