As The Babe and I were driving across the Golden Gate Bridge to San Francisco the other day, she said “look at all the poles!” I said that those are actually cables that are holding the bridge up. She asked, “How does that work?” And I responded, “uhhh, hmmm… ahh, let me check on that and get back to you.” This DIY Recycled Suspension Bridge post is my public service announcement for all parents crossing a bridge with an inquisitive child. And a great reminder that learning together is a great chance to role model life-long learning :)
What is a Suspension Bridge?
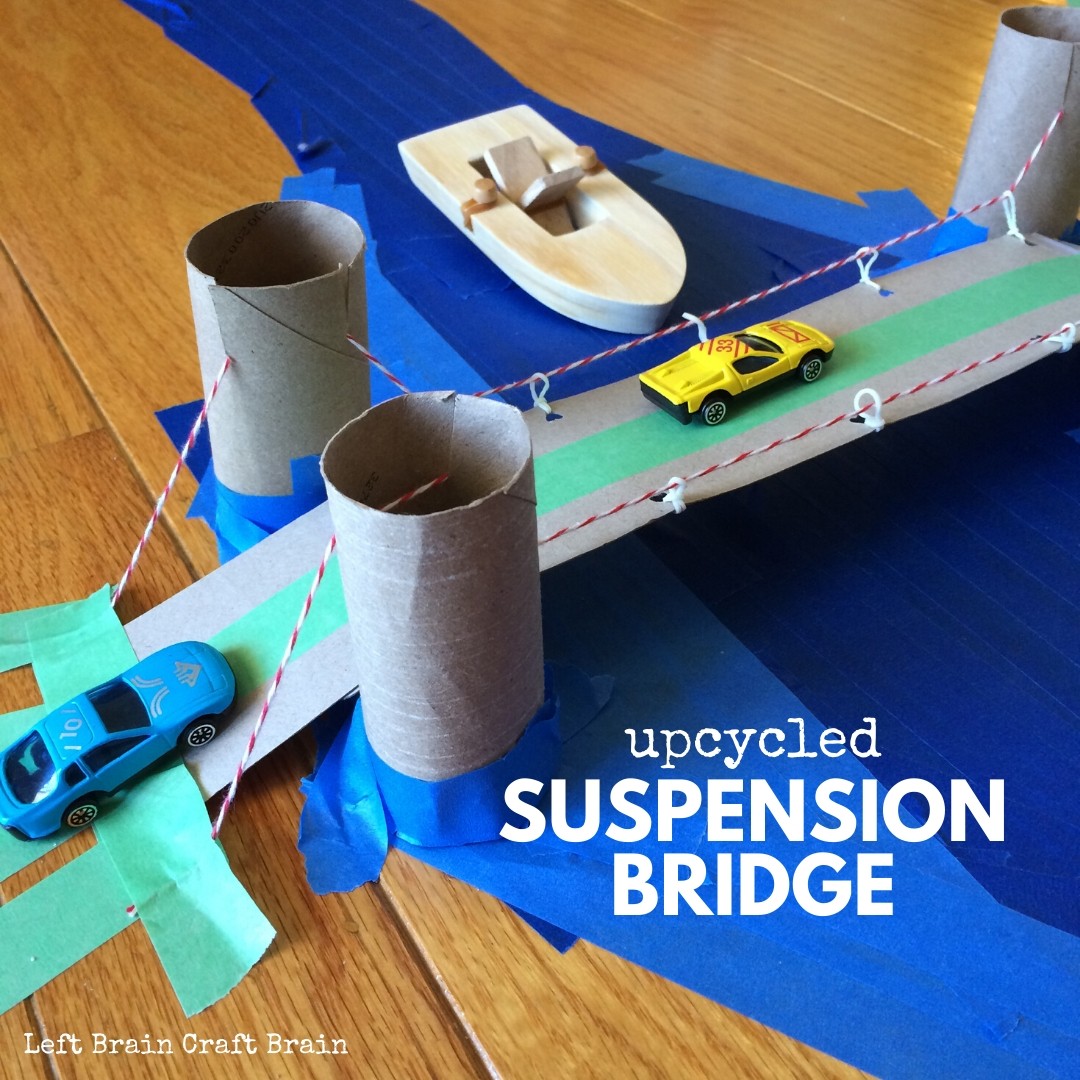
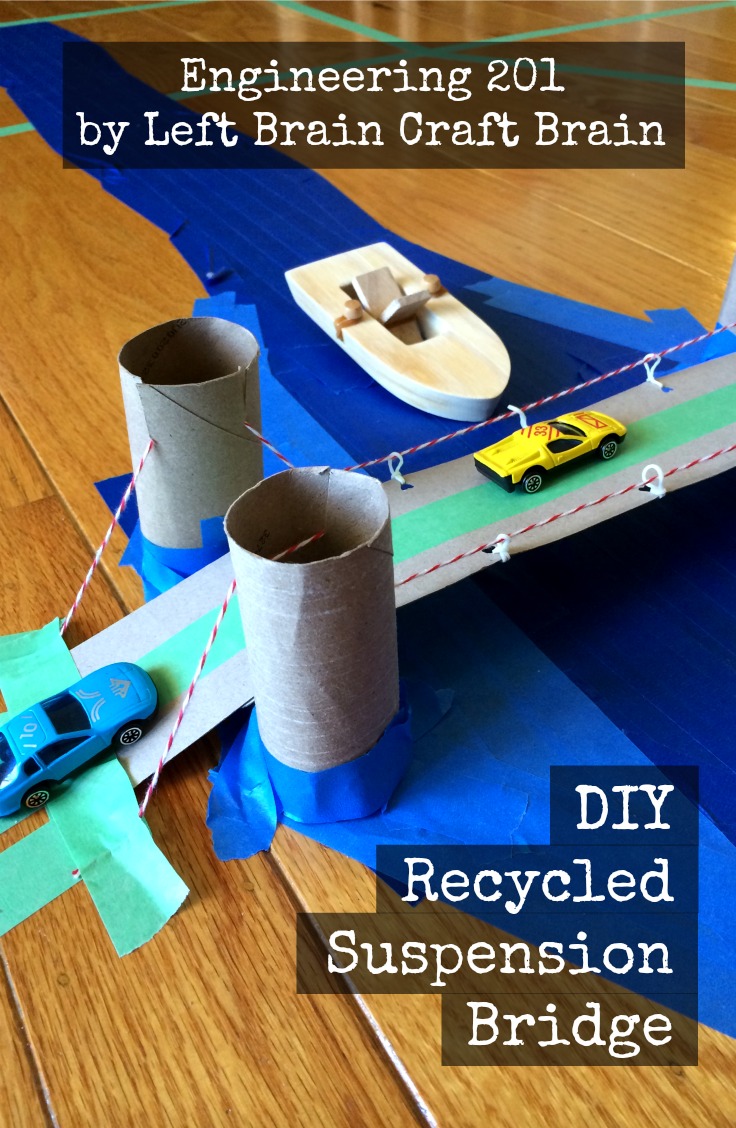
A suspension bridge is a bridge in which the deck (the part that you drive across) is hung below suspension cables on vertical suspender cables. Typically, suspension bridges are built with two tall towers and a cable that travels from one shore, through the two towers, and to the other shore. Vertical suspender cables hang from the main horizontal cable and hold the weight of the deck.
How can one cable hold the weight of the deck?
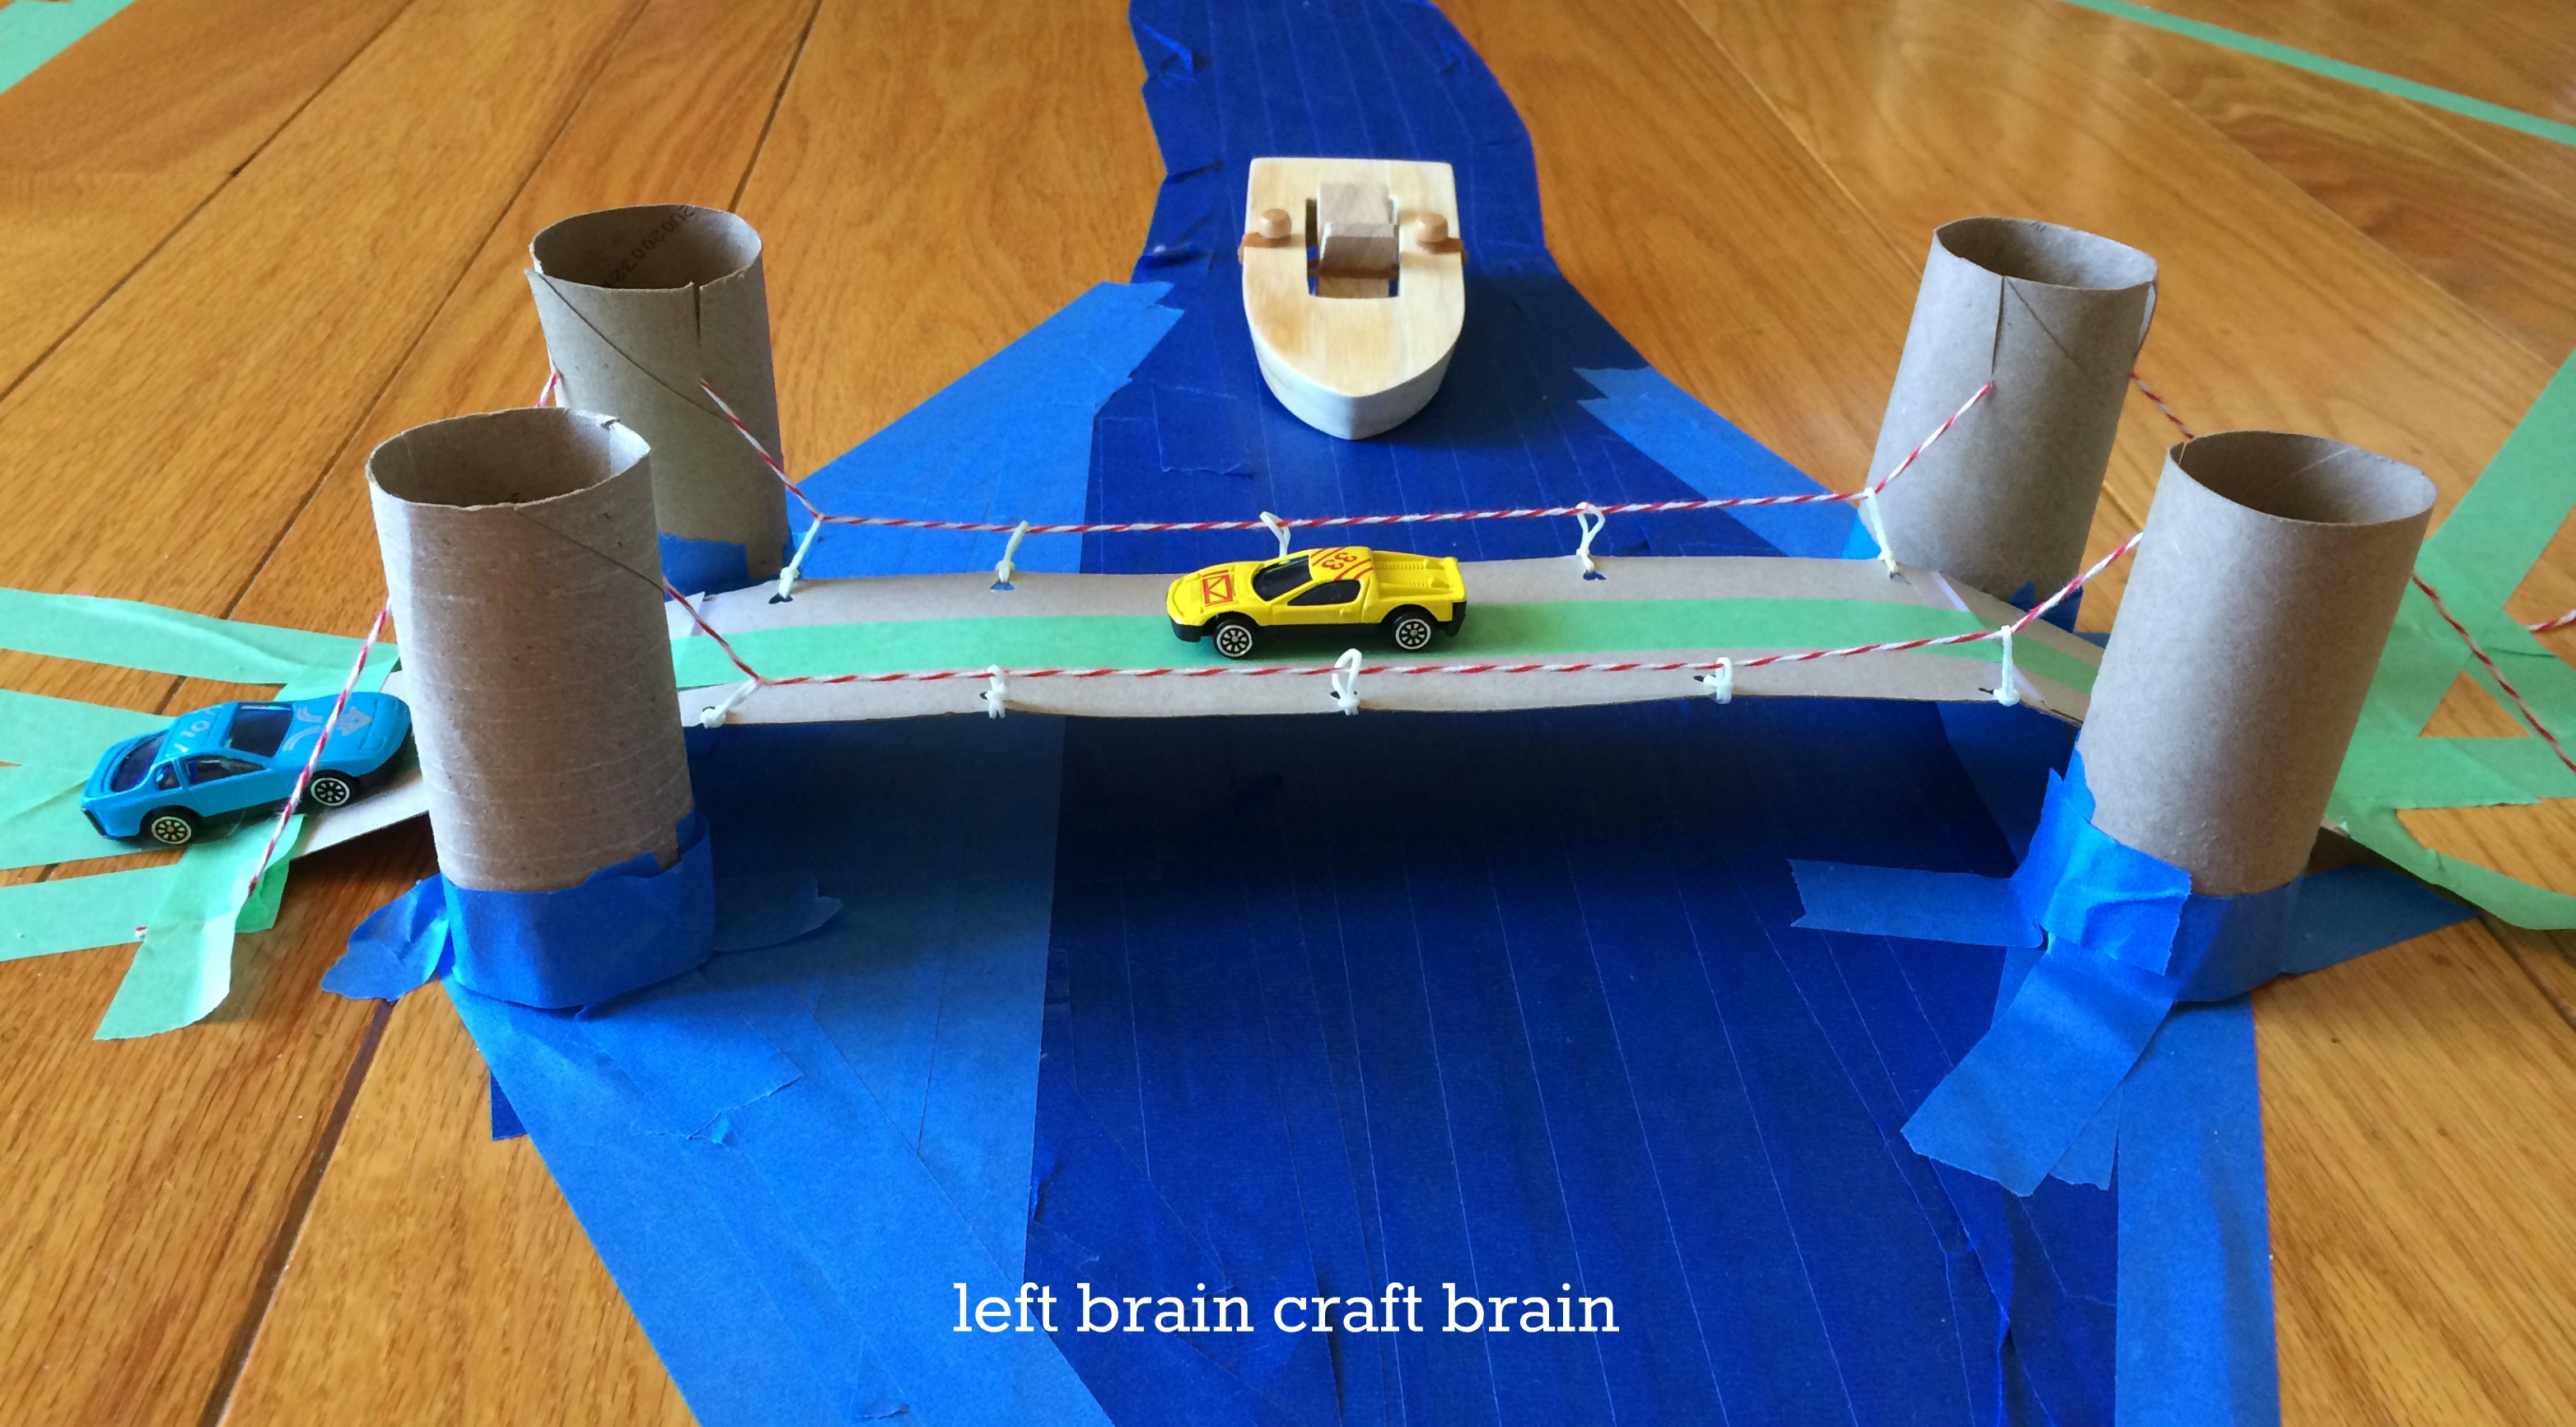
The weight of the deck is supported by carefully balanced forces on the two towers. The force pulling inwards on the towers is equal to the force pulling outwards on the towers towards land. Because the forces are balanced, the weight pulls straight down into the towers and into the ground.
What are the cables made of?
Each cable is made up of thousands of individual steel wires that are bound together. Steel’s tensile strength improves as it is stretched into wires, so these flexible cables are stronger than a solid piece of steel of the same size.
Why are suspension bridges used instead of other kinds of bridges?
Suspension style design allows for longer spans, reduced construction costs because of reduced materials, and improved flexibility and structural integrity during earthquakes (especially important here in San Francisco!).
What are some of the most famous suspension bridges in the world?
Have you had a chance to see any of these incredible bridges?
- Golden Gate Bridge (San Francisco, CA USA) as seen above with The Babe has been named one of the Seven Wonders of the Modern World. It takes a team of 34 painters to maintain its characteristic “International Orange” color.

- Akashi-Kaikyo (Pearl) Bridge (Kobe-Naruto, Japan) is the longest at nearly 2.5 miles long and the most expensive suspension bridge in the world.
- Tsing-Ma Bridge (Hong Kong, China) is the longest two-deck suspension bridge in the world and carries both rail and road traffic. Its main span is 4,518 ft. long.
- Tacoma Narrows Bridge (Tacoma, WA, USA) is a suspension bridge nicknamed Galloping Gertie that collapsed due to aeroelastic flutter. The bridge design failed to allow wind to pass through and the deck began oscillating in high winds, ultimately causing its collapse. Check out this video for a fascinating look at the collapse.
Now it’s time to make your own suspension bridge! I’ve seen a lot of these masking tape Hot Wheel race tracks out there. We’ve even done a basic one at home ourselves, too. This time, I wanted to do something a little more special…
DIY Suspension Bridge Supplies Needed
You’ll need a few easy to find supplies to make this bridge build work. Please note, I have provided handy online shopping links for supplies and as an Amazon Associate I earn from qualifying purchases. This is at no cost to you.
- Cereal box
- 4 empty toilet paper tubes
- Blue
 and green painter’s tape {affiliate}
 - Baker’s twine {affiliate}
- Small rubber bands (rainbow loom bands work perfectly) {affiliate}
- Hole punch
- Scissors
How to Build a DIY Recycled Suspension Bridge
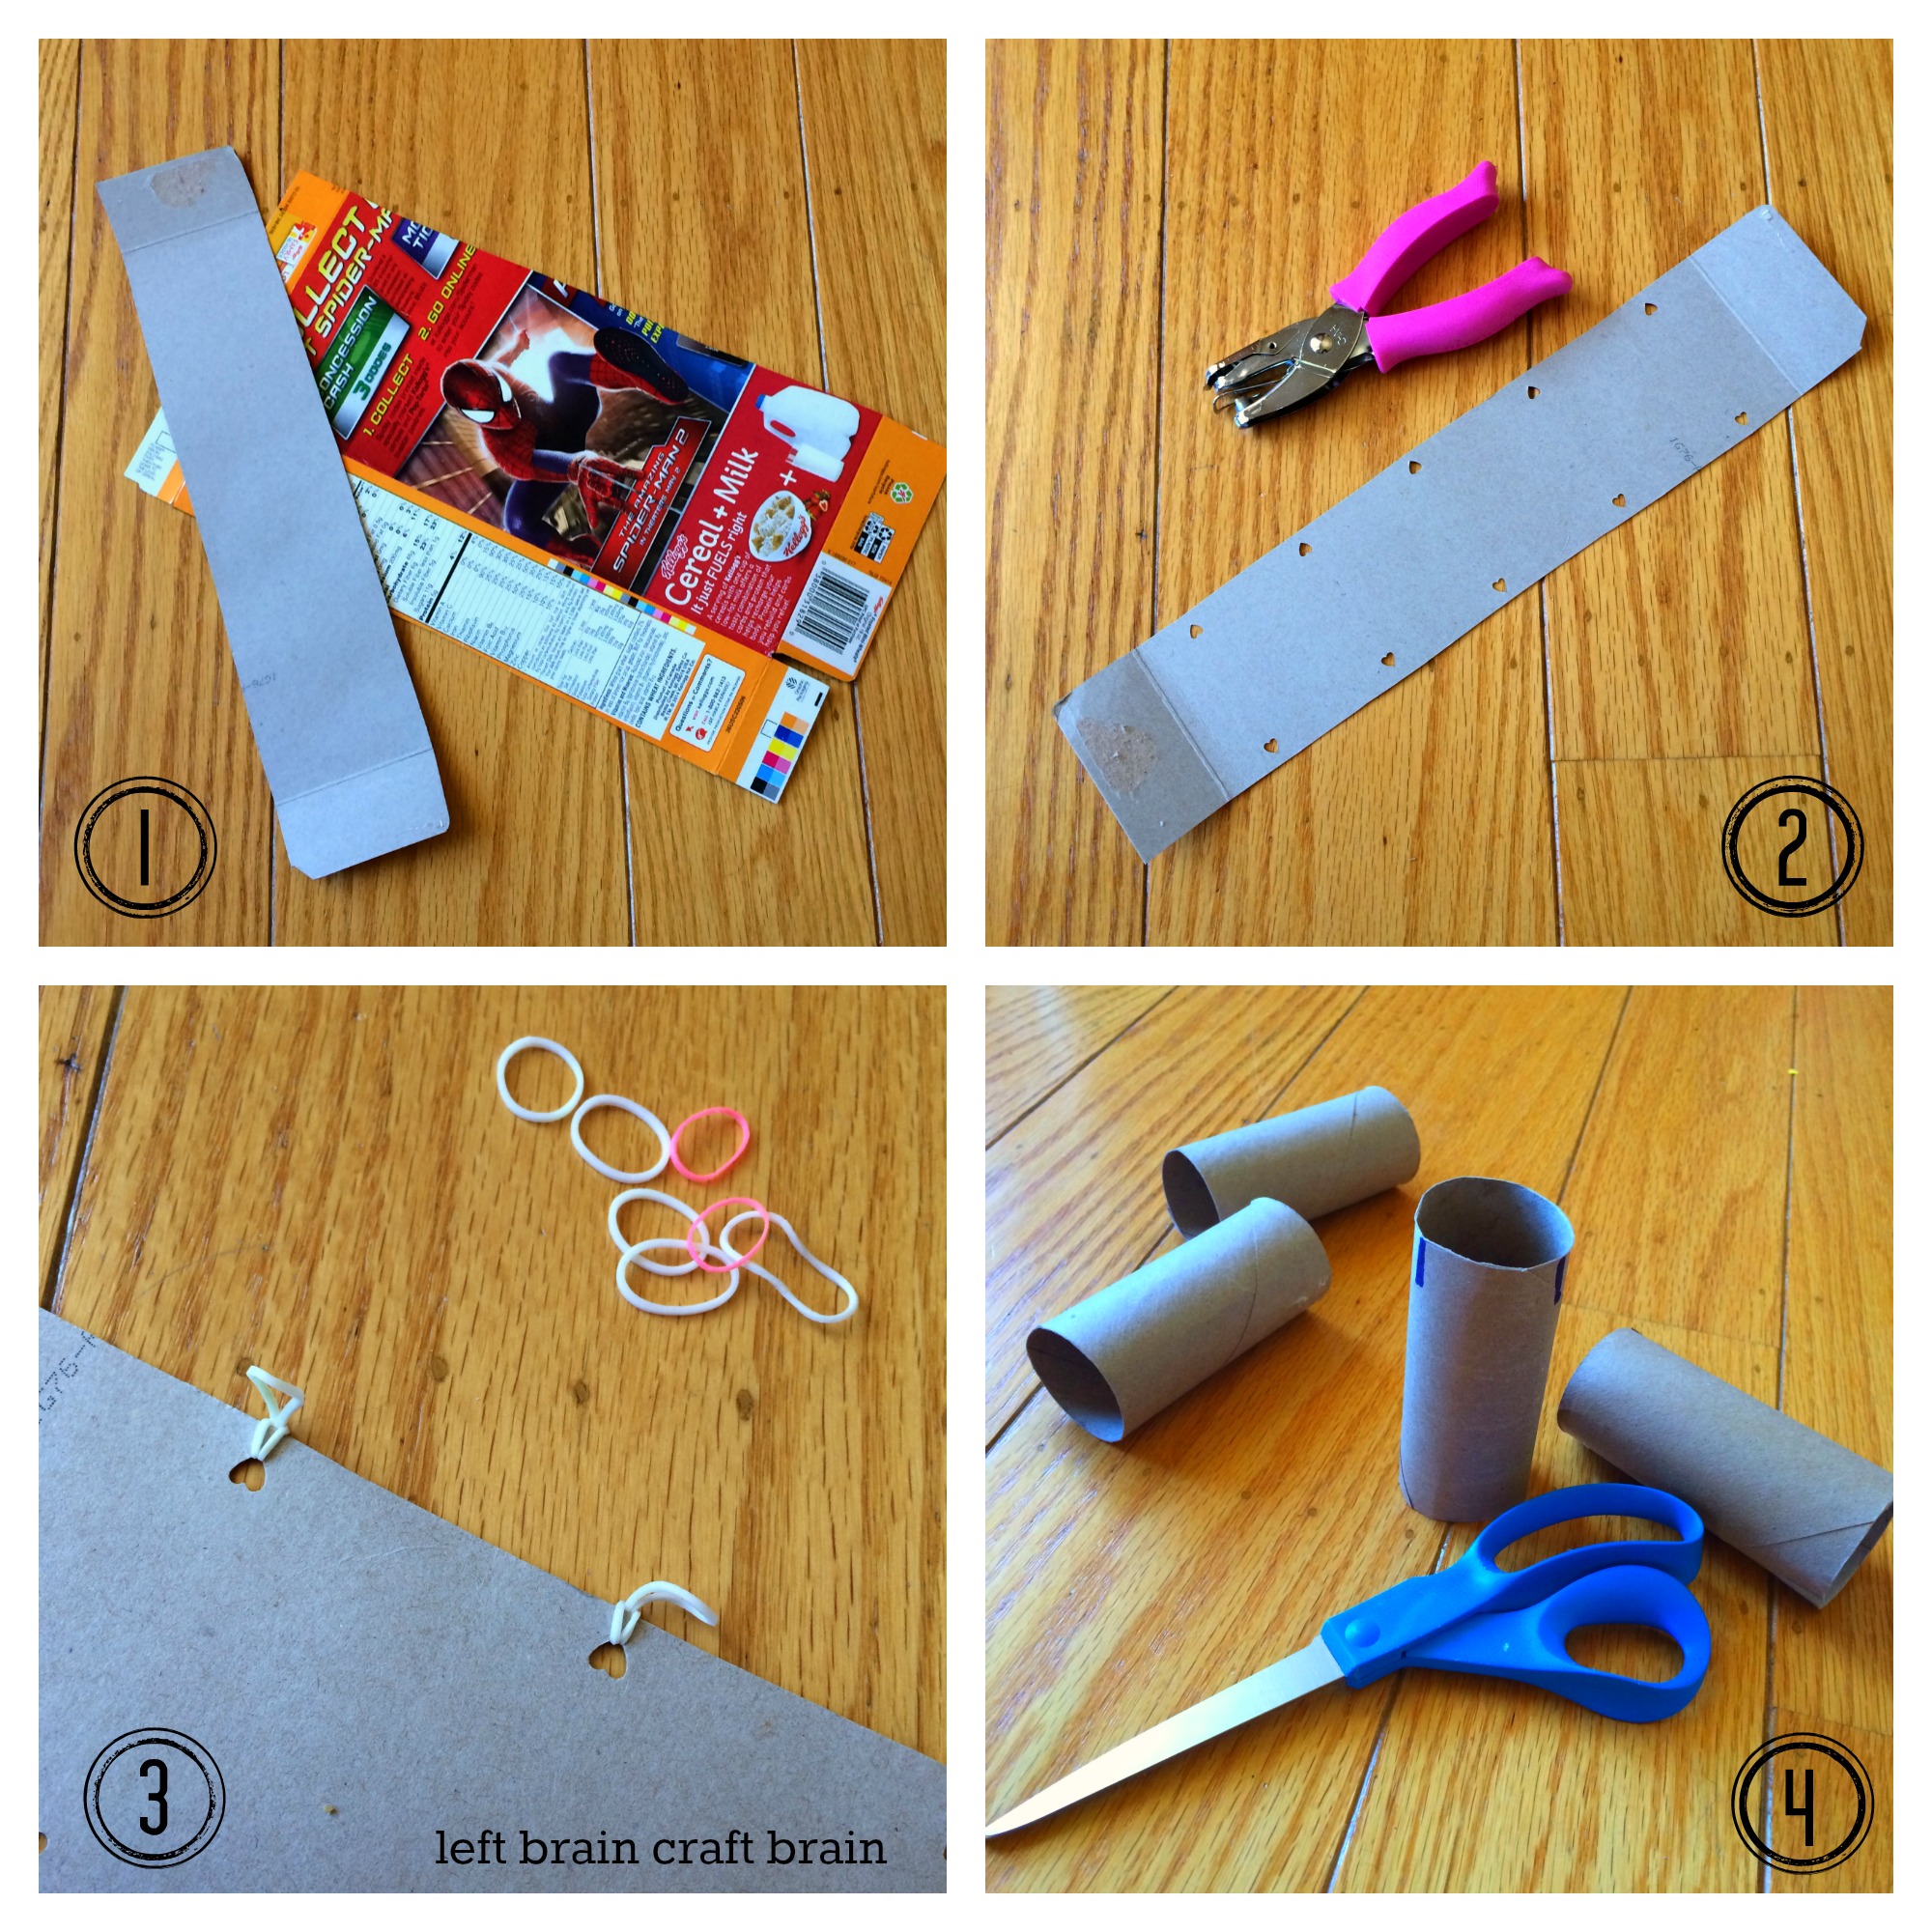
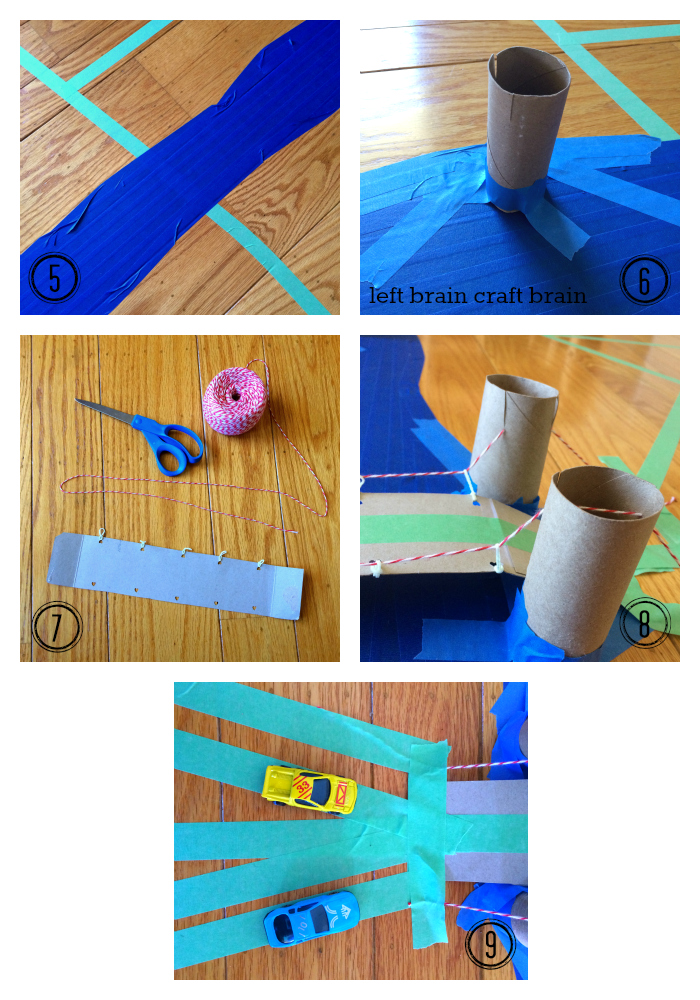
- Cut a strip of cardboard out of a flattened cereal box to make your bridge. You can tape on extra sections if you want to make a really long bridge.
- Punch holes along the sides of the cardboard leaving a few inches on each end without holes. The un-holed section serves as the ramp to the “ground”. Try to approximately line up the holes across the cardboard to help increase stability in the bridge.
- Thread a rubber band through each hole and loop it back through itself to hold in place
- Create bridge towers by cutting two 1/2″ slits in one end of each tube. The slits should be slightly off the center and across from each other. See the blue lines in the picture above for guidance.
- Start taping your race track and river. Your river should be a bit narrower than the length of your bridge so the bridge ends can touch the “ground.”
- Tape down your towers. This was the trickiest part because these towers support all the weight on the bridge just like a real suspension bridge. Also, be sure that the slits line up with the direction of the bridge. All I have to say is thank you for the repositionable tape!
- Cut your cables out of a length of baker’s twine. Cut them about twice as long as your bridge because you can always cut the extra off later.
- Feed each piece first through the slits in the towers and then through each of the rubber bands. Then pull the twine taught until the rubber bands stretch some and the bridge feels secure. Tape the ends of the twine to the floor.
- Tape your road connectors over the bridge. Since I often seem to be stuck in traffic at bridges in the San Francisco area, I made a toll plaza where cars can line up.
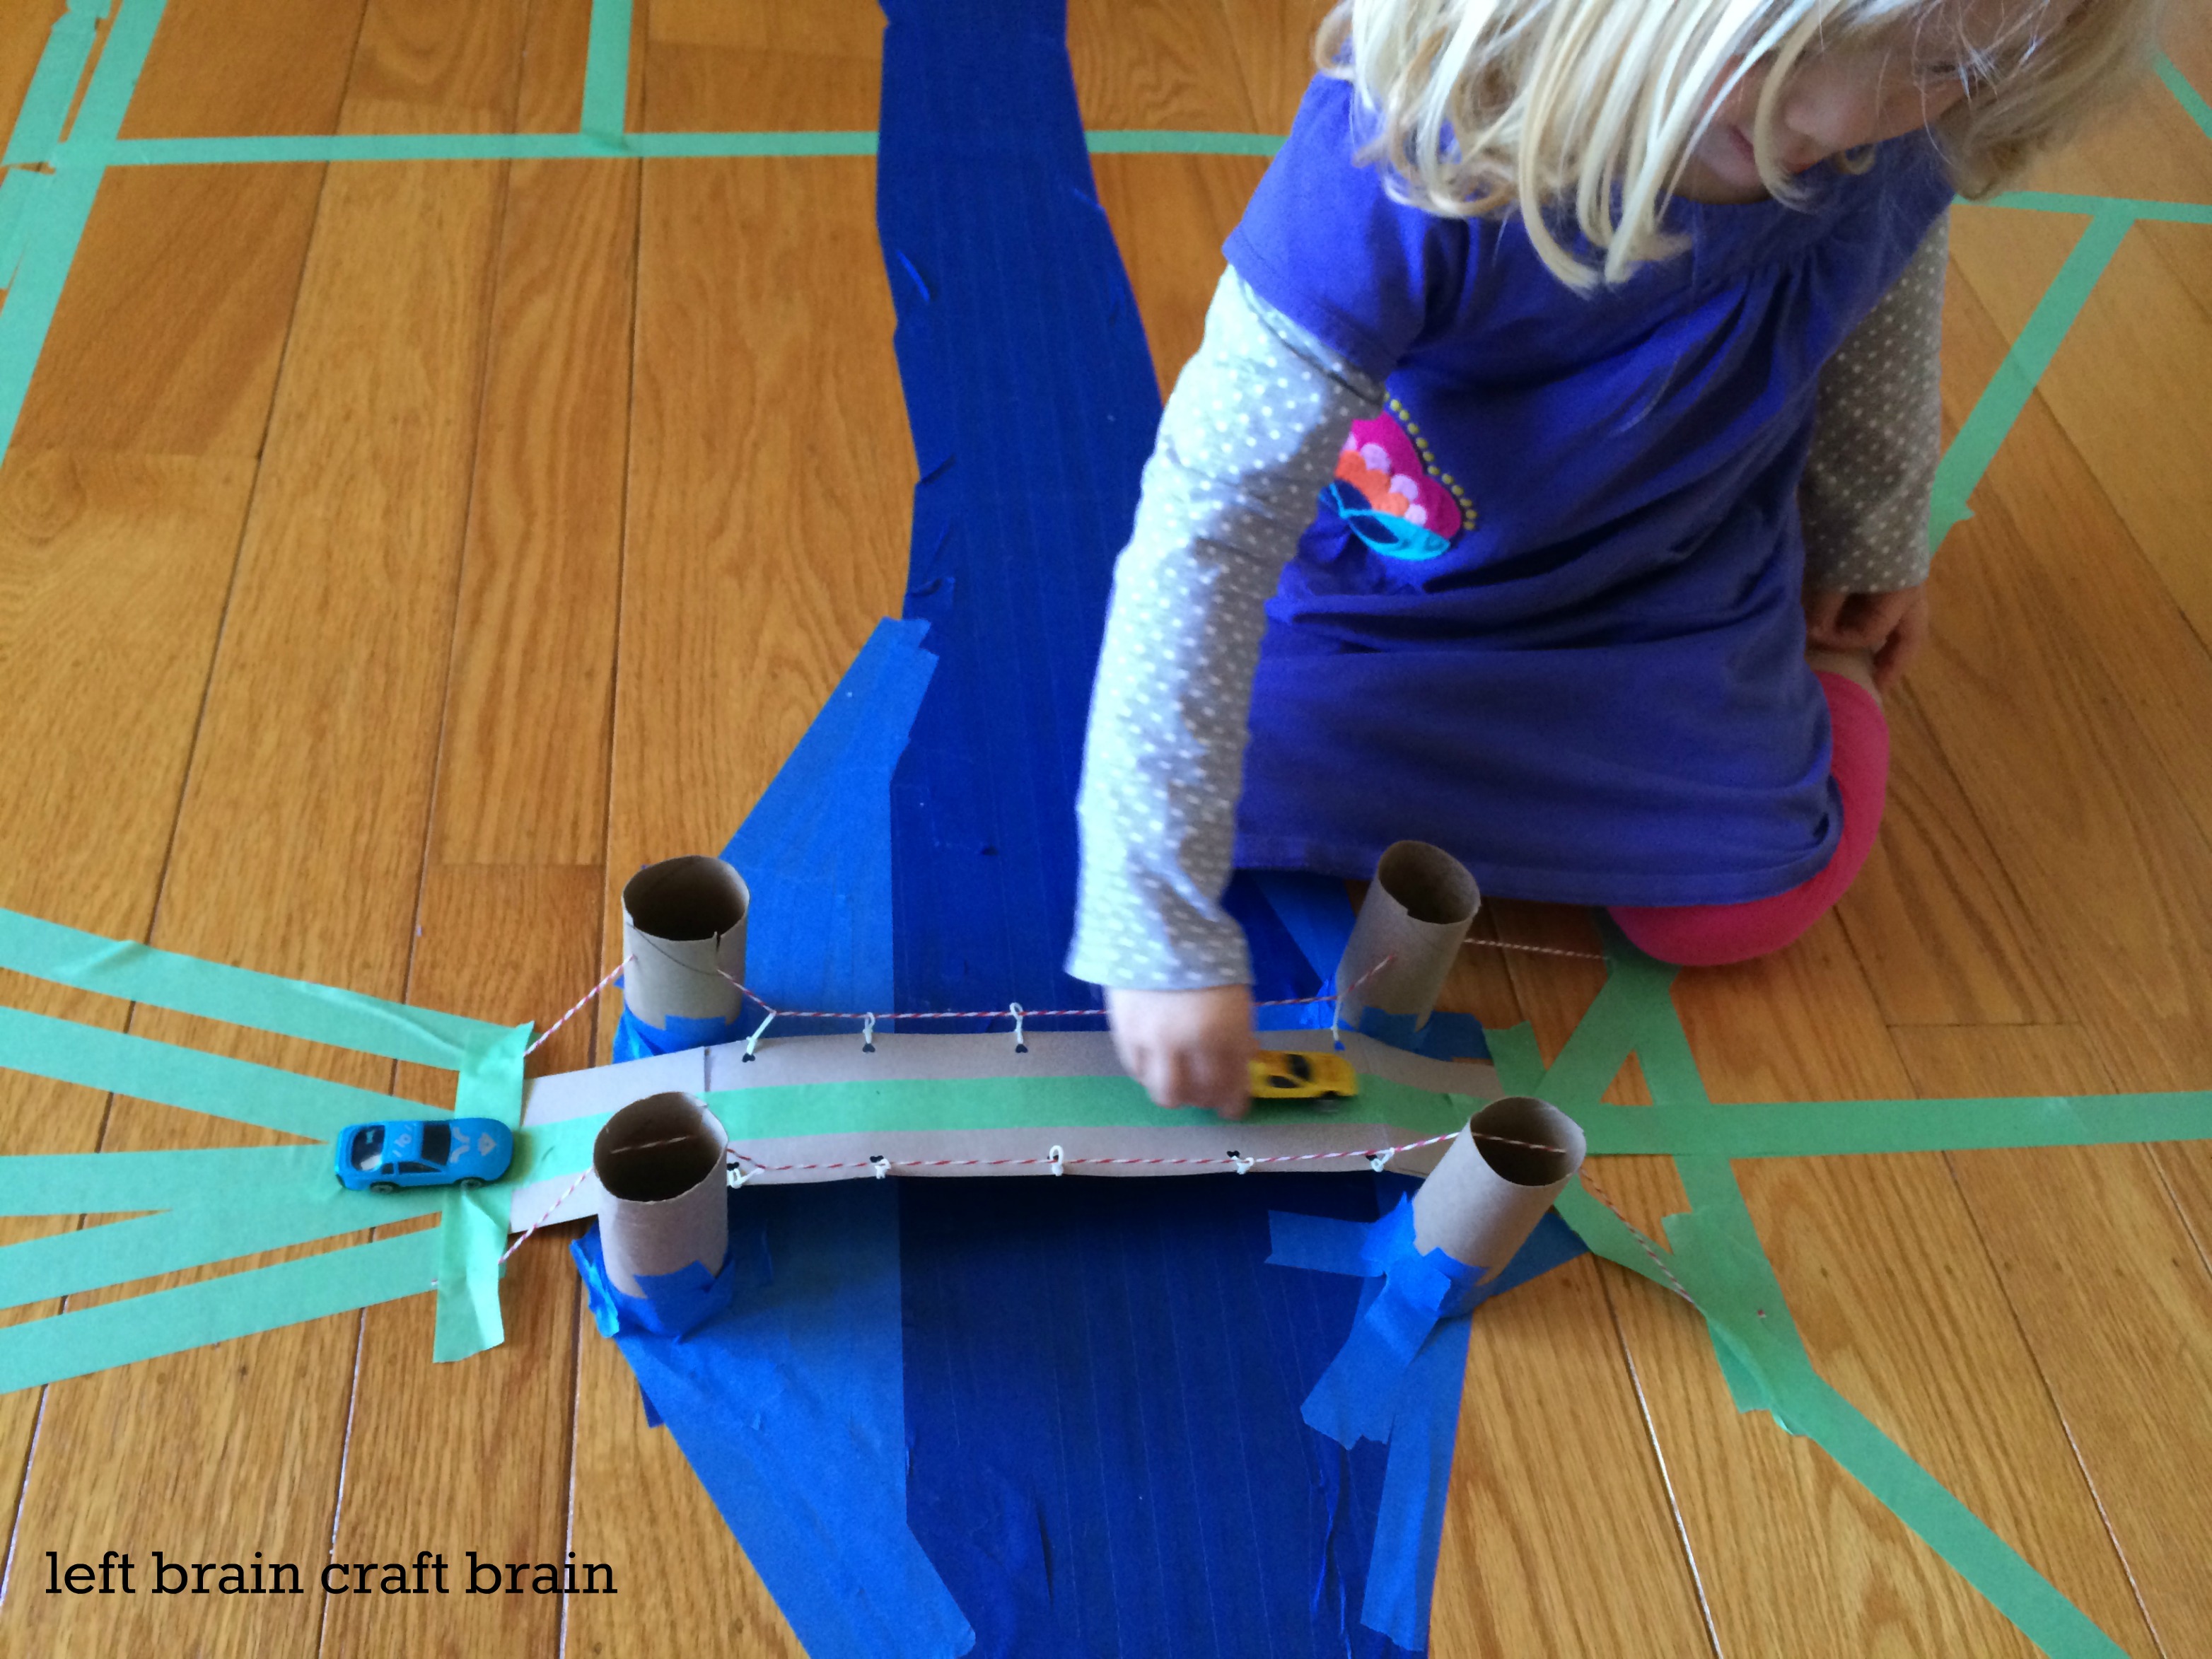
How to Play with a DIY Suspension Bridge
Now it’s time to… PLAY! Pull out the toy cars and drive them across the bridge. We had fun testing to see how strong the bridge was (this part is perfect for older kids!). We had to buy more cars, it was so strong!!
PROJECT NOTE: By the way, I don’t recommend leaving the tape on the floor for extended periods of time. Tape breaks down over time and with continued pressure as you walk on it, so it might become difficult to remove cleanly.
Want to learn more about bridges of all kinds? Check out David Blockley’s Bridges: The Science and Art of the World’s Most Inspiring Structures![]() . {affiliate}
. {affiliate}

This project was just made a finalist in the Scotch Products Make Amazing Contest. Like it? Please come VOTE for me! The prize is $5,000!!! Just think how much tape that would buy!!!
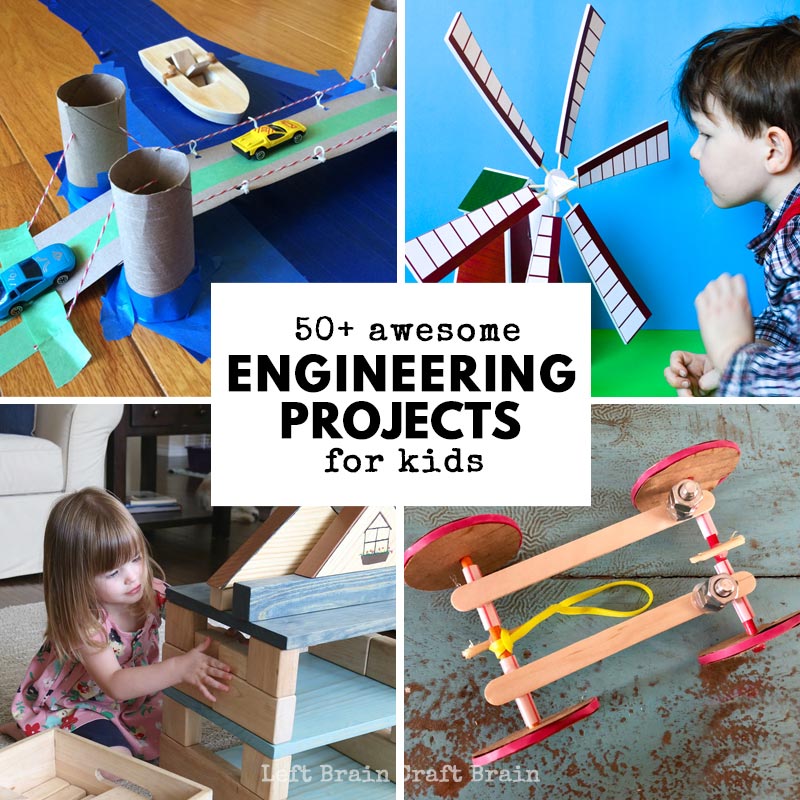
More Engineering Projects for Kids
Check out this amazing list of over 50 Engineering Projects for Kids for the young builders in your life! There’s something here for everyone.
Looking for some more STEAM inspiration that you can use right now? Instant gratification style? Check out STEAM Explorers!! The coolest creative experience for kids is here! It's a digital book of the month club filled with tons of fun stuff for the kids to do and learn. All engineer, teacher, and mom-approved. And most definitely KID APPROVED!

What’s included?
- A monthly digital magazine with cool themes that are fun to read
- Hands-on, exciting projects the kids will love.
- Science, tech, engineering, art, and math learning YOU’LL love.
- Delicious recipes the kids can make.
- Fun printables and games
Get ready to have some festive fun in this month's Space issue!
Join us as we explore the weather all around us for the STEAM Explorers Weather EBook Unit Study!! Kids will love creating weather in a jar, capturing the daily forecast in an art journal, and becoming a meteorologist with DIY tools. You'll love the helpful standards-based learning, printables, and tools that make STEAM (science, technology, engineering, art, & math) exploration easy!
We’ve split the STEAM Explorers Space issue into four weekly themes:
WEEK 1: Earth & Moon
WEEK 2: Space Travel
WEEK 3: Solar System
WEEK 4: Starry Skies