Do your kids love to draw? Yes? I have a project for you! Not so much? I have a project for you! Put a new spin on an old favorite by adding a slimy canvas to make your next kid’s drawing session. The added bit of stretchy fun in Slime Drawings will inspire your kiddos to create. This post contains affiliate links.
Slime Drawings are STEM Made Fun
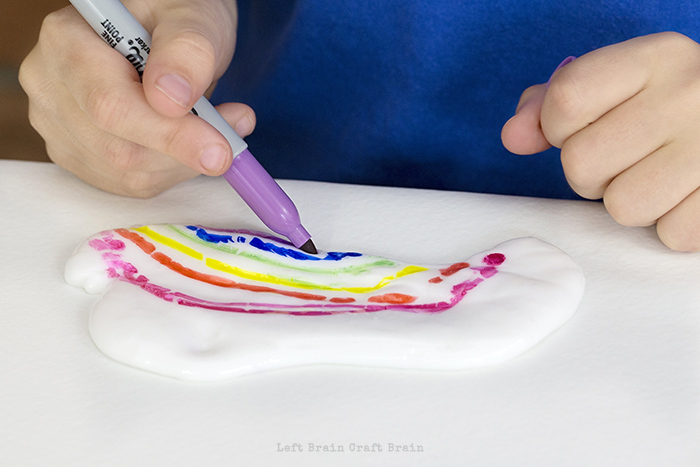
First, make your slime. A snowy white school glue slime works best, but you could try this on any leftover slime you might have kicking around, too. Clear glue would also make a pretty cool project. I’ve put my favorite slime recipe at the bottom of the post which works with any kind of school glue.

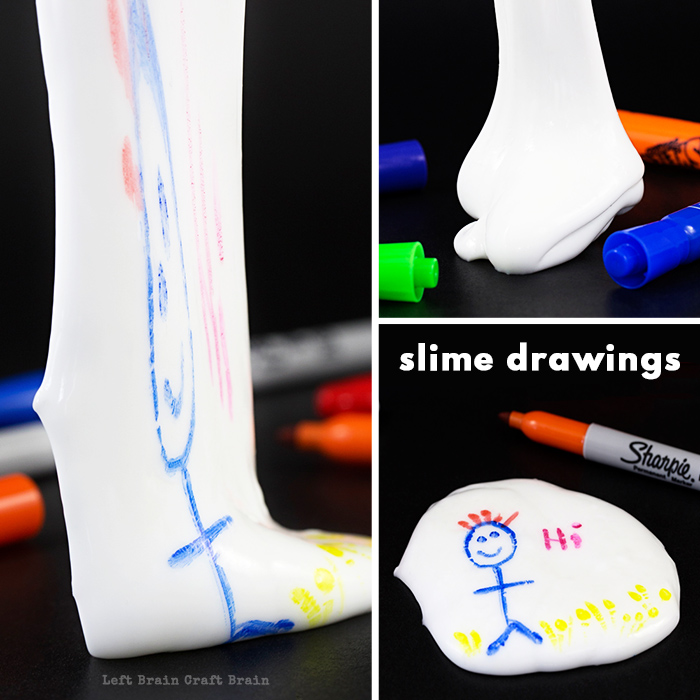
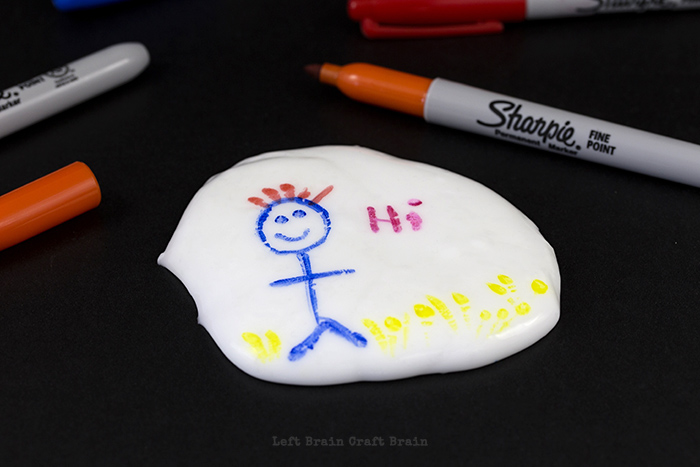
Then pull out your markers. Both washable and Sharpies work for this and neither leave a mess of color on your hands. And don’t worry about your precious Sharpies like I did, because the slime rolls right off the tip.
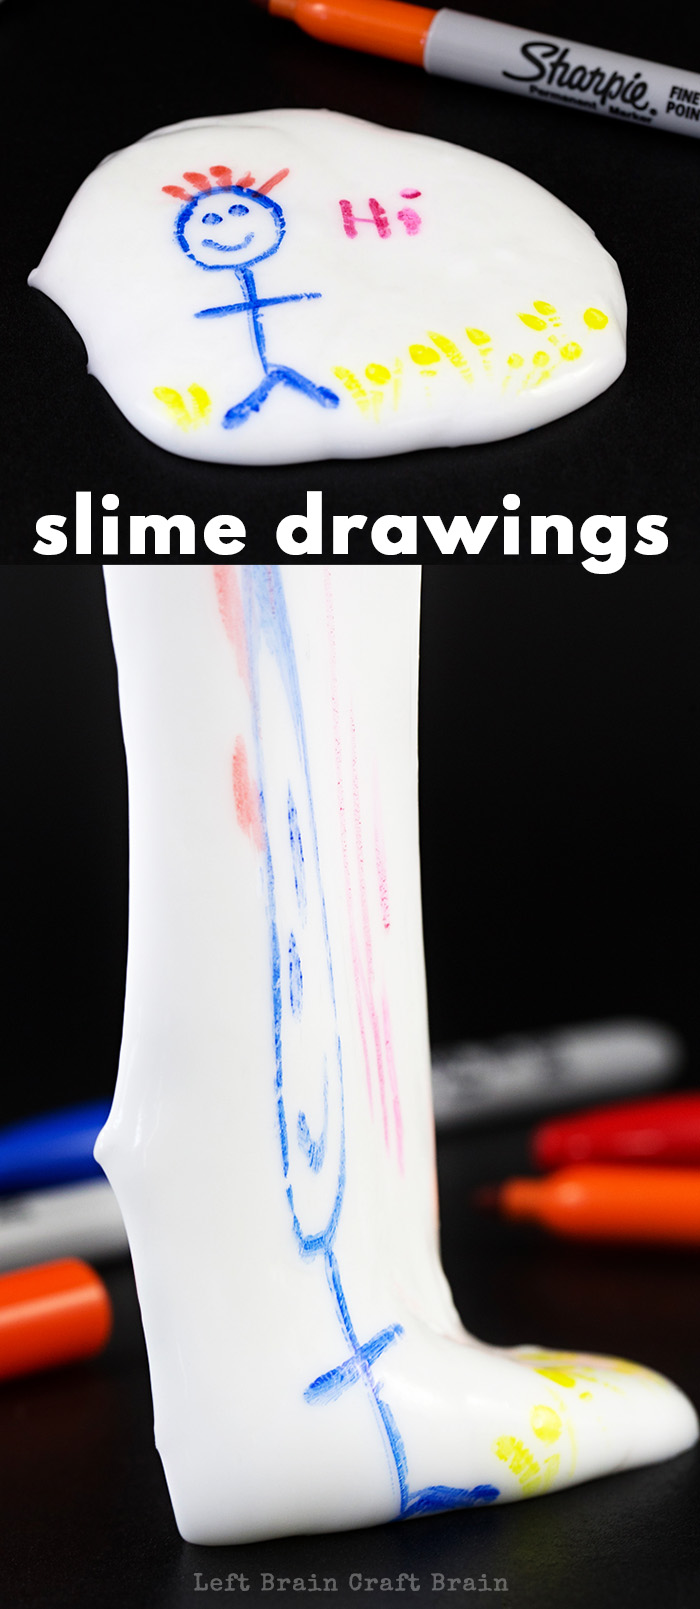
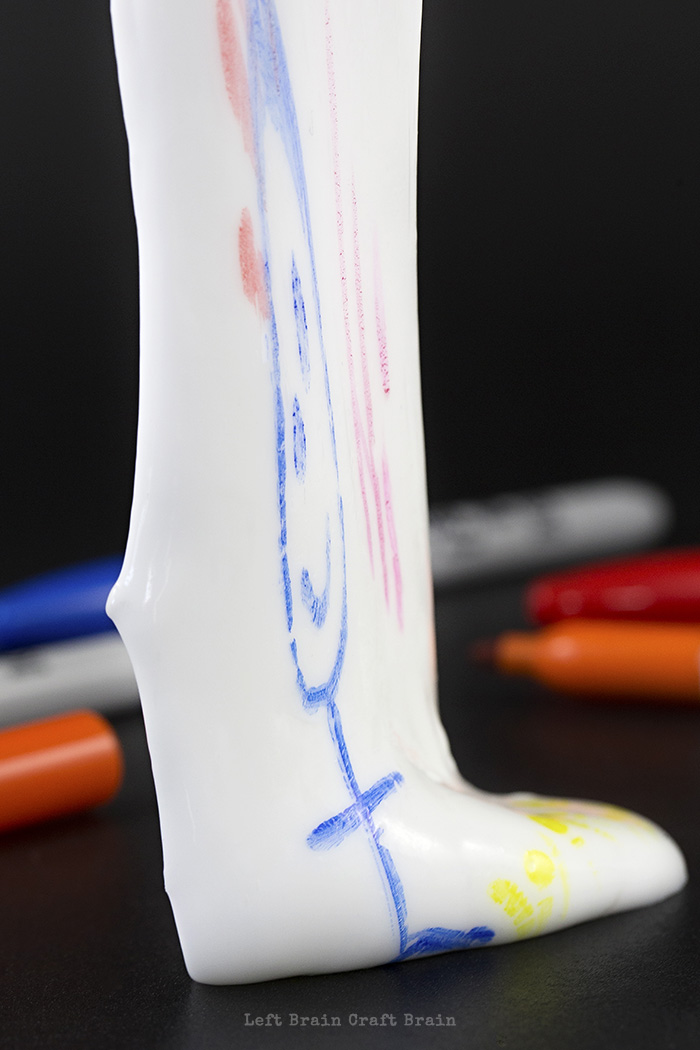
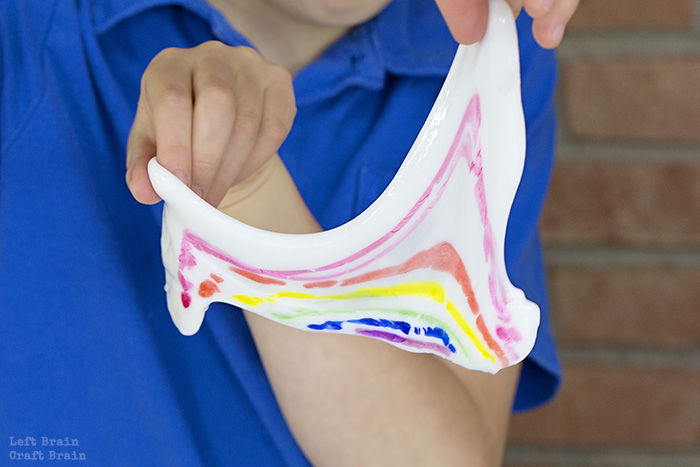
Now start stretching your drawing… Isn’t it cool how the images morph? We had some fun slo mo sound effects going along with our stretching…
And here’s a little science to mix in with your art session because we believe in STEAM around here at Left Brain Craft Brain. You know how slime will stretch if you pull it really slowly? But then it breaks if you pull it too fast? This happens because slime is a non-Newtonian fluid. Non-Newtonian fluids like Oobleck, quick sand and silly putty change state based upon the pressure that it is applied to it. Have the kids try to break their drawings to see how it works.
So many fun things to draw! Stick figures. Flowers. Rainbows. Minecraft. Let your kiddo’s imagination be the guide.
White Slime Recipe
- 1/4 cup white school glue {affiliate}
- 1 Tablespoons water
- 1/4 cup liquid starch
 {affiliate}
- Pour 1/4 cup glue into a large bowl. Add 1 tablespoon water and stir until combined.
- Add 1/8 cup liquid starch and mix until thick and slimy. Then knead the slime with your hands and return to the starch mixture for another mixing. This step is important because it makes sure there’s no unmixed glue hiding in the center of your slime ball. If slime is still sticky, add additional starch, a little bit at a time, and knead until not sticky anymore. Most batches will use almost all of the starch.
- Store slime in a glass or plastic container with a lid for up to one month. I noticed that it needed a bit more starch if it had been a few days since playing with it. Just pour a teaspoon or so on the slime and knead it again.
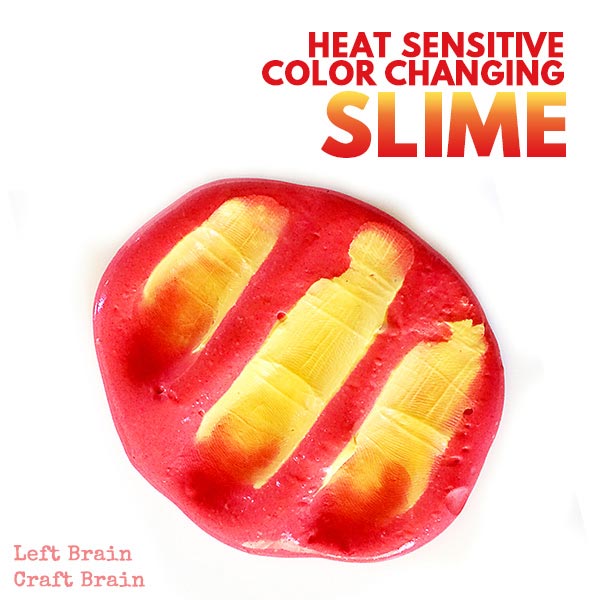
The Coolest Slime You’ve Ever Tried
When you’ve tired of slime drawings, you’ve got to try the coolest slime ever. Color Changing Slime that changes with temperature. It’s amazing!
Science, Tech, Engineering, Art, and Math Fun for Kids
Looking for some more STEAM inspiration that use can use right now? Instant gratification style? Check out STEAM Kids: 50+ Hands-on Science, Technology, Engineering, Art, & Math Hands-On Projects for Kids ebook! It’s packed full of a year’s worth fun learning activities that will wow the boredom right out of your kids.