If you haven’t tried printmaking with the kids, now is the time! You’ll only need a couple materials to make this art project a success. Gelli printing takes mixed media art creations to another level, but it’s easy enough for the kids to do too!

This post contains affiliate links.
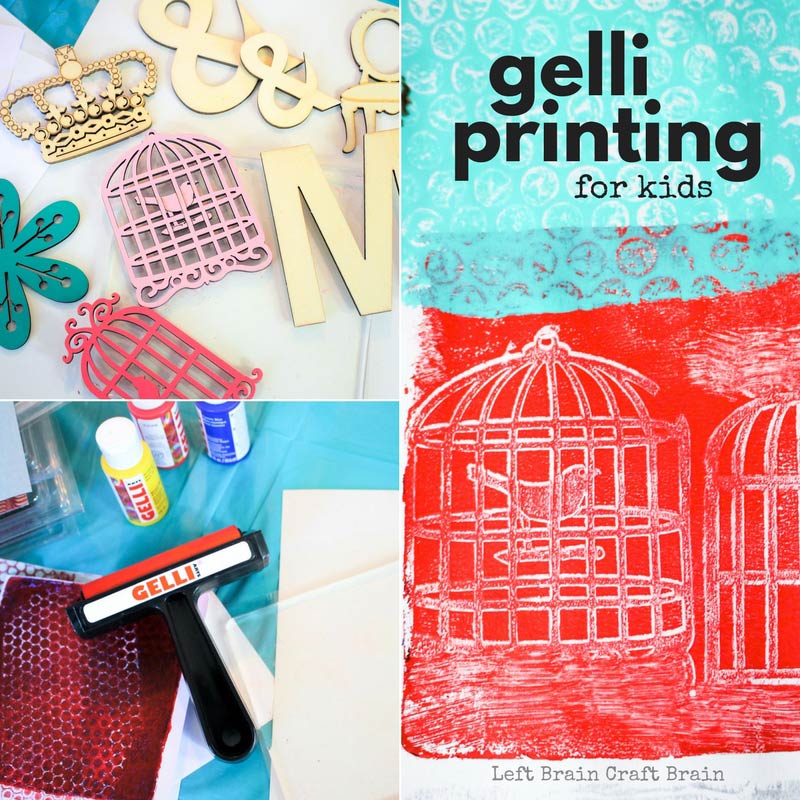
What is Gelli Printing?
Gelli arts are really fun to teach the kids or give it a try at your next playdate. The difference would basically be having enough of the Gelli pads for each child to use or having something else to do while taking turns with them.
Let’s go over the gelli printing process and I’ll give you tips and tricks on using this gel printing plate. Your crew is going to love it AND they are easy to clean. Bonus!
Sometimes Gelli pads can be a little tricky if it’s your first time using them. Check out this video! I found it super helpful.
How to Use Gelli Printing
The Gelli pads come in various sizes and they are a little pricey, but do your research, some online stores have them cheaper than others, and I found that Amazon had the best price, even versus going right to Gelli themselves.
Sometimes you can get a student kit too, and it may be cheaper than buying supplies separately. The thing about the initial cost though is that they will get used over and over. Once you invest, you only need paint and paper each time you want to do another round of gelli printing!
I use circle shaped ones that are about 6” in size, full sheet sized ones in around an 8” and the smaller 5” squares. I have a few of each and the kids traded around as they worked and got tired of one size. But, if you want to avoid any fussing and are teaching multiple kids at once, you can always choose one size only to simplify it.
TIP –I always put down a disposable tablecloth for lessons, and this one really calls for one.
Gelli Printmaking Supplies
Best to have enough for each child, or have plans to rotate through the screen printing station:
- One Gelli pad
- Acrylic paint in various colors
- Nice quality paper
- Stamps, wooden popsicle sticks, q-tips, bubble wrap, or any other fun texturing tool you want to throw in
- Lots of baby wipes
- Paper towels and a place for people to wash their hands
- Palettes for paint
- Paintbrushes
- Roller or brayer
Start your lesson plan by telling the kids a bit about screen printing and use a stamp as an example. Most kids have used rubber stamps before and will understand the concept. Show them how instead of using an ink pad, you can use a paintbrush for painting a thin layer of paint on the stamp instead, and then use it multiple times to get different colors of the same image, just making sure to wipe it clean between uses. This is the idea behind printmaking.
With the gelatin plates you can do layering and multiple texturing so your print will turn out a different every time.
It’s a good idea to give a demonstration to be sure your kids understand the whole concept of gelli printing. The whole process is really amazing to watch and I’m sure the kids will have questions.
Gelatin Printing Techniques
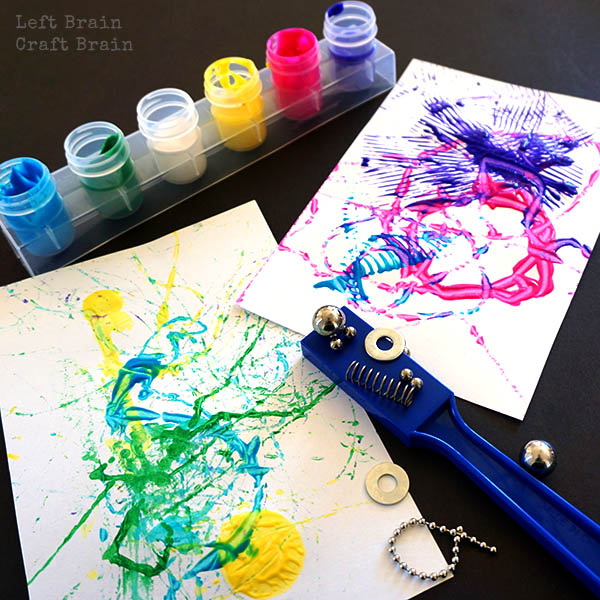
There is no right or wrong way to make the prints using gel printing plates like there was no right way with our magnet painting craft.
Once you show the kids the techniques they will run with it and you’ll be amazing at the different creations that appear!
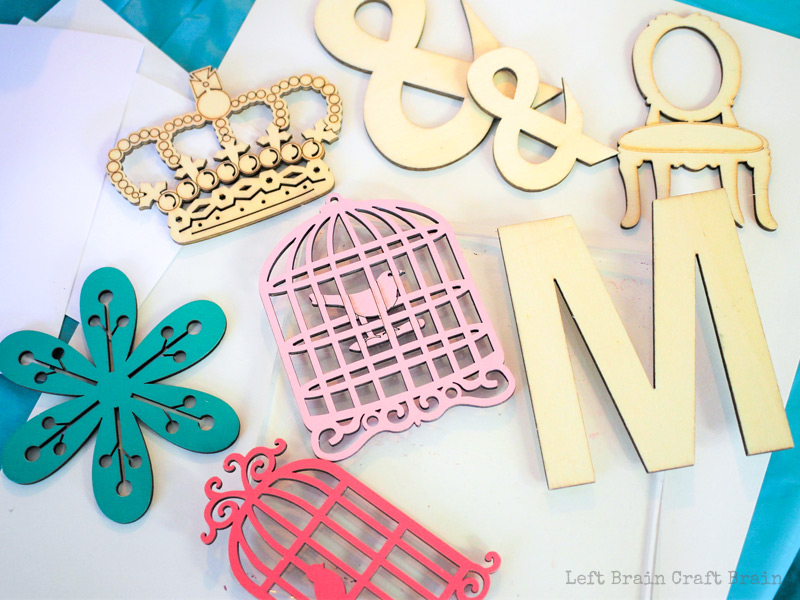
I bought several little wooden shapes on clearance at my local craft store that turned out to be awesome for this activity and gave each child a wooden popsicle stick and a piece of bubble wrap to see what they would come up with!
One important reminder! The pads and the brayers have to be cleaned in between the uses, unless they are sticking with the same color paint.
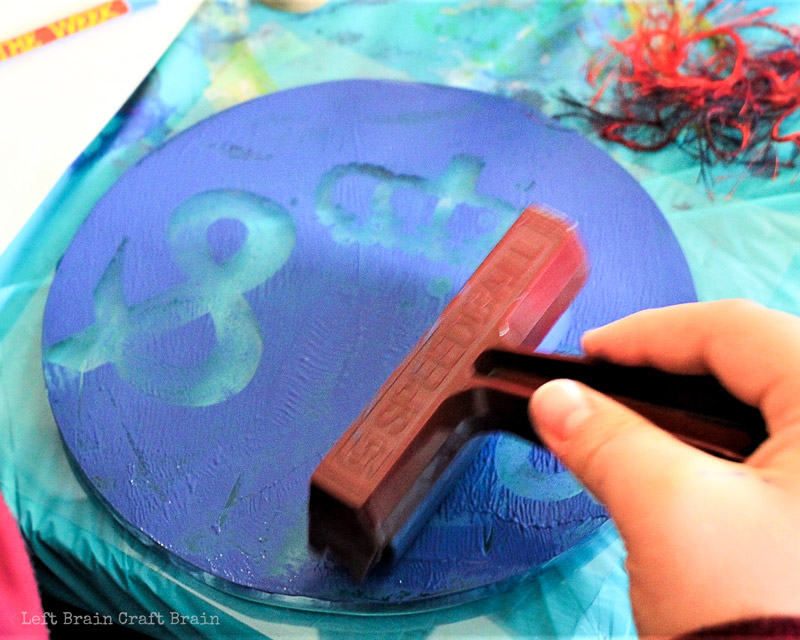
TIP – If you want to add a word to the print, write it into the paint using the wooden sticks, but you have to write it backwards. It will print backwards and not be readable otherwise.
How to Make Gelli Prints
- Pull off the plastic protective cover from one side of the Gelli pad. (Keep the bottom side on so it doesn’t stick to the tablecloth on the table.)
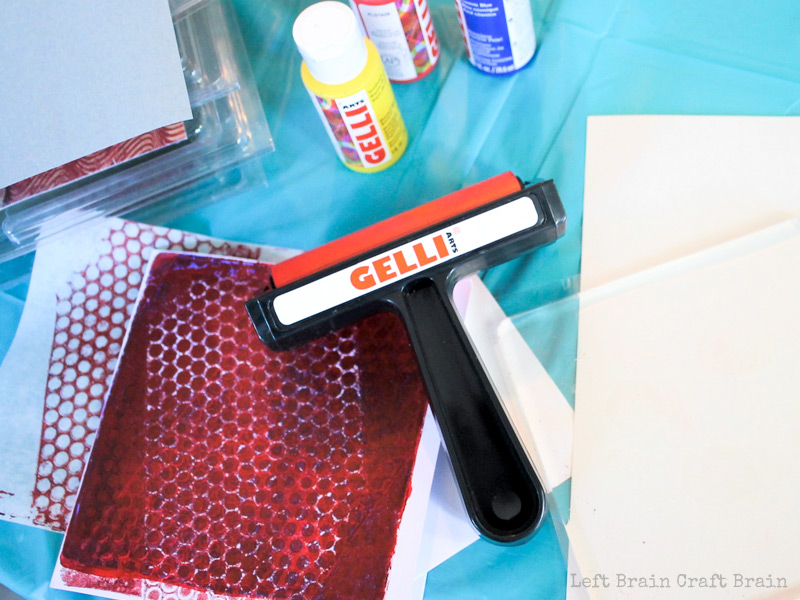
- Squirt a few dots of paint in the color you choose on to the Gelli pad.
- Lightly roll the brayer over the paint, working it towards the edges until the paint is spread all the way across the pad.
- Press items into it, like the wooden shapes, or stamps, or draw a design.
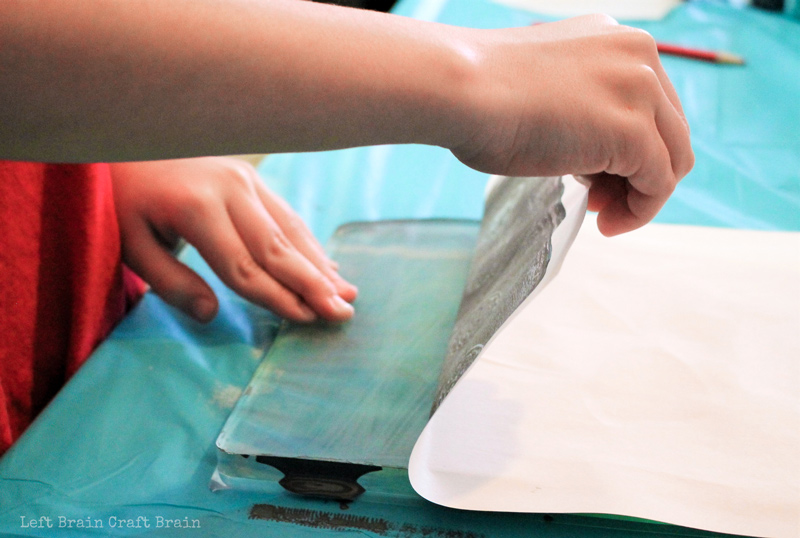
- Then, carefully lay your piece of paper over the top of the pad.
- Very lightly press down all over the pad, going out to the corners as well, until it feels nice and smooth and flat.
- tarting with the bottom corner, pull the paper up from the pad slowly. Use your other hand or get help to hold the pad down too if you like, it helps the paper come up easier.
- Now your paint design will have transferred from the pad onto the paper.
Gelli Printing Tips and Tricks
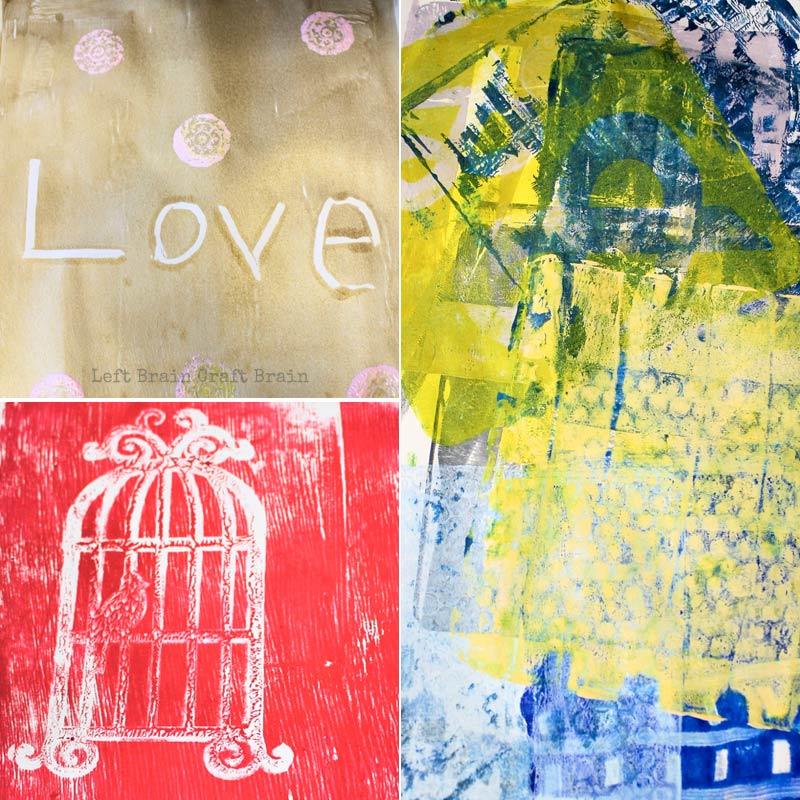
Once you have the first print on the paper, you can then add to it by painting stamps, shapes or using a paintbrush to add other designs and layers on top. You can also use the Gelli pad again and again over the top in other colors. It’s kind of like our slime drawings where we were able to add to and manipulate our designs over and over again.
TIP- You can adjust your design as needed (like adding more stamps to your picture), but remember that if you take to long the paint will dry!
You can also make cards by cutting the paper in half across, and then printing on it. Older kids may enjoy doing that or you can have them pre-cut and have the kids make cards for times like Valentine’s Day or Mother’s Day.
TIP – The more layers you do with the pad on one sheet of paper, the heavier the paint gets, and it becomes harder to peel from the pad and can risk tearing. Remind the kids that it is best to not do more than two or three at the most.
Let your kids imagination run wild with this project like we did with our paint solubility activity! There are so many amazing creations that will surface once you give them the techniques and then watch the magic happen.
Remember to have plenty of space available to allow all the prints to dry completly. We have a drying rack that gets a lot of use with projects like this!
Clean Up Gelli Printing
All you need is a sink of warm soapy water. Just dip the pads, the protective coverings, and the brayers into it to clean then store at room temperature. They will need to be fully dried before you seal them into the case they came in, but this works really well. The Gelli plates go right back to being sticky again when dry.
More Fun Process Art and Painting Projects for Kids
Magnet Painting – For another fun process art project that adds a little science, try this Magnet Painting activity! It’s a perfect Five Minute STEAM Project!